


4-14
Cisco ASA Series Firewall ASDM Configuration Guide
Chapter 4 Configuring Network Object NAT (ASA 8.3 and Later)
Configuring Network Object NAT
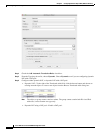
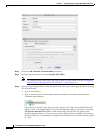
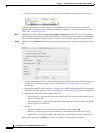
• Click the browse button, and create a new address from the Browse Translated Addr dialog box.
Typically, you configure the same number of mapped addresses as real addresses for a one-to-one
mapping. You can, however, have a mismatched number of addresses. For more information, see the
“Static NAT” section on page 3-3.
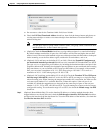
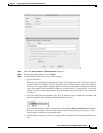
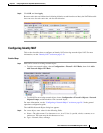
Step 7 (Optional) For NAT46, check Use one-to-one address translation. For NAT 46, specify one-to-one to
translate the first IPv4 address to the first IPv6 address, the second to the second, and so on. Without this
option, the IPv4-embedded method is used. For a one-to-one translation, you must use this keyword.
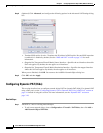
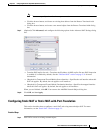
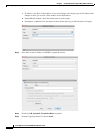
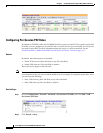
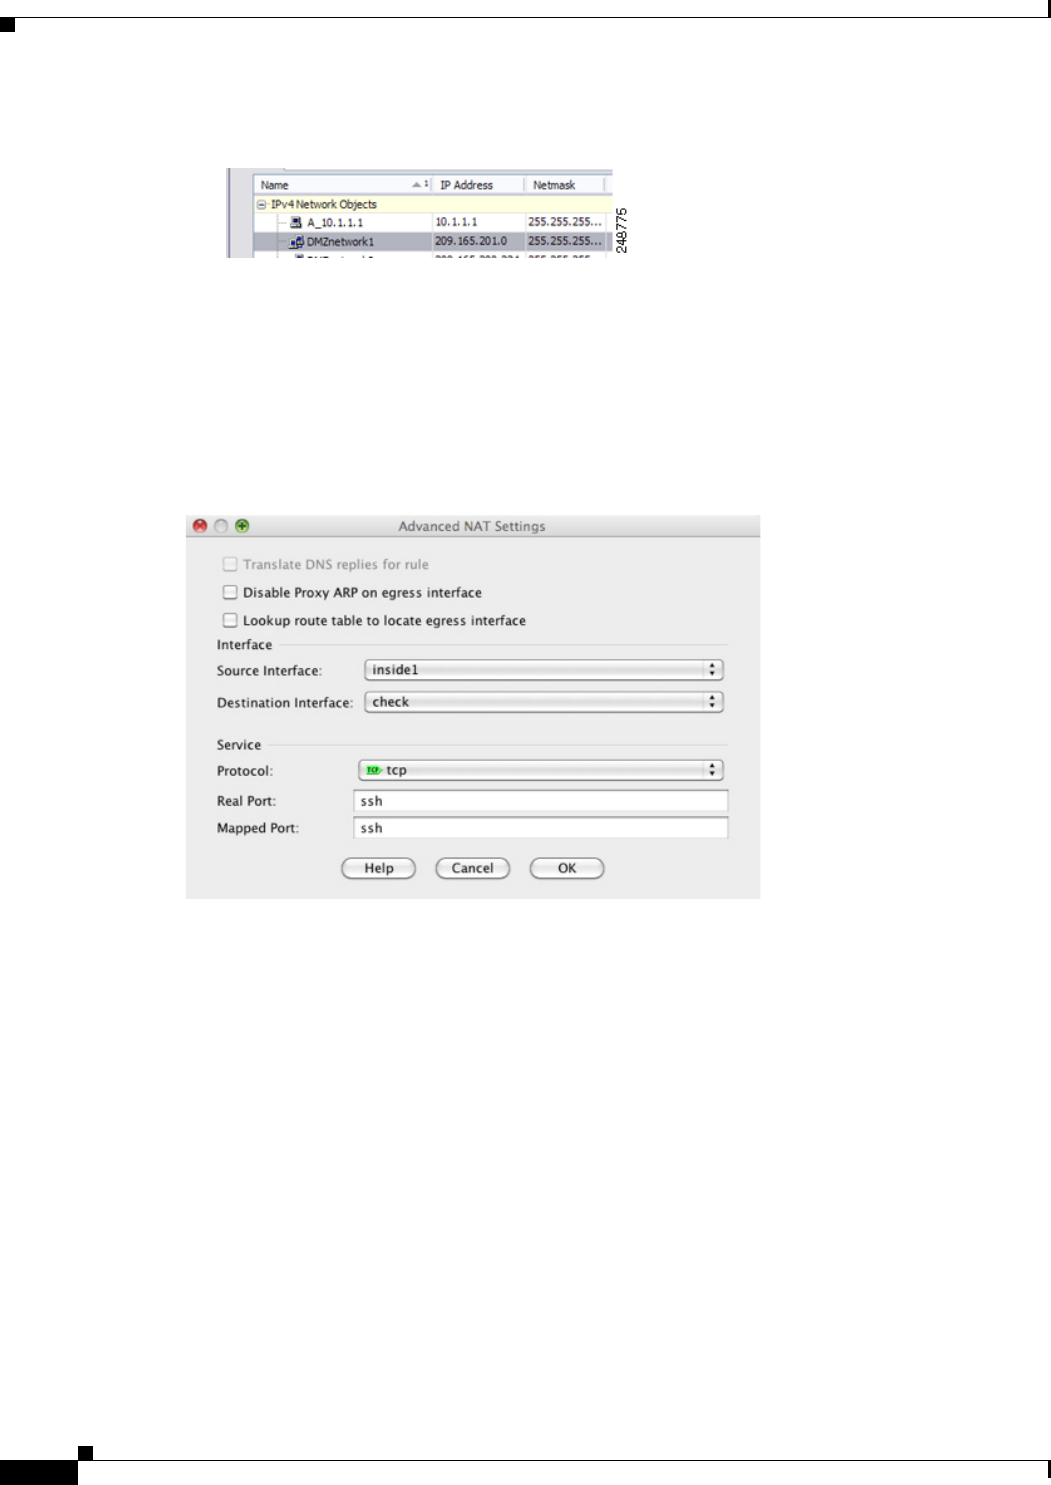
Step 8 (Optional) Click Advanced, and configure the following options in the Advanced NAT Settings dialog
box.
• Translate DNS replies for rule—Translates the IP address in DNS replies. Be sure DNS inspection
is enabled (it is enabled by default). See the “DNS and NAT” section on page 3-31 for more
information.
• Disable Proxy ARP on egress interface—Disables proxy ARP for incoming packets to the mapped
IP addresses. See the “Mapped Addresses and Routing” section on page 3-22 for more information.
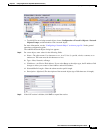
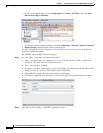
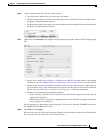
• (Required for Transparent Firewall Mode) Interface:
–
Source Interface—Specifies the real interface where this NAT rule applies. By default, the rule
applies to all interfaces.
–
Destination Interface—Specifies the mapped interface where this NAT rule applies. By default,
the rule applies to all interfaces.
• Service:
–
Protocol—Configures static NAT-with-port-translation. Choose tcp or udp.
–
Real Port—You can type either a port number or a well-known port name (such as “ftp”).
–
Mapped Port—You can type either a port number or a well-known port name (such as “ftp”).
When you are finished, click OK. You return to the Add/Edit Network Object dialog box.