


25-11
Cisco ASA Series Firewall ASDM Configuration Guide
Chapter 25 Configuring the ASA for Cisco Cloud Web Security
Configuring Cisco Cloud Web Security
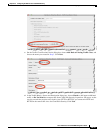
When you create a new traffic class of this type, you can only specify one access control entry (ACE)
initially. After you finish adding the rule, you can add additional ACEs by adding a new rule to the same
interface or global policy, and then specifying Add rule to existing traffic class on the Traffic
Classification dialog box.
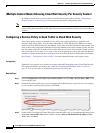
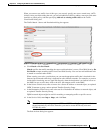
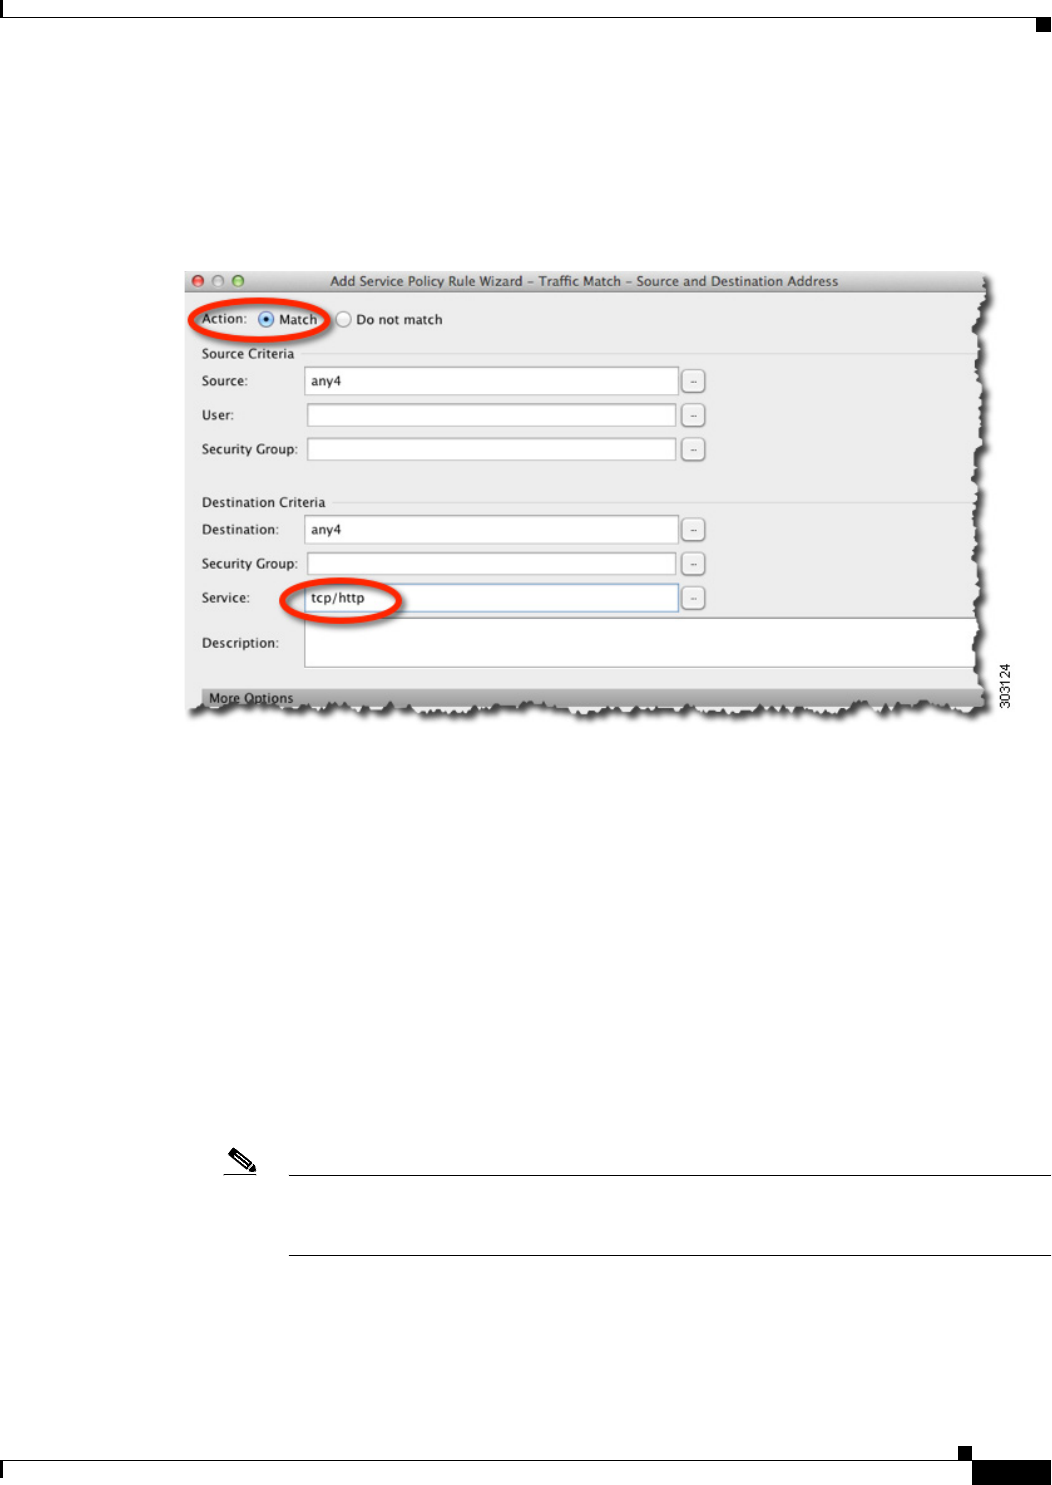
The Traffic Match - Source and Destination dialog box appears.
a. Click Match or Do Not Match.
Match specifies that traffic matching the source and destination is sent to Cloud Web Security. Do
Not Match exempts matching traffic from Cloud Web Security. You can later add additional rules
to match or not match other traffic.
When creating your rules, consider how you can match appropriate traffic that is destined for the
Internet, but not match traffic that is destined for other internal networks. For example, to prevent
inside traffic from being sent to Cloud Web Security when the destination is an internal server on
the DMZ, be sure to add a deny ACE to the ACL that exempts traffic to the DMZ.
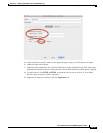
b. In the Source Criteria area, enter or browse for a Source IP address or network object, an optional
IDFW Username or group, and an optional TrustSec Security Group.
c. In the Destination Criteria area, enter or browse for a Destination IP address or network object, and
an optional TrustSec Security Group.
FQDN network objects might be useful in matching or exempting traffic to specific servers.
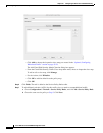
d. In the Service field, enter http or https, and click Next.
Note Cloud Web Security only operates on HTTP and HTTPS traffic. Each type of traffic is
treated separately by the ASA. Therefore, you need to create HTTP-only rules and
HTTPS-only rules.
The Rule Actions dialog box appears.