CHAPTER 6 Work after installation
6.5 Set up of security
104
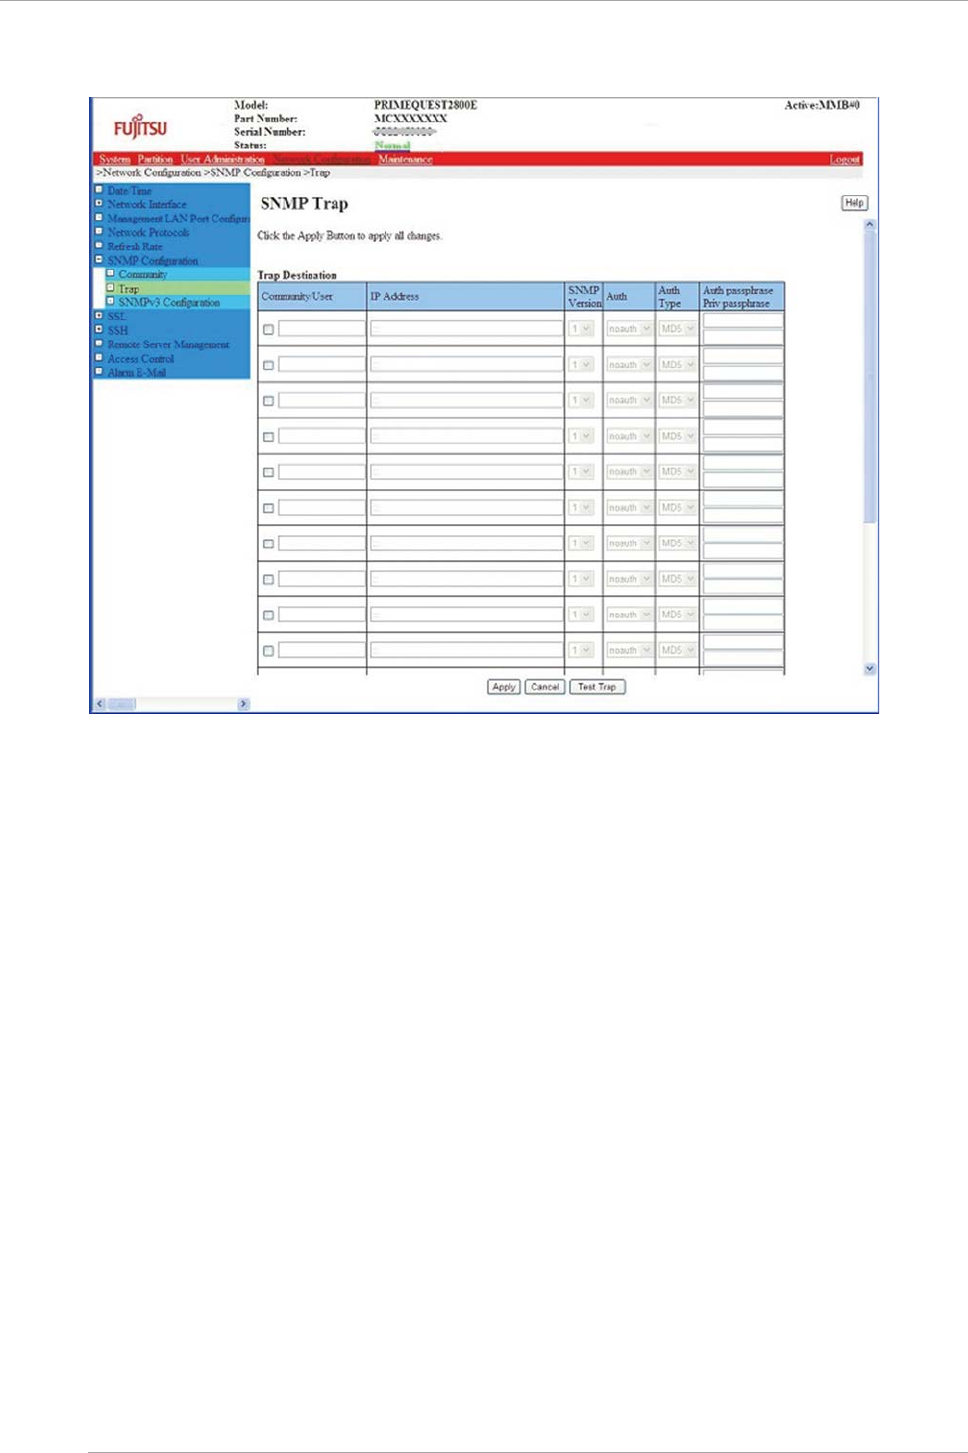
FIGURE 6.10 Example of [SNMP Trap] Window
2. Enter the transmission destination.
A maximum 16 Trap destinations can be set up.
The details regarding community or user name, IP address of trap transmission destination, SNMP version, and
authentication level are set up.
3. Click [Apply] button.
When [Test Trap] button is clicked, trap for test for currently set up trap destination can be transmitted.
Set up SNMP v3
Specific engine ID and specific user is set in SNMP v3.
Remark
When an engine ID or IP address is changed, all the users set for SNMP v3 access should be set again. To enable the set
users, it is necessary to reboot SNMP service once it is stopped. When [Apply] button is clicked for that, SNMP service
gets temporarily stopped.
Operations
1. Click [Network Configuration] - [SNMP Configuration] - [SNMP v3 Configuration].
→ [SNMP v3 Configuration] window is displayed. See “[“■ [SNMP v3 Configuration] window” of 1.5.6 [SNMP
Configuration] Menu” of PRIMEQUEST 2000 series Tool Reference (C122-E177EN) for the details of [SNMP v3
Configuration] window.


