CHAPTER 3 Work before Operating System Installation
3.3 Connection and Setting of MMB
12
3.3.2 MMB Initialization.
The procedure for the MMB initialization is described below.
If field engineer initialized the MMB, it is not necessary to implement following procedure.
Operations
1. Turn on the power supply of the main unit.
→ Alarm LED of each unit is turned on while MMB Ready LED is blinking (During initialization).
After MMB Ready LED turns from blinking to lighting, the login prompt is displayed.
2. Once MMB Ready LED is turned on (Initialization complete), confirm that the Alarm LED of each unit has been
turned off.
3. Login to Administration by using terminal software from MMB console PC.
→ When you first log in, you will be asked to change the Administrator password.
4. Set the password.
Note
The password with eight more characters should be set.
Usable character codes are alphanumeric characters ([A-Z] [a-z] [0-9]) and the following symbols
! ” # $ % & ’ ( ) = . ^ ~ ¥ ` [ ] { } : * ; + ? < . > , / _ |
If the entered password is invalid, re-setting of the password is requested.
5. Then set MMB network.
Remark
When IPv4 and IPv6 are operated, both IPv4 and IPv6 are set.
- In case of IPv4
Set the IP Address by using the following commands.
# set hostname <FQDN type host name>
# set ip <IP Address> <netmask>
# set gateway <default gateway IP Address>
# set http enable
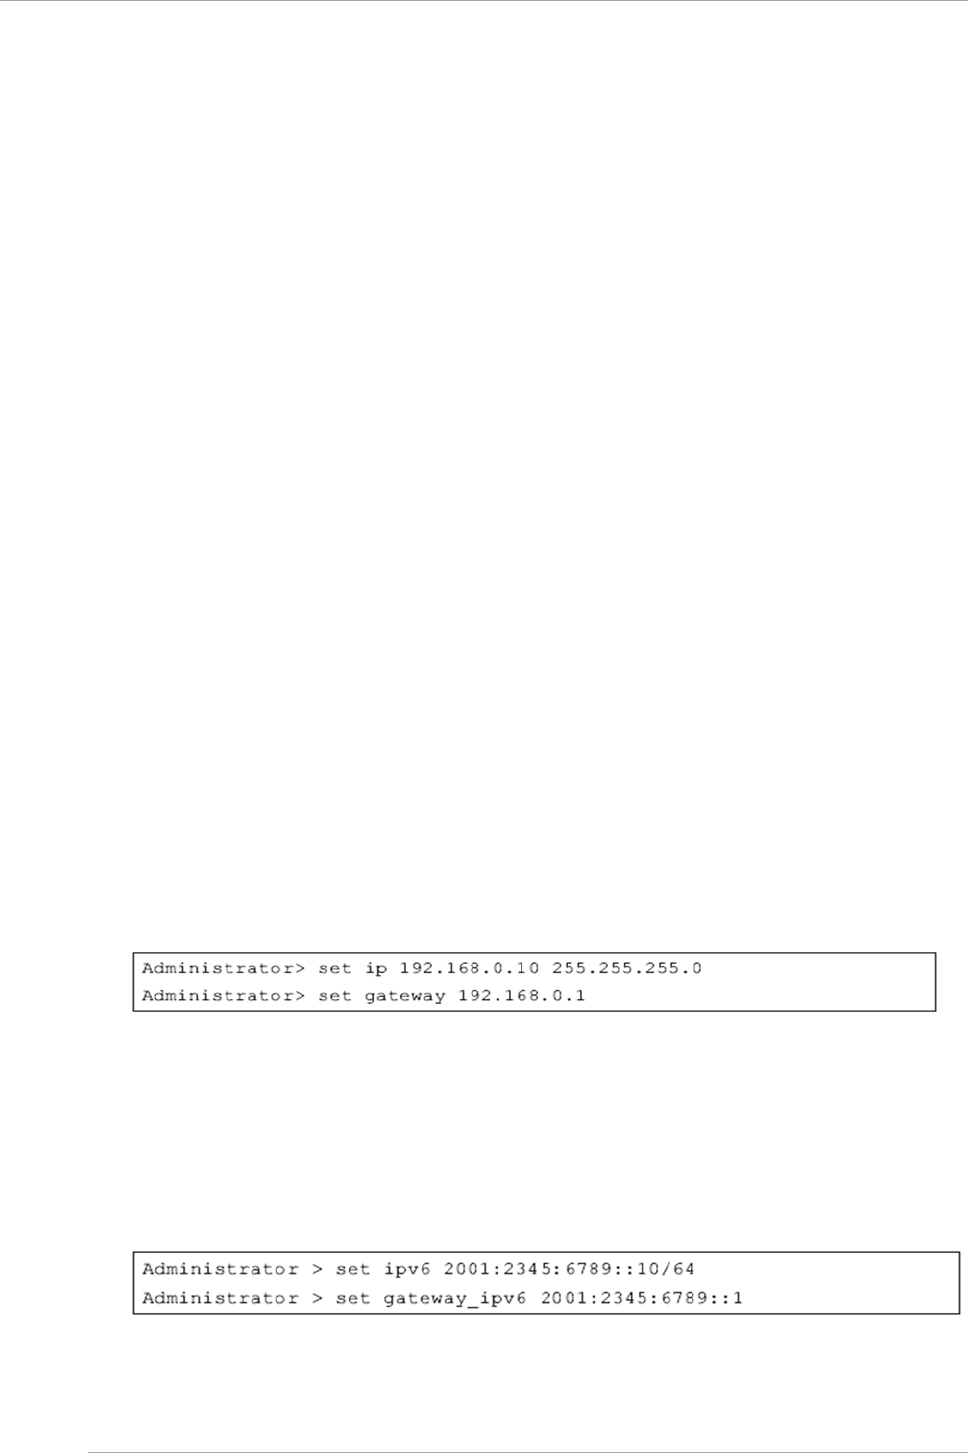
Example: In case of IP Address:192.168.0.10/ netmask:255.255.255.0/ gateway:192.168.0.1
- In case of IPv6
Set IP Address by using following commands.
# set hostname <FQDN type host name>
# set ipv6 {auto} <IP Address/Prefix>
# set gateway_ipv6 <default gateway IP Address>
# set http enable
Example: In case of IP Address=2001:2345:6789::10/ Prefix=64/ gateway=2001:2345:6789::1
6. Enable http by set http enable command.


