88 SPARC Enterprise T5140 and T5240 Servers Service Manual • July 2009
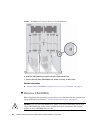
9. Repeat Step 6 through Step 8 until all new FB-DIMMs are installed.
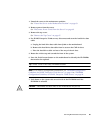
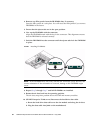
10. (SPARC Enterprise T5140 servers) Reconnect the hard drive cable.
a. Route the hard drive data cable over the fan module and along the air duct.
b. Plug the data cable into J6401 on the motherboard.
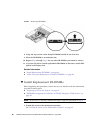
11. Install the top cover.
See “Install the Top Cover” on page 177.
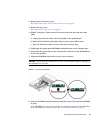
12. Slide the server into the rack.
See “Return the Server to the Normal Rack Position” on page 180.
13. Connect the power cords.
See “Connect Power Cords to the Server” on page 181.
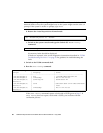
Note – As soon as the power cords are connected, standby power is applied.
Depending on how the firmware is configured, the system might boot at this time.
Related Information
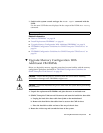
■ “Remove FB-DIMMs” on page 84
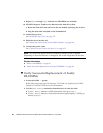
■ “Verify Successful Replacement of Faulty FB-DIMMs” on page 88
▼ Verify Successful Replacement of Faulty
FB-DIMMs
1. Access the ILOM -> prompt.
Refer to the Integrated Lights Out Manager 3.0 (ILOM 3.0) Supplement for SPARC
Enterprise T5140 and T5240 Servers for instructions.
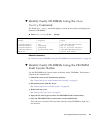
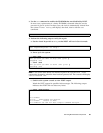
2. Use the show faulty command to determine how to clear the fault.
■ If show faulty indicates a POST-detected the fault go to Step 3.
■ If show faulty indicates a host-detected fault (output displays a UUID), go
directly to Step 4.


