92 SPARC Enterprise T5140 and T5240 Servers Service Manual • July 2009
4. Remove any filler panels from the FB-DIMM slots, if necessary.
Store the filler panels in a safe place. You will reuse the filler panels if you remove
FB-DIMMs in the future.
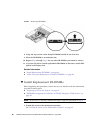
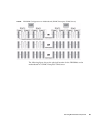
5. Ensure that the ejector tabs are in the open position.
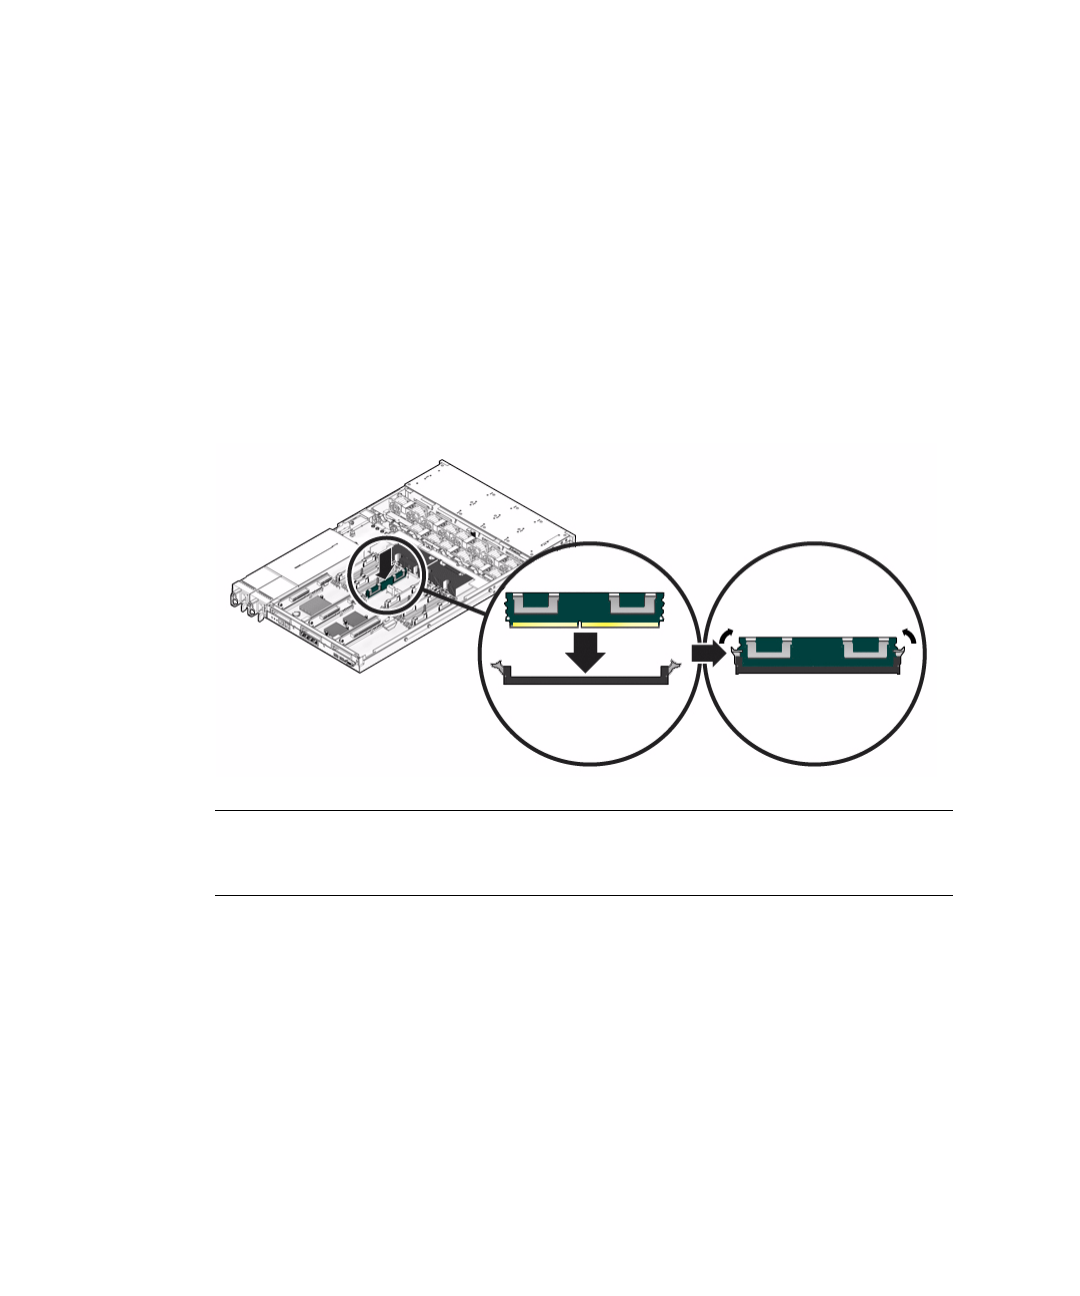
6. Line up the FB-DIMM with the connector.
Align the FB-DIMM notch with the key in the connector. This alignment ensures
that the FB-DIMM is oriented correctly.
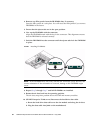
7. Push the FB-DIMM into the connector until the ejector tabs lock the FB-DIMM
in place.
FIGURE: Installing FB-DIMMs
Note – If the FB-DIMM does not easily seat into the connector, it may not have the
correct orientation. If the orientation is reversed, damage to the FB-DIMM might
occur.
8. Repeat Step 5 through Step 7 until all FB-DIMMs are installed.
9. Rotate the air duct back into its operating position.
The air duct snaps into position above the CMP and memory modules.
10. (SPARC Enterprise T5140 server) Reconnect the hard drive data cable.
a. Route the hard drive data cable over the fan module and along the air duct.
b. Plug the data cable into J6401 on the motherboard.


