


Page: 88
Service Guide OJ2010
Chapter 3 Maintenance and Disassembly
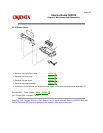
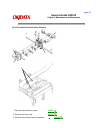
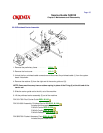
3.2.31 Right Side Frame Assembly
1. Remove the preliminary items. . . . . . . . . .
(3.2.01
)
2. Remove the front cover. . . . . . . . . . . . . . . .
(3.2.12
)
3. Remove the rear cover. . . . . . . . . . . . . . . .
(3.2.30
)
4. Remove the carrier frame assembly. . . .
(3.2.04
)
5. Remove the paper load door. . . . . . . . . . .
(3.2.24
)
6. Remove the manual insert tray. . . . . . . . . .
(3.2.20
)
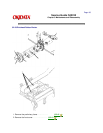
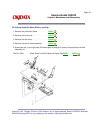
NOTE:
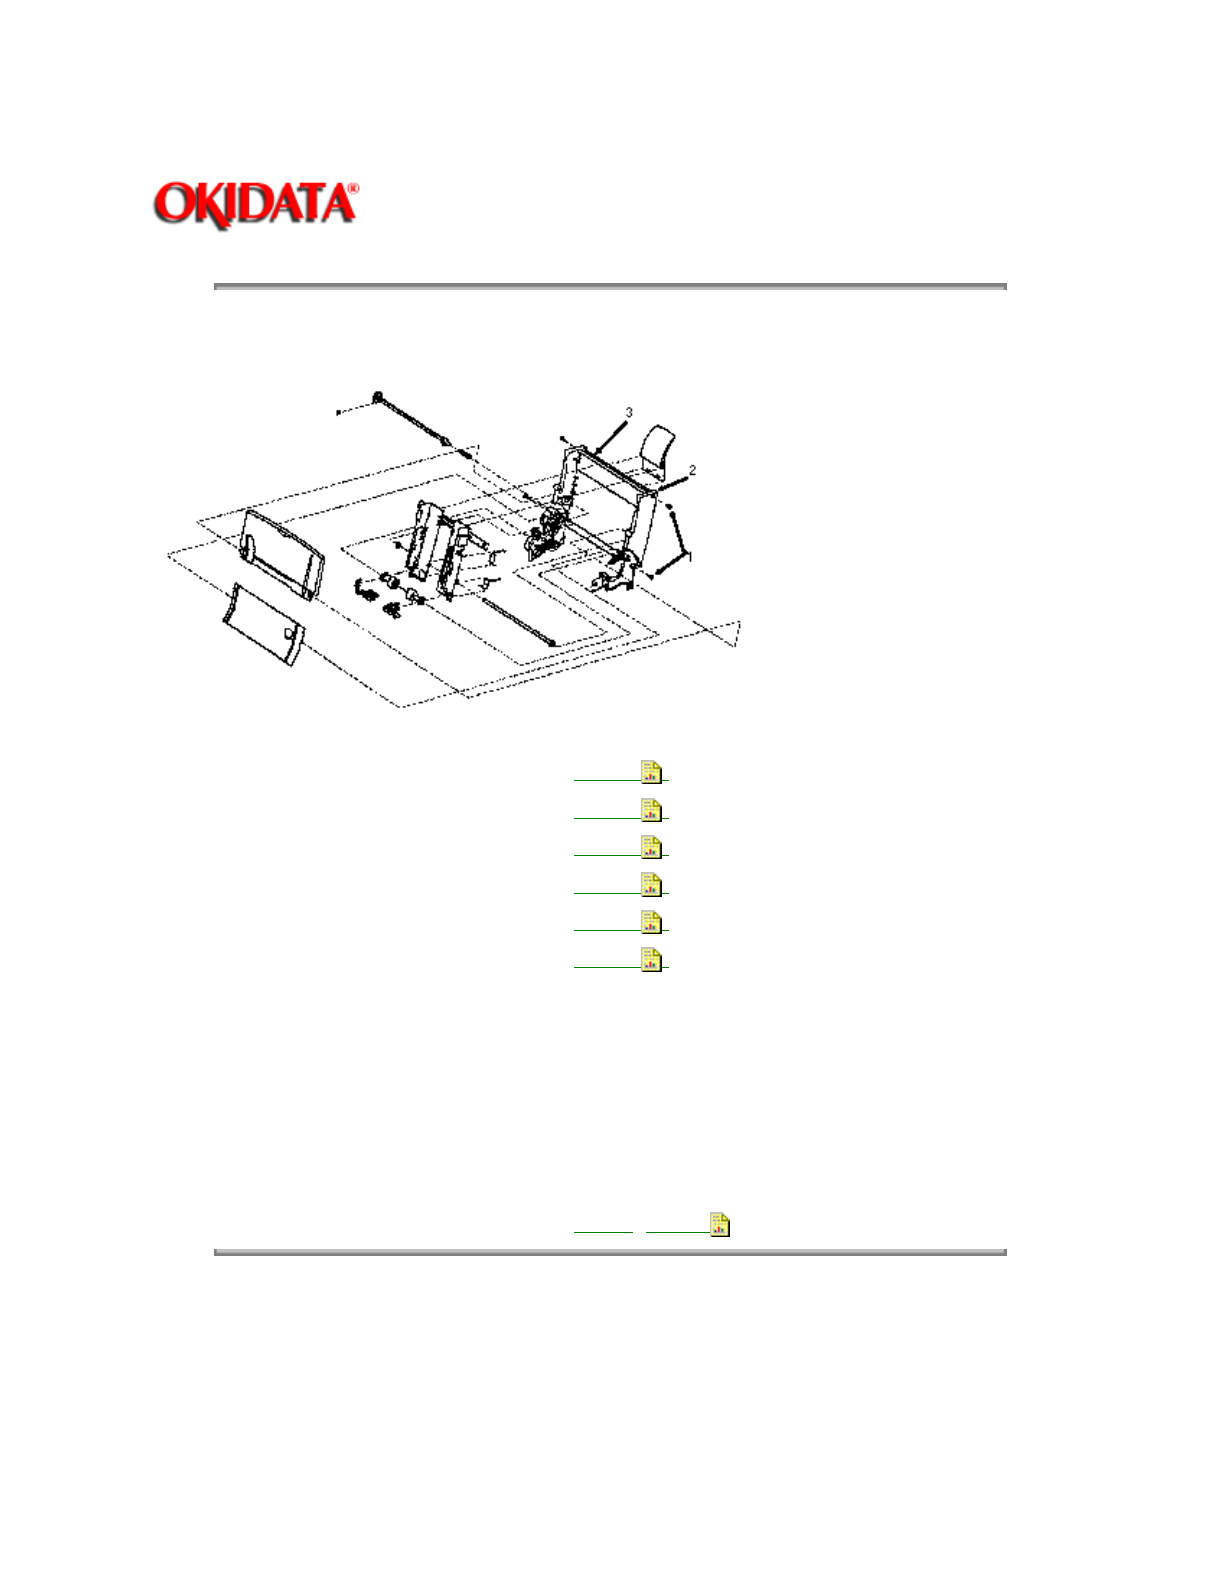
Look at the relationship of the parts before performing the following steps.
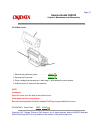
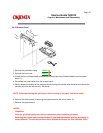
7. Remove the two screws (1) that secure the right side frame (2) to the back plate (3).
8. Slide the right side frame off the back plate.
P/N 53347501 Frame: Right Side
RSPL
B.2.03
Copyright 1997, Okidata, Division of OKI America, Inc. All rights reserved. See the OKIDATA Business
Partner Exchange (BPX) for any updates to this material. (http://bpx.okidata.com)