


Pelco Manual C1515M-A (11/01) 33
SYSTEM START-UP
After completing the system installation, follow the procedure below to start proper system
operation. Skip any “system-specific” steps that do not apply to your system setup.
POWER-UP THE SYSTEM
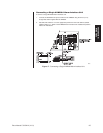
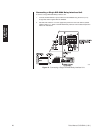
Plug the CM6800 power cord into a 120/230V, 50/60 Hz power source. Plug in and turn on
all devices connected to the CM6800.
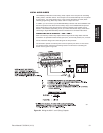
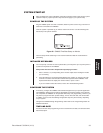
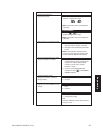
Once the system is powered-up you will see video from camera 1 and the following time/
date stamp on all system monitors:
Figure 26. CM6800 Time/Date Stamp on Monitor
The time stamp will be advancing in one-second increments. Wait five seconds before
proceeding.
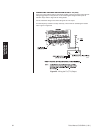
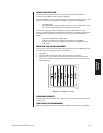
INITIALIZE KEYBOARDS
You must specify a monitor for each keyboard after your first power-up or any time power is
cycled to the keyboard or the CM6800.
Always allow five seconds to elapse before specifying a monitor.
1. Enter a number (1-8) corresponding to the monitor output that is feeding the monitor
you are viewing.
2. Press the MON key. The keyboard LED displays the number you entered. This also
confirms successful communication between the keyboard and the CM6800. If the
keyboard LED does not display the monitor number, repeat 1 and 2.
If you are unable to select the monitor, refer to the
Troubleshooting
section.
CONFIGURE THE SYSTEM
If necessary, configure the CM6800 and associated equipment to your specific application.
The CM6800 is shipped from the factory with default programming settings. If the defaults
are acceptable, the CM6800 can be operated without any user programming. However, you
may want to program the basic system settings, such as time and date, and camera titles.
In addition, some or all of the following configuration steps may be necessary, depending
on your system.
Configure the CM6800 through Programming mode. Refer to the
Programming
section for
detailed instructions.
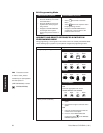
TIME AND DATE
Access the Time & Date programming screen to set the time and date, and select the time/
date format option.
00620
System
Start-Up