16 Philips · LaserMFD 6170dw
EN
Entering Name
Page Header
Your name and number are added together with date,
time and page number at the top edge of each fax trans-
mission (= header).
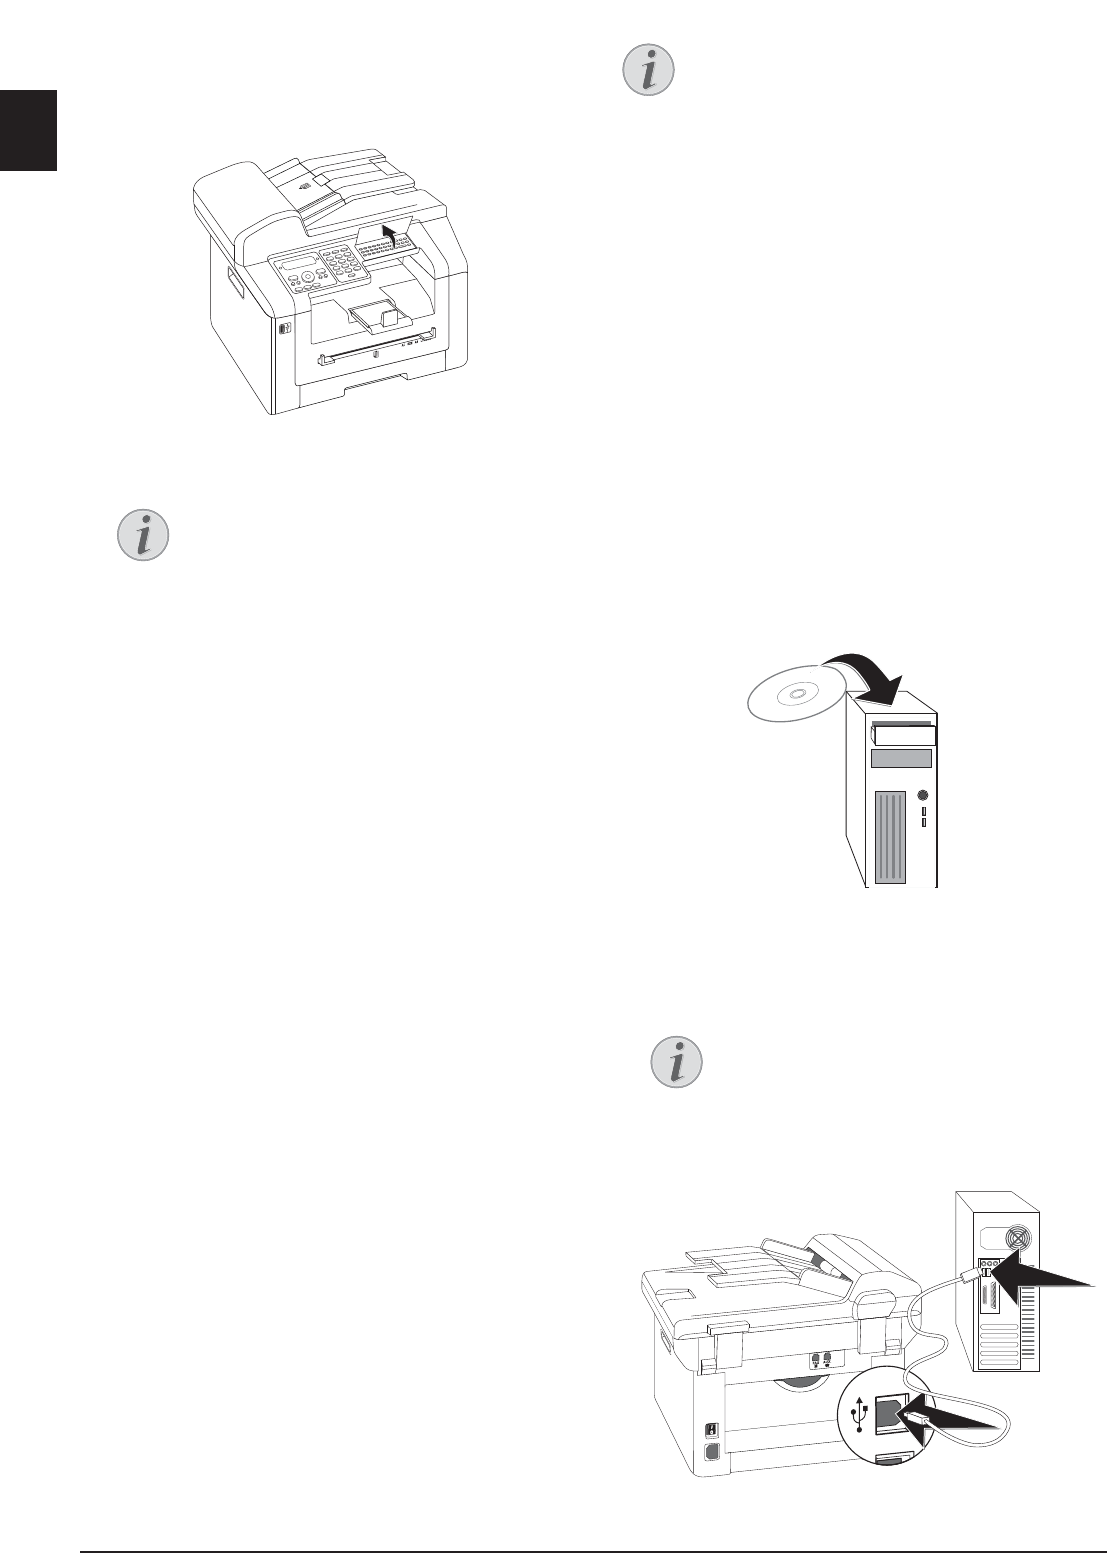
1 Fold the protective cover of the letter keypad up
2 Enter the name using the keys (A—Z).
3 Confirm with OK.
Entering Number
1 Enter your number.
2 Confirm with OK.
Entering the Date and Time
1 Enter the date (two digits for each field), for example
31¦05¦25 for May 31th, 2025.
2 Enter the time, e.g. 14 00 for 2 pm.
3 Confirm with OK.
Connecting to the
Computer
USB Port
Using the USB cable, you can connect your device to a
PC that is connected to a network. Other PCs on this
network can then access the device if it is shared for use
on the network. You cannot connect the device directly
to a network with a USB cable, unless you have a USB
print server connection.
Companion Center SFX
You can connect the device to a computer and use it as
a printer or scanner. You'll find the software on the sup-
plied installation CD Companion Center SFX. In this
way, you can scan and edit photos and texts, send and
receive faxes and access the device's web interfaces,
with which you can change many settings.
Network Connection
Requirements
Requirements
Your computer must have one of the following operat-
ing systems.
Microsoft Windows
Microsoft Windows
2000 (SP¦4) · XP · Vista · Windows 7
Windows Server 2003/2008
Apple Macintosh
Apple Macintosh
OS 10.4 · 10.5 · 10.6
Linux
Linux
Redhat 9.0 · Debian 5.0 · Suse 11.1 · Fedora 11
Ubuntu 9.10
Connecting USB Cable
1 Close all open programs and applications before
beginning the installation process. Place the installa-
tion CD in the CD-ROM drive of your computer.
The program will start automatically.
2 Connect the device to your PC with a typical USB
cable. The USB port of your device can be found on
the rear side.
Enter Letters
Enter capital letters by pressing and hold-
ing + key. You can enter space using ½ ;.
The special characters available are located
directly above the letter keypad and can be
entered by pressing the õ- key and the
respective letter key at the same time.
You can move the cursor using [. Use C
to delete individual characters.
Network Connection
You can find information about installing your
device in a network in chapter Networks (see
also chapter Networks, page 51)
Only high-speed certified USB cable
Use only a custom high speed certified
USB cable to connect the device to your
computer. The cable should be no longer
than 1.5 metres.
