Fax · Fax Reception 47
EN
2 Select the desired folder.
Outbox—Faxes that have not yet been sent (cur-
rent send requests, delayed send requests, inter-
rupted send requests)
Sent items—Sent faxes
Deleted Items—Deleted faxes (= recycle bin)
Drafts—Saved faxes that have not yet been sent
Send log—Information and transfer status of all
faxes
Additional Options for Fax
Transmission
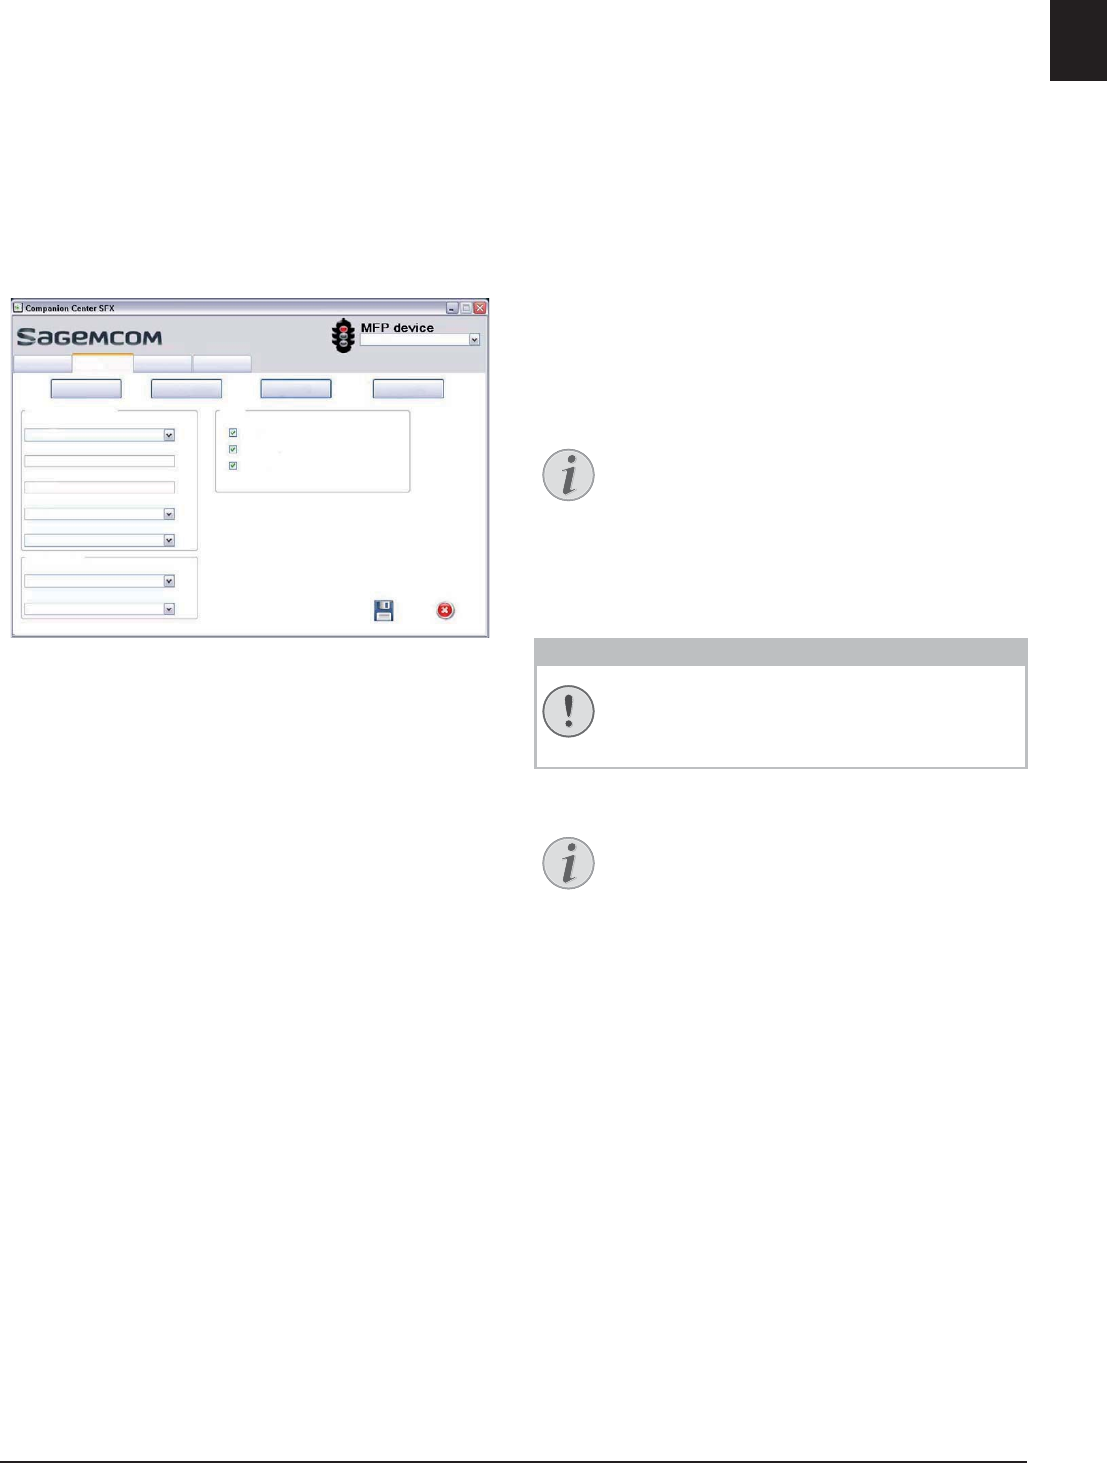
1 Click on Advanced.
2 You have the following options available.
Sending speed—The device adjusts the transmis-
sion speed to the line quality. Set a lower reception
speed if this adjustment takes a long time or no con-
nection is made.
Line number—Enter your number.
Dialing prefix—This dialing code is automatically
added to the number before sending (= external
access code).
Dialing type—In some countries you can set the
dialling mode to pulse dialling or tone dialling (DTMF
tones).
Header—Your name and number appear in the
page header of each fax transmission. If you do not
wish to send out your information, you can turn this
function off.
3 With the following options you set the number of
repeat attempts for incomplete fax transfers.
Number of tries—Number of repeat attempts for
interrupted fax transfers.
Interval between tries—Duration between two
transfer attempts
4 You can activate the following options.
Automatic printing of the sent document—Prints
the sent fax after the sending process is complete
Print the send report—The transmission report
will be printed after each successful fax transfer as
well as after interrupted transfers.
Print the send log—The send report is printed after
every successful or interrupted transfer attempt.
Fax Reception
Memory
If you have not changed the factory settings, received
faxes will be printed out automatically. If there is no
paper or toner in your device, the device will store
incoming fax transmissions in its memory. The green
lamp â on the panel will be lit whenever there is a fax
present in the memory. After you have loaded paper
into the device or inserted a new toner cartridge, the
saved messages are printed.
Abort Fax Reception
Memory Philips
The fax memory can store up to 200 pages. Follow the
specifications in the technical data.
Message Memory Full!
Using Service Codes
Receiving Fax Manually
Receiving Fax Manually
Select manual fax reception under fax reception mode
(see also chapter on Setting the Fax Reception Mode, Page
60). The device will not receive faxes on its own. This
setting is useful, when you want to receive faxes via a
modem connected to a computer. You can start fax
reception manually, by pressing o.
Receive Faxes Silently
Silent Fax Reception
Set the number of rings 0 (see also chapter setting the
number of rings, page 58) and set the fax reception
mode to fax mode (see also chapter setting the fax
reception mode, page 60), in order to receive faxes
without your device ringing.
3URSHUWLHVRIWKHWHOHSKRQHOLQH
+HDGHU
'LDOLQJW\SH
'LDOLQJSUHIL[
/LQHQXPEHU
6HQGLQJVSHHG
5HVHQGDIWHUIDLOXUH
,QWHUYDOEHWZHHQWULHV
1XPEHURIWULHV
$XWRPDWLFSULQWLQJRIWKHVHQWGRFXPHQW
3ULQWWKHVHQGUHSRUW
3ULQWWKHVHQGORJ
>,3$GGUHVV@
+HOS6FDQ )D[ 6HWWLQJV
)$;%2;$GYDQFHG&RYHUSDJH6HQG
Abort Fax Reception
After receiving the first page of a fax message,
you can abort the transmission at any time by
pressing j.
Message Memory Full!
If the message memory is full, no additional
messages can be received.
Delete Fax Messages Sent
If there are problems with printing out saved
fax messages, a service code is available (see
also chapter on using service codes , page 75).


