


53 _Scanning
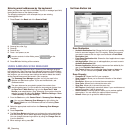
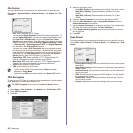
• From: Sender's address. Touch From and then the keyboard pops
up on the screen. Use the pop up keyboard to enter your email
addresses. Or you can use Local and Global to enter the addresses
easily. (See "Global" on page 54.)
• To/Cc/Bcc: Recipient's email address manually with the pop up
keyboard, or by pressing Local or Global. Local or Global
addresses are pre-loaded address lists from your computer or the
LDAP server which is configured at Web UI. (See "Global" on
page 54.)
• Subject: Title of email.
• Message: Enters the text which will be as the contents of the email.
The maximum size is 1KB.
6. Set the scan quality by Duplex and Resolution.
• Duplex: Sets this option for originals that are printed on one side
only, or on both sides.
• Resolution: Sets the scanning resolution by pressing left/right
arrows.
7. Press the Start button to scan and send the file.
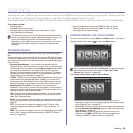
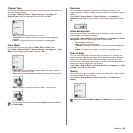
Scanning and sending multiple documents in a
single email
You can make multiple scanning jobs into a single file. And, therefore, you
can send the document with a single email.
1. Press Scan from the Main screen.
2. Press Scan to Email.
3. Set the scan features in the Advanced, Image, or Output tabs. (See
"Advanced tab" on page 52.)
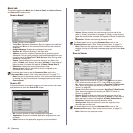
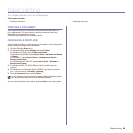
4. Press the Advanced tab > Job Build.
5. Press On to enable the job build function.
• Off: Disables Job Build feature.
• On: Enables Job Build feature.
• Display Between Segments: After executing a segment, the job is
paused with this screen is displayed. Then the user can select to
keep sending email or stop.
• Delete: Deletes a segment.
• Delete All: Deletes all segments.
• Send All: Prints all segments.
• Add Segment: Adds a new segment.
• Cancel: Remove all segments in the list, and cancel the job.
6. Press Add Segment.
7. Place the originals face up in the DADF or you can use the scanner
glass for one sheet of paper.
8. Press Start to start the scanning job.
9. Repeat step 6 to step 8.
10. After adding segments, press Send All.
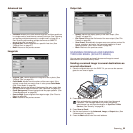
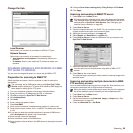
Setting up an email account
To scan and send an image as an email attachment, you need to set up
network parameters using SyncThru™ Web Service.
1. Turn your networked computer on and open the web browser.
2. Enter your machine's IP address as the URL in a browser.
3. Click Go to access the SyncThru™ Web Service.
4. Log in to the SyncThru™ Web Service as an administrator. ( See
"Managing your machine from the website" on page 99.)
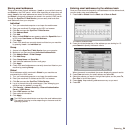
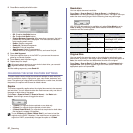
5. Click Settings > Network Settings > Outgoing Mail Server(SMTP).
6. Enter the server address in dotted decimal notation or a host name.
7. Enter the server port number, from 1 to 65535.
The default port number is 25.
8. Check the box next to SMTP Requires Authentication to require
authentication.
9. Enter the SMTP server login name and password.
10. Click Apply.
To delete previously entered contents, press Remove All.
While the machine is sending an email, you cannot perform a copy
job or send a fax.
When the machine enters power saver mode, the jobs in the segment
list will be deleted to prevent accessing of the unexpected users.
As long as the hard drive capacity of your device remains, you can add
segments without any restriction.
If the authentication method of SMTP server is POP3beforeSMTP,
check the box next to SMTP Requires POP3 Before SMTP
Authentication.
a. Enter the IP address in dotted decimal notation or as a host name.
b. Enter the server port number, from 1 to 65535. The default port
number is 25.
If SMTP server requires SSL/TLS connection, enable Secure E-mail
Connection with SSL/TLS