


3.2 Executing the Diagnostic Test 3 Tests and Diagnostics
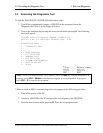
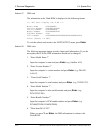
4. Select the option you want to execute and press Enter. When you select 1-
SYSTEM TEST, the following message will appear:
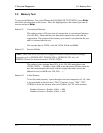
SYSTEM TEST NAME XXXXXXX xxxxxxx DIAGNOSTIC TEST VX.XX
[Ctrl]+[Break] ; test end
[Ctrl]+[C] ; key stop
SUB-TEST : XX
PASS COUNT : XXXXX ERROR COUNT: XXXXX
WRITE DATA : XX READ DATA : XX
ADDRESS : XXXXXX STATUS : XXX
SUB-TEST MENU :
01 - ROM checksum
02 - Geyserville
03 -
04 – Fan ON/OFF
05 - Thermister Check
06 - Quick charge
07 - DMI read
08 - DMI write
09 -
10 - CPU Temperature
11 – Wake Up Check
99 - Exit to DIAGNOSTIC TEST MENU
NOTE: The menu displayed by your computer may be slightly different from the one
shown above.
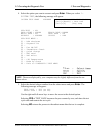
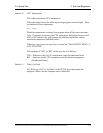
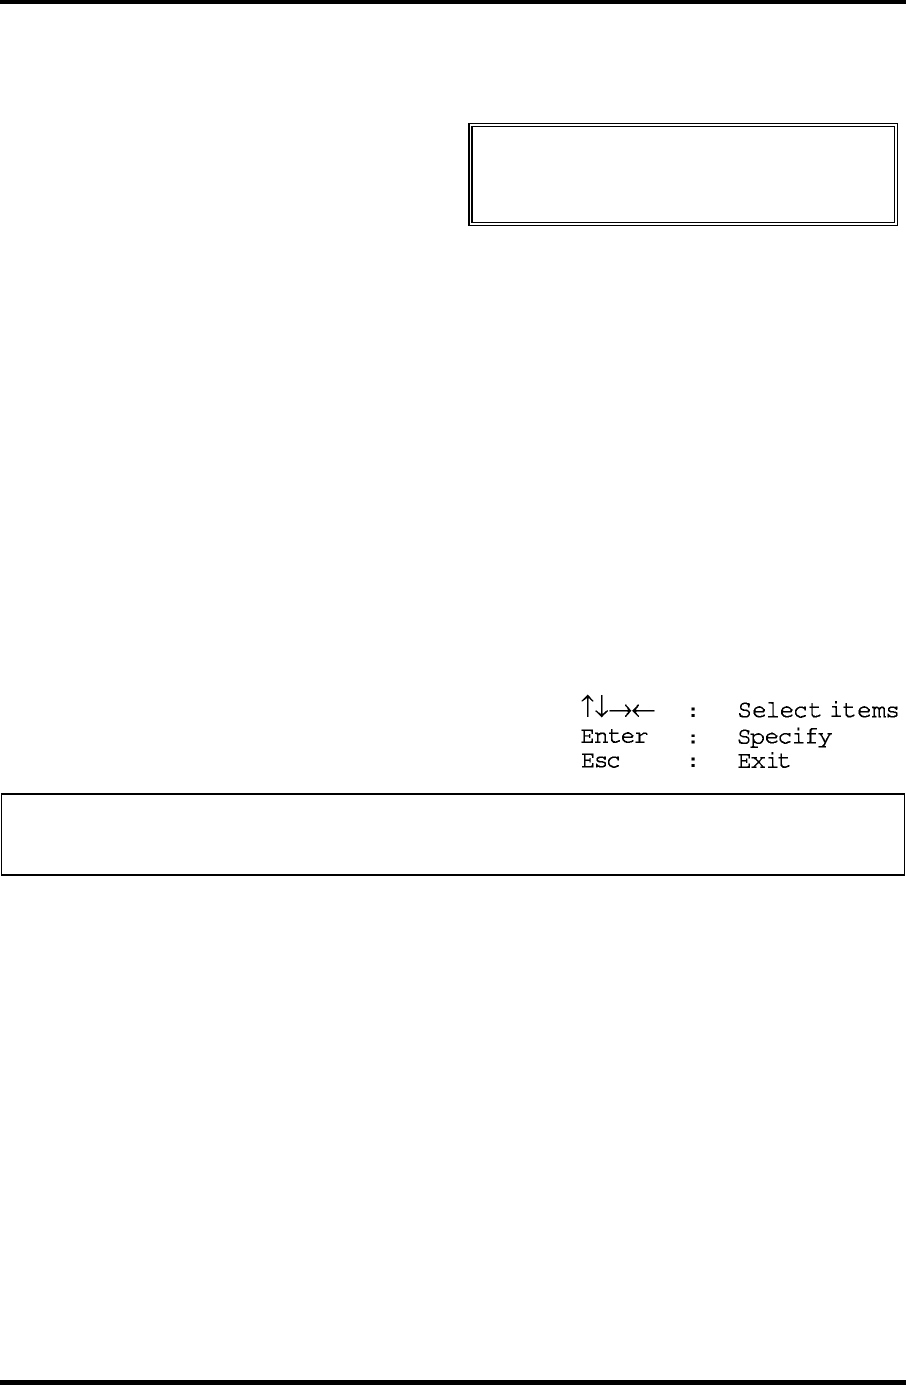
5. Select the desired subtest number from the subtest menu and press Enter. The
following message will appear:
TEST LOOP : YES (or NO)
ERROR STOP : YES (or NO)
Use the right and left arrow keys to move the cursor to the desired option.
Selecting YES of TEST LOOP increases the pass counter by one, each time the test
cycle ends and restarts the test cycle.
Selecting NO returns the process to the subtest menu after the test is complete.
Satellite A10/TECRA A10/Satellite Pro A10 Maintenance Manual (960-445) 3-5