


06_ContScanProcedure.fm Modified: 8/7/02
Template Version 1.0
44 GL-1020 Scan Operator’s Guide
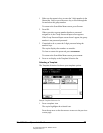
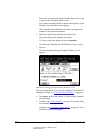
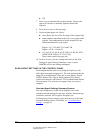
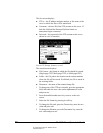
The Waiting for Continuous Scan screen appears after the last
page is scanned.
2 To scan another job, place the originals on the ADF and press
SCAN! or START.
n To stop the ADF scan during continuous mode, press
CLEAR/STOP.
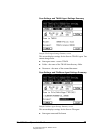
n To cancel the job, press CANCEL JOB or FC. The Cancel
Confirm screen appears.
n Press YES to cancel the Job. To prevent cancellation,
press N
O.
n To change the scan settings, press SETTING in the
Scanning Parameter Setting screen. For further
information, refer to “
Scan Parameter Settings” on
page 45.
3 To finish scanning, press F
INISH.
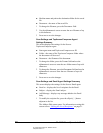
When scanning is complete, the Template Selection List
screen appears. The scanned image data is saved on the
controller’s hard disk.
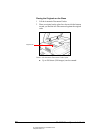
HANDLING PAPER JAMS
In the event of a paper jam, the copier displays procedures on the
control panel to assist you with resolving the problem. When the
jam is cleared, the message
Jam Recovery appears on the
screen.
Continuing after Clearing a Jam
Press
START or SCAN! to continue the ADF scan.
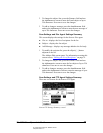
Cancelling a Job after Clearing a Jam
1Press
CANCEL JOB or FC to cancel a job.
The Cancel Confirm screen appears.
2Press Y
ES to cancel the Job. To prevent cancellation, press
N
O.
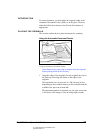
Error Handling
When you are using the ADF, if the job stops due to an error, such
as Job Overflow, during the continuous scanning of multiple
originals, data being read at the time of the error is canceled.
Data that was read before the error occurred is stored.