114 LED-PRO • User’s Guide
5. Upgrading Software
Serial Upgrade Method
pÉêá~ä=réÖê~ÇÉ=jÉíÜçÇ
Use the following steps to upgrade LED-PRO software using a serial connection to
your PC:
1. With the download complete, navigate to the target folder and double-click the
EXE to launch the installation shield.
2. Follow the prompts to install the upgrade package in the default folder. At the
conclusion of the procedure, a new path will be created under Start > Programs >
Barco Folsom, and shortcuts will be added.
3. Connect the Diagnostic port on the back of the LED-PRO to the COM 1 port on
your PC. In Chapter 2, refer to the “LED-PRO Rear Panel
” section on page 15 for
the location of the Diagnostic port.
4. Power-up the LED-PRO.
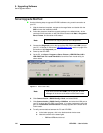
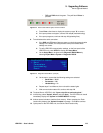
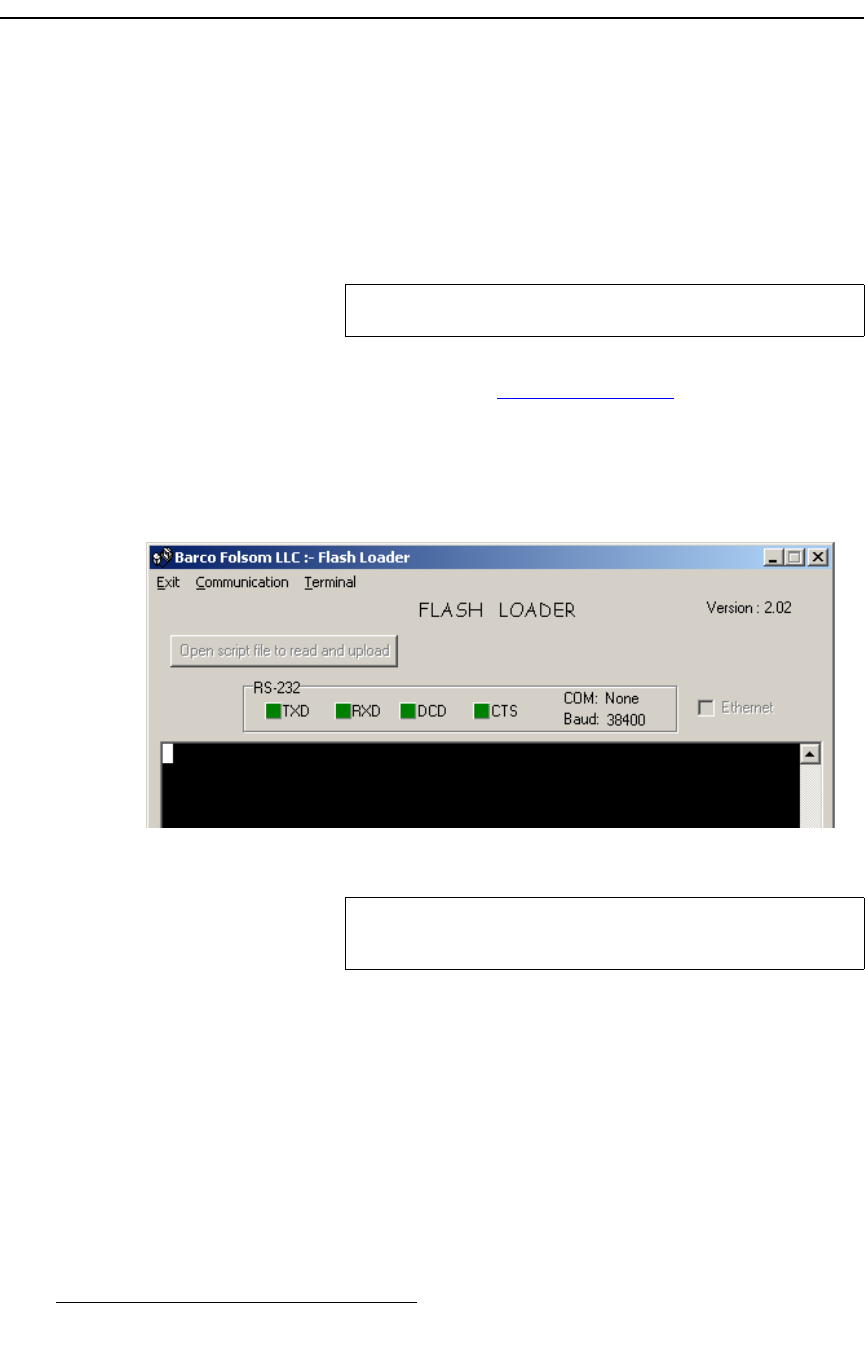
5. On the PC, click Start > Programs > Barco Folsom > LED-PRO Rev #.## >
LED-PRO Flash File Loader Rev #.## to launch the Flash Loader utility, as
shown below.
Figure 5-1. Flash Loader Utility
6. Click Communication > RS232 Config > Baud, and select 38400.
7. Click Communication > RS232 Config > COM Port, and select the COM port on
your PC to which the LED-PRO is connected. If no other programs are using the
port, the “Established communications” message appears at the bottom of the
Flash Loader.
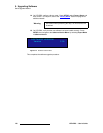
8. To verify communications between the PC and LED-PRO:
a. In the loader program, click in the black terminal window area.
b. Note the condition of the status lights:
• DCD and CTS should be red.
Note
Do not move or copy any files out of the target folder.
Note
If you have not used the COM 1 port on your PC, an error
message will be shown at the bottom of the Flash Loader.


