62 LED-PRO • User’s Guide
4. Operation
Using the Input Wizard
rëáåÖ=íÜÉ=fåéìí=táò~êÇ
The Input Wizard allows users to easily setup and align input sources. It automatically
detects and re-scales the selected input source to match the physical size of the LED
display.
Use the following steps to run the Input Wizard:
1. Please note the following important Input Wizard prerequisites:
~ Ensure that your inputs are properly connected to LED-PRO.
~ Ensure that you have run the Setup Wizard, to properly configure your
LED wall.
2. From the Setup Menu (or from the last step in the Setup Wizard), select Input
Wizard to display the Input Wizard Start Menu.
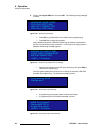
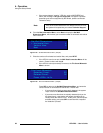
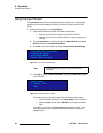
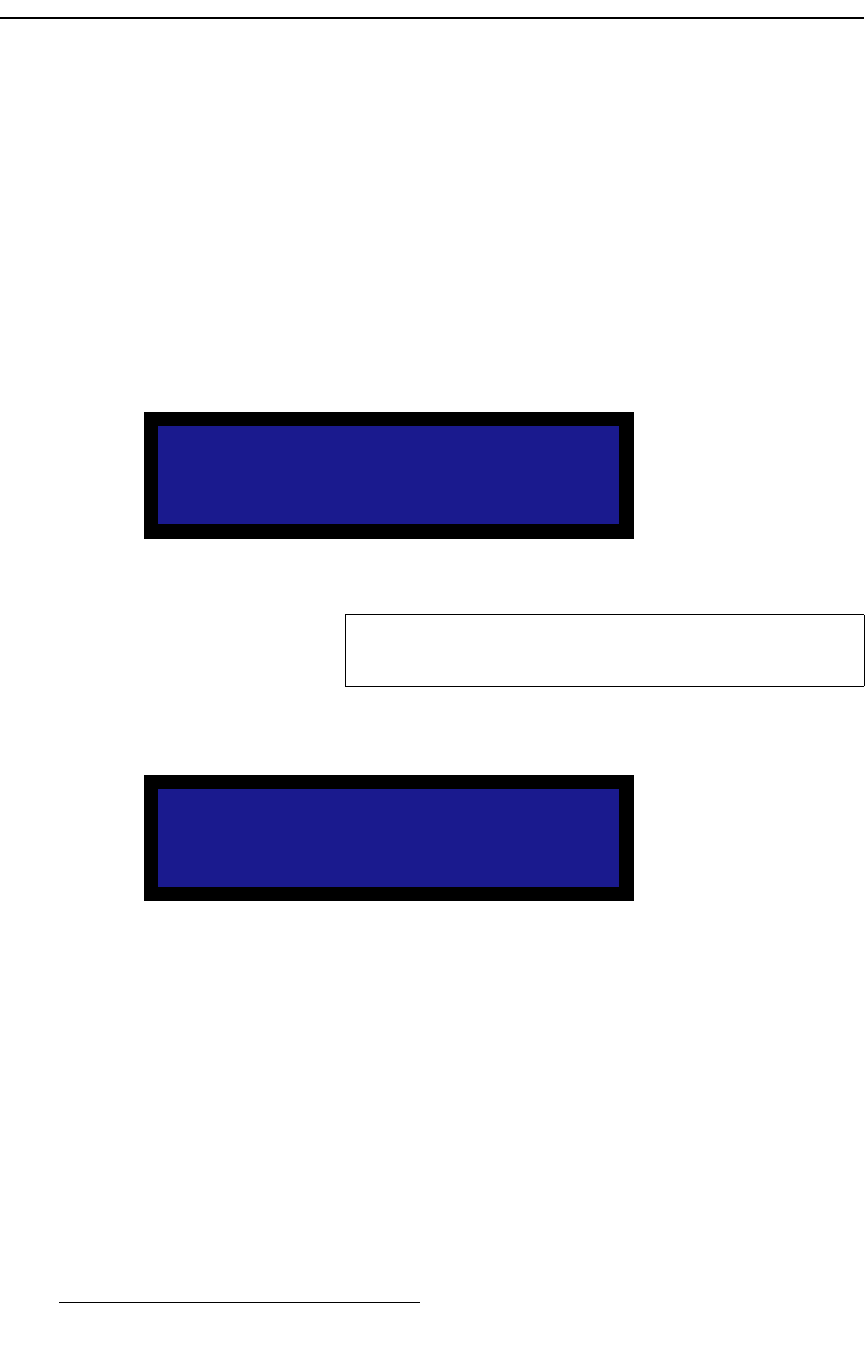
3. Press SEL to launch the wizard and display the Input Wizard Start Message.
Figure 4-42. Input Wizard Start Message
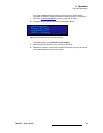
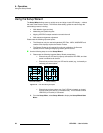
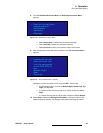
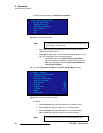
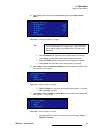
4. Press SEL to display the Select Input Menu. Note that the Raster Box appears
on the LED wall.
Figure 4-43. Select Input Menu (sample)
On the menu, there are two ways to select the input that you want to adjust:
~ Press the desired input button in the Inputs Section of the front panel.
~ Select the Input line, and use the ADJUST knob to select the desired
input.
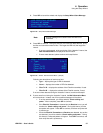
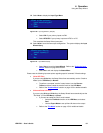
If selected input is invalid, the “No Input Detected” message is shown. In this
case, select another input, or check the cable connections on the input that
caused the error.
LED-PRO INPUT WIZARD
Connect all power
and video cables.
Press <SEL> to start
Note
An error message will be shown if the LED wall is not
connected.
Select Input:
> Input 1: DVI
Next


