LED-PRO • User’s Guide 71
4. Operation
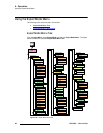
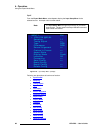
Using the Expert Mode Menu
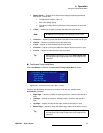
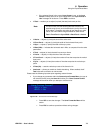
• Sample Phase — enables you to fine-tune the image by adjusting the sample
clock phase. Please note:
~ The adjustment range is -16 to 15.
~ Zero is the default setting.
~ The value is initially filled in by the Auto Config command, or set to the
default.
• H Total — enables you to adjust (in pixels) the total pixel count per line.
• H Position — adjusts (in pixels) the offset of the start of active area from H sync.
• H Active — adjusts (in pixels) the size of the active area.
• V Total — adjusts (in lines) the total line count per frame.
• V Position — adjusts (in lines) the offset of the start of active area from V sync.
• V Active — adjusts (in lines) the size of the active area.
lîÉêp~ãéäÉ=qáãáåÖ=^Çàìëí=jÉåì
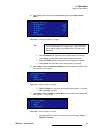
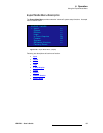
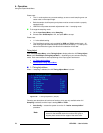
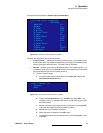
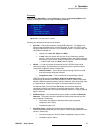
When OverSample is selected, the Oversample Timing Adjust Menu is shown:
Figure 4-53. OverSample Timing Adjust Menu (sample)
Following are descriptions of each menu function, which are only available when
OverSample is selected.
• Right Edge — adjusts (in pixels) the right edge location, relative to the start of H
Sync.
• Left Edge — adjusts (in pixels) the left edge location, relative to the start of H
Sync.
• Top Edge — adjusts (in lines) the top edge, relative to the start of V Sync.
• Bottom Edge — adjusts (in lines) the bottom edge, relative to the start of V Sync.
Note
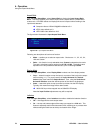
H Total cannot be adjusted if the input type is DVI or SDI.
Tip
When adjusting input timing, turn on the Output Raster Box,
and adjust the input image to align with all four edges of the
raster box.
OVRSMP TIMING ADJUST
> Right Edge 2096
Left Edge 496
Top Edge 49
Bottom Edge 1249
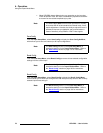
Tip
When adjusting input timing, turn on the Output Raster Box,
and adjust the input image to align with all four edges of the
raster box.


