70 LED-PRO • User’s Guide
4. Operation
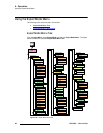
Using the Expert Mode Menu
Please note:
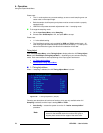
• The 1:1 mode requires very accurate settings, as even a small sampling error can
cause noise on the output image.
• Both the sample clock frequency and phase must be correct to obtain a properly
sampled image.
• LED-PRO incorporates automatic adjustments in the 1:1 sampling mode.
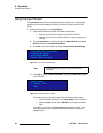
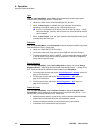
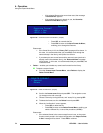
To change the sampling mode:
1. On the Input Setup Menu, select Sampling.
2. Choose either OverSample or 1:1, and press SEL to accept.
Please note:
• 1:1 is the default setting.
• The OverSample option is only available for RGB and YPbPr analog inputs. All
other input types have defined sample clocks that are inherently 1:1. If the input is
set to one of the other types, the value for this selection will be “n/a.”
qáãáåÖ=^Çàìëí
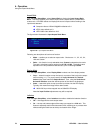
From the Input Setup Menu, select Timing Adjust to display either the 1:1 Timing Adjust
Menu or the OverSample Timing Adjust Menu — depending on your selected sampling
mode. Each menu allows for exact positioning of the input signal's active area.
• 1:1 Timing Adjust Menu
• OverSample Timing Adjust Menu
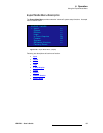
NWN=qáãáåÖ=^Çàìëí=jÉåì
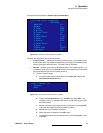
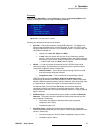
When 1:1 sampling is selected, the 1:1 Timing Adjust Menu is shown:
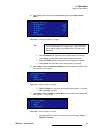
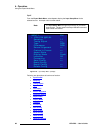
Figure 4-52. 1:1 Timing Adjust Menu (sample)
Following are descriptions of each menu function, which are only available when 1:1
Sampling is selected, and the input is analog RGB or YPbPr.
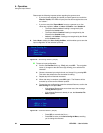
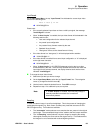
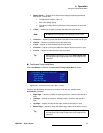
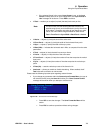
• Auto Config — causes the system to run the “1:1 active area acquisition”
procedure.
1:1 TIMING ADJUST
> Auto Config
Sample Phase 0
H Total 2160
H Position 496
H Active 1600
V Total 1250
V Position 49
V Active 1200
Note
For the Auto Config procedure to function correctly, the input
source for the selected channel must have 50% gray or
brighter pixels around all four edges of the active area.


