III. DISASSEMBLY AND ASSEMBLY
This section explains mechanical characteristics and describes how to
disassemble/assemble the machine.
Be sure to observe the following when disassembling/assembling the machine:
1. Disconnect the power plug before starting the work.
2. Unless otherwise shown, assemble the parts by reversing the steps given to
disassemble them.
3. Identify each screw by type (length, diameter) and location.
4. A washer is used for one of the mounting screws on the rear cover to protect against
static electricity; be sure to use the washer when assembling the part.
5. A washer is used for some mounting screws (for grounding wire, varistor) to ensure
correct electrical continuity; be sure to use the washer when assembling the part.
6. As a rule, do not operate the machine while any of its parts are removed.
7. When sliding out the duplexing unit or the fixing assembly, be sure to turn off the front
door switch or the power switch.
A. Illumination Assembly
1. Detaching the Scanning Lamp/Fluorescent Lamp Heater
1) Disconnect the power plug.
2) Detach the copyboard glass.
3) Detach the upper rear cover.
4) Move the scanner unit near the center.
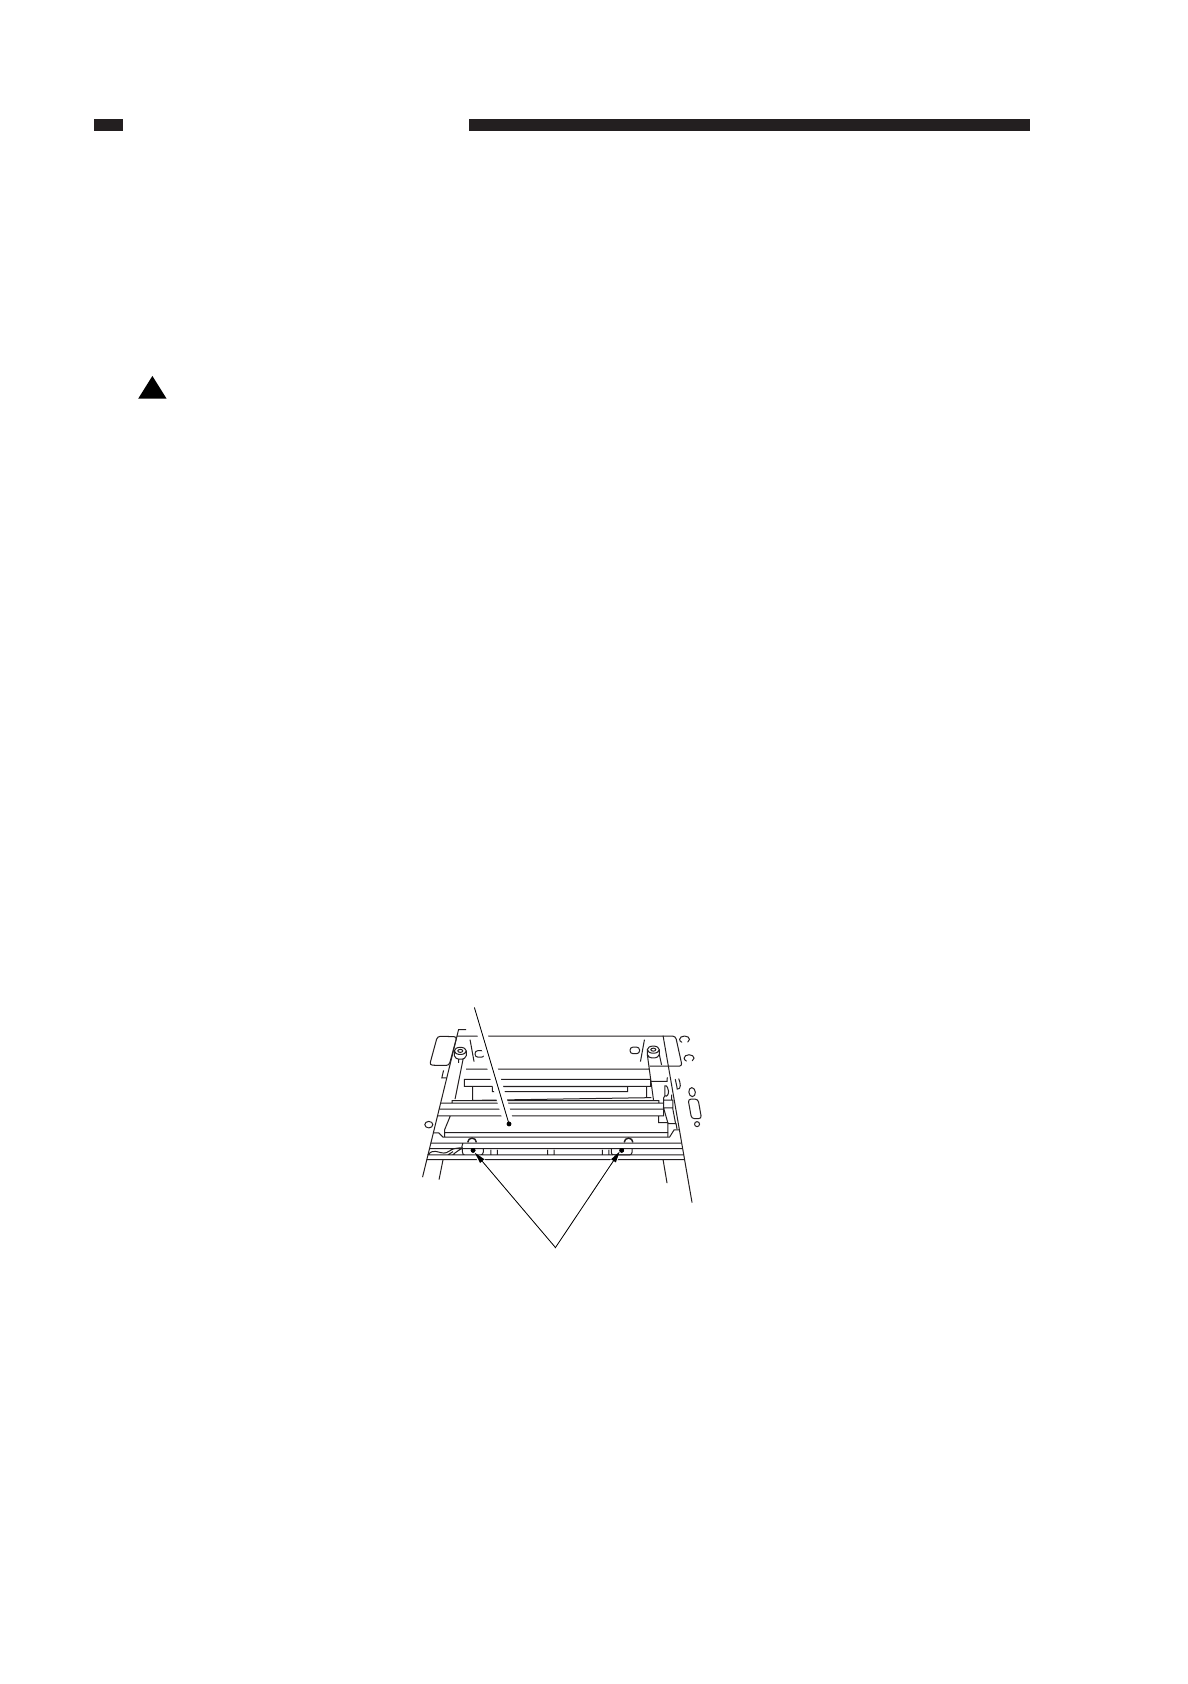
5) Remove the two screws q, and detach the light-blocking plate w.
Figure 4-301
!
COPYRIGHT
©
1997 CANON INC. CANON NP6218 REV. 0 MAY 1997 PRINTED IN JAPAN (IMPRIME AU JAPON)
CHAPTER 4 IMAGE FORMATION SYSTEM
4-30
w
q


