


MIL-3000FTX Series of FastPort Print Servers 4-5
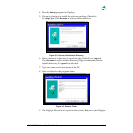
2. Select the printer created and press [Enter].
3. Select Print Queues Assigned. Pressing [ins] allows a user to
choose from a list of created queues.
4. Create new print queues by pressing [ins], again. Once an object is
created, it must remain in that context until deleted. By default, quick
setup creates these objects in the same context, but users have full
control of the object context. Note the context name at the top of the
screen.
5. Press [esc] to Exit. Once done, run ACT to set up a DS Context Name
and DS Tree Name (see Appendix C).
4.3.2 Installing Print Server in NDS Using NWadmin
The following procedures describe how to create a print server, a new print
queue using NWadmin:
4.3.2.1Creating a New Print Server
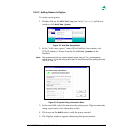
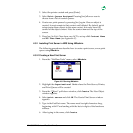
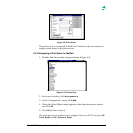
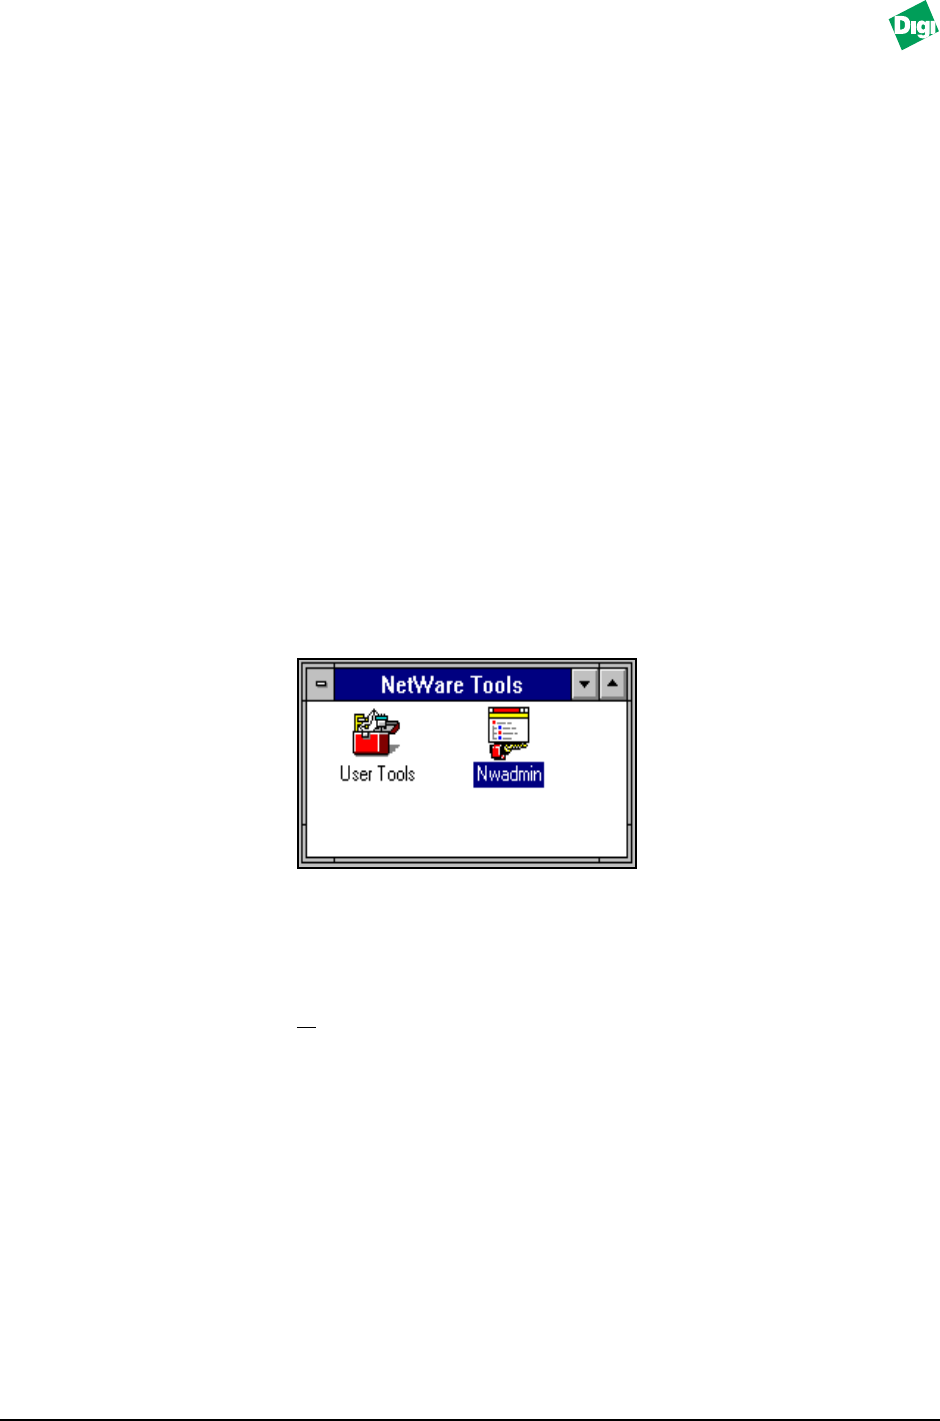
1. From the “NetWare Tools” menu, select NWadmin.
Figure 4-8. Running NWadmin
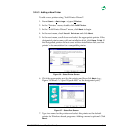
2. Highlight the Organizational Unit where the Print Server, Printer,
and Print Queue will be created.
3. From the “O
bject” pull-down window, click Create. The New Object
window appears.
4. Select print server and click OK. The Create Print Server window
appears.
5. Type in the FastPort name. The name must be eight characters long,
beginning with FP and ending with the last six digits of the hardware
address.
6. After typing in the name, click Create.