


MIL-3000FTX Series of FastPort Print Servers 8-3
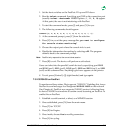
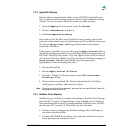
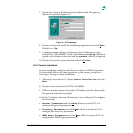
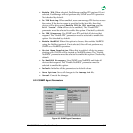
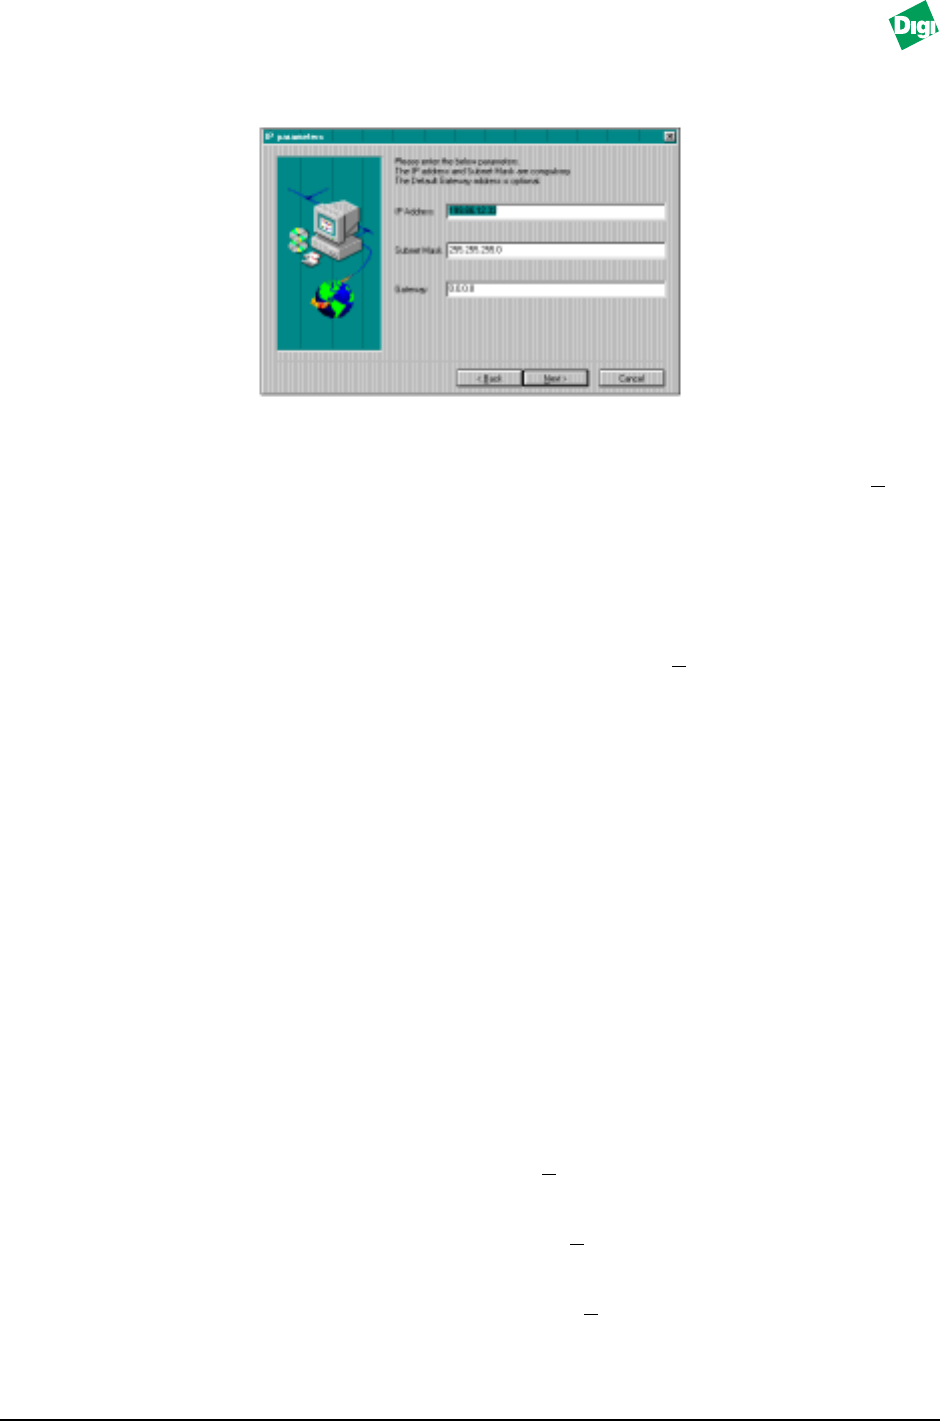
7. Specify the system’s IP address and its subnet mask. The gateway
selection is optional (Figure 8-1).
Figure 8-1. IP Parameters
8. Choose a location to install the FastManage application and click Next.
Default is c:\fm.
9. A message appears asking if a menu item for FastManage is to be
added to the “NWADMIN” utility. Select Yes and snap-fp.dll file is
copied to the Windows directory and the nwadmin.ini file is updated.
10. Choose to have the system rebooted and click F
inish.
8.2.2 Custom Installation
Custom installation configures the Discovery and/or SNMP parameters.
Custom install follows the same procedure as the express, except for a
extra steps. To begin custom installation:
7. After step 6 in section 8.2.1, choose Custom Installation and click
Next.
8. Choose a network protocol: IP, IPX or NetBIOS.
9. If IP was selected, specify the system’s IP address and its subnet mask.
The gateway selection is optional.
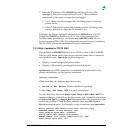
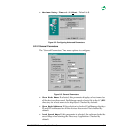
10. In the “Configure Advanced Parameters” menu (Figure 8-2), configure
the following:
• General Parameters and click N
ext. Refer to section 8.2.2.1 to
configure the general parameters.
• Discovery Parameters and click N
ext. Refer to section 8.2.2.2 to
configure the discovery parameters.
• SNMP Agent Parameters and click N
ext.Refer to section 8.2.2.3 to
configure the SNMP agent parameters.