Printing with Windows 39
1
1
1
1
1
1
1
1
1
1
1
1
English
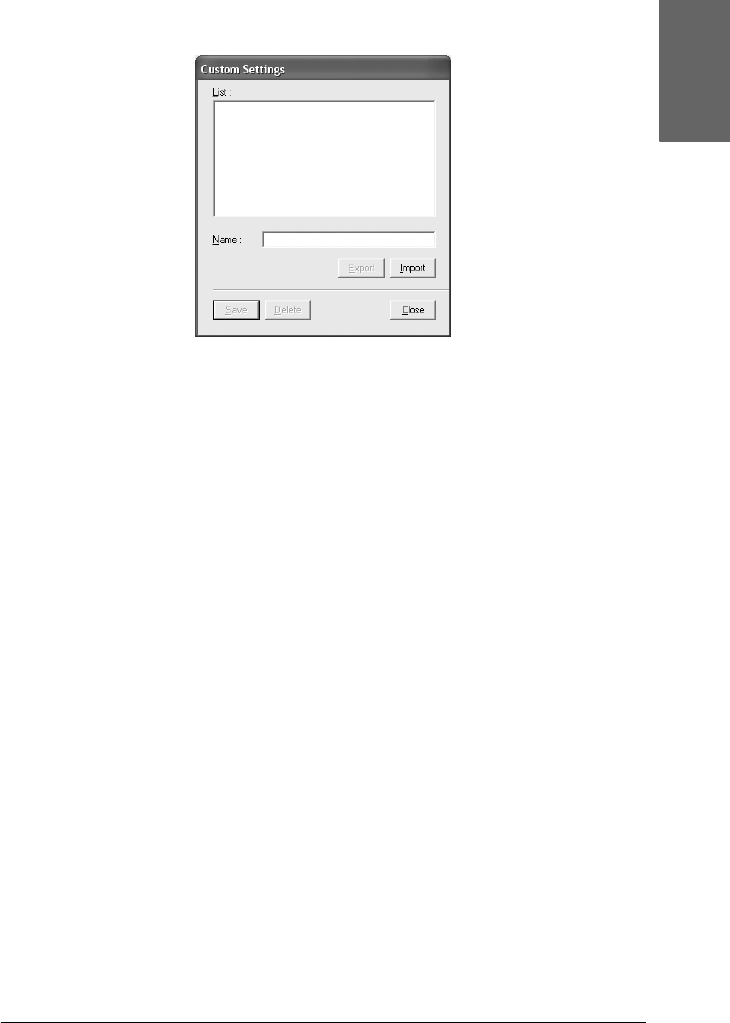
1. Click Save Settings. The Custom Settings dialog box appears.
2. Type a unique name, up to 31 characters, for your settings in
the Name text box.
3. Click Save. Your setting will be added to the Custom Setting
List.
You can save up to 100 custom settings (including the imported
settings). You can select your saved settings from the Custom
Settings pull-down menu in the Mode box on the Main menu.
When you select your saved settings in the Custom Settings list,
be aware that making new settings, for example Media Type and
Color settings, may change your custom settings. This may cause
unexpected results in your printouts. If this happens, reselect
your saved settings and try printing again.
Note:
The names of the ready-made settings provided by Epson cannot be
applied to your new settings.
Deleting the Advanced settings
To delete your Advanced setting, follow the steps below.


