USING SETUP MODE
User's Manual5-8
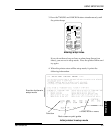
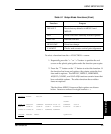
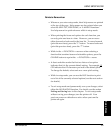
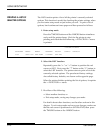
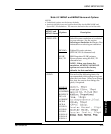
4. Select the current emulation.
Since you do not want to change the emulation, press the “↓”
button to select the current emulation and print the next item,
<FONT> and its options.
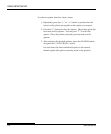
5. Change the font to Prestige Elite 12.
Press the “←” or “→” button once to position the cursor on
PRSTG12. Press the “↓” button to select PRSTG12 and print
the next item, <QUALITY>, and its options.
6. Select the current print quality.
Since you do not want to change the print quality, press the
“↓” button to select the current print quality and print the next
item, <PITCH>, and its options.
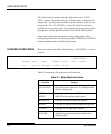
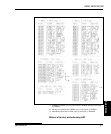
7. Change the pitch to 12 cpi and exit the MENU2 function.
Press the “←” or “→” button once to position the cursor on 12
CPI. Since you do not want to make any other changes in
MENU2, press the ONLINE button to select 12 CPI and exit
MENU2. The <<FUNCTION>> menu is then reprinted.
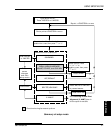
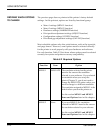
8. Exit setup mode, saving the new font and pitch.
Since the cursor is on SAVE & END, press the ↑MICRO button
or the ↓MICRO button to select SAVE & END. The printer
saves Prestige Elite 12 and 12 cpi as the new power-on defaults
in MENU2. The printer then exits setup mode and returns
online. These settings remain in effect until changed.


