Using the Projector 29
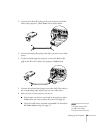
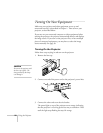
4. Turn on your computer or video source if you have not already.
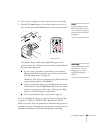
5. Press the P
Power button on top of the projector to turn it on.
(You can also press the P
Power button on the remote control.)
The projector beeps and the power light flashes green as the
projector warms up. The lamp comes on in about 30 seconds and
the power light stays green.
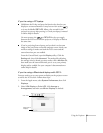
■ If you’re using a computer, you should see your computer
display projected after a moment or two. If not, you need to
select the image source. See page 30.
(Windows
®
only: If you see a message saying that it has found
a plug-and-play monitor, click
Cancel.)
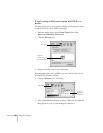
■ If you’re projecting a video, press the Source button on top
of the projector or the
S-Video/Video button on the remote
control to switch to your video source. Then press the
Play
button on your DVD player or other device.
■ If you are prompted to enter a password, see page 60.
To focus and adjust the image, see page 33. If a projected image fails
to appear, see “What To Do If You See a Blank Screen” below.
When you’re done with your presentation, shut down the projector as
described on page 37. Shutting down the projector correctly prevents
premature lamp failure and possible damage from overheating.
note
If you are using the remote
control for the first time, be
sure to remove the tape from
the battery tray as described
on page 40.
Color Mode
Computer
Menu
A/V Mute
E-Zoom
Freeze
S-Video/Video
Page upPage down
Power
ESCAuto
Enter
Projector Remote control
warning
Never look into the lens when
the lamp is on. This can
damage your eyes, and is
especially dangerous for
children.


