


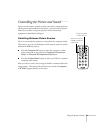

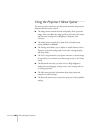


Fine-tuning the Projector 49
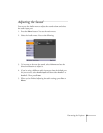
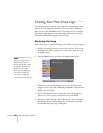
3. Use the directional buttons and press Enter to select any of the
following options:
■ Position
Press and hold one of the directional buttons to move the
image on the screen left, right, up, or down.
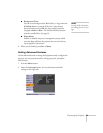
■ Tracking (computer images only)
Removes unwanted vertical lines from a computer image by
matching the projector’s internal clock to various computer
signals. See page 80 for more information about adjusting the
tracking.
■ Sync (computer images only)
Corrects fuzziness or screen flicker by synchronizing the
projector with the tracking signal sent from the computer.
See page 80 for more information about adjusting the sync
setting.
■ Brightness
Lightens or darkens the overall image.
■ Contrast
Adjusts the difference between light and dark areas.
■ Color (video only)
Adjusts the depth or intensity of the image.
■ Tint (video only)
Adjusts the balance of green to magenta in the image.
■ Sharpness
Sharpens or softens the image.
■ Color Mode
Corrects the vividness of image color. You can select from the
following six settings, and save a different one for each
computer and/or video source:
Dynamic: For projecting movies in vivid color in bright
rooms
Presentation: For presentations in bright rooms
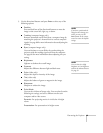
note
If you have repositioned the
image but then change your
mind, you can press the
Auto button on the remote
control to restore the default
settings.
note
You can also select High
Brightness or Low Brightness
mode in the Advanced menu.
See page 54.