


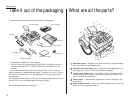

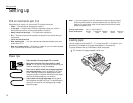
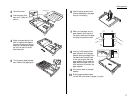
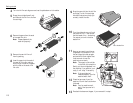
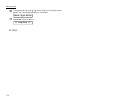
Attaching the paper-handling parts
1
Attach the document hopper by
inserting its two pegs at a
slightly upward angle into the
appropriate holes.
2
Attach the document separator
into the appropriate holes, as
shown.
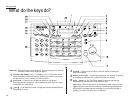
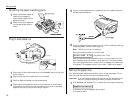
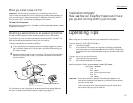
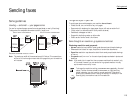
Plug in and power up
1
Plug one end of the curled handset cord into the
HANDSET
jack on the left side
of your machine.
2
Plug the other end of the handset cord into the handset.
3
Place the telephone handset onto the handset cradle.
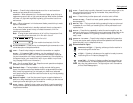
4
Plug one end of the telephone line cord into the
LINE
jack on the left side of
your machine. Plug the other end of the telephone line cord into a standard
telephone wall jack, just as you would plug in a phone.
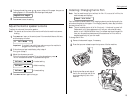
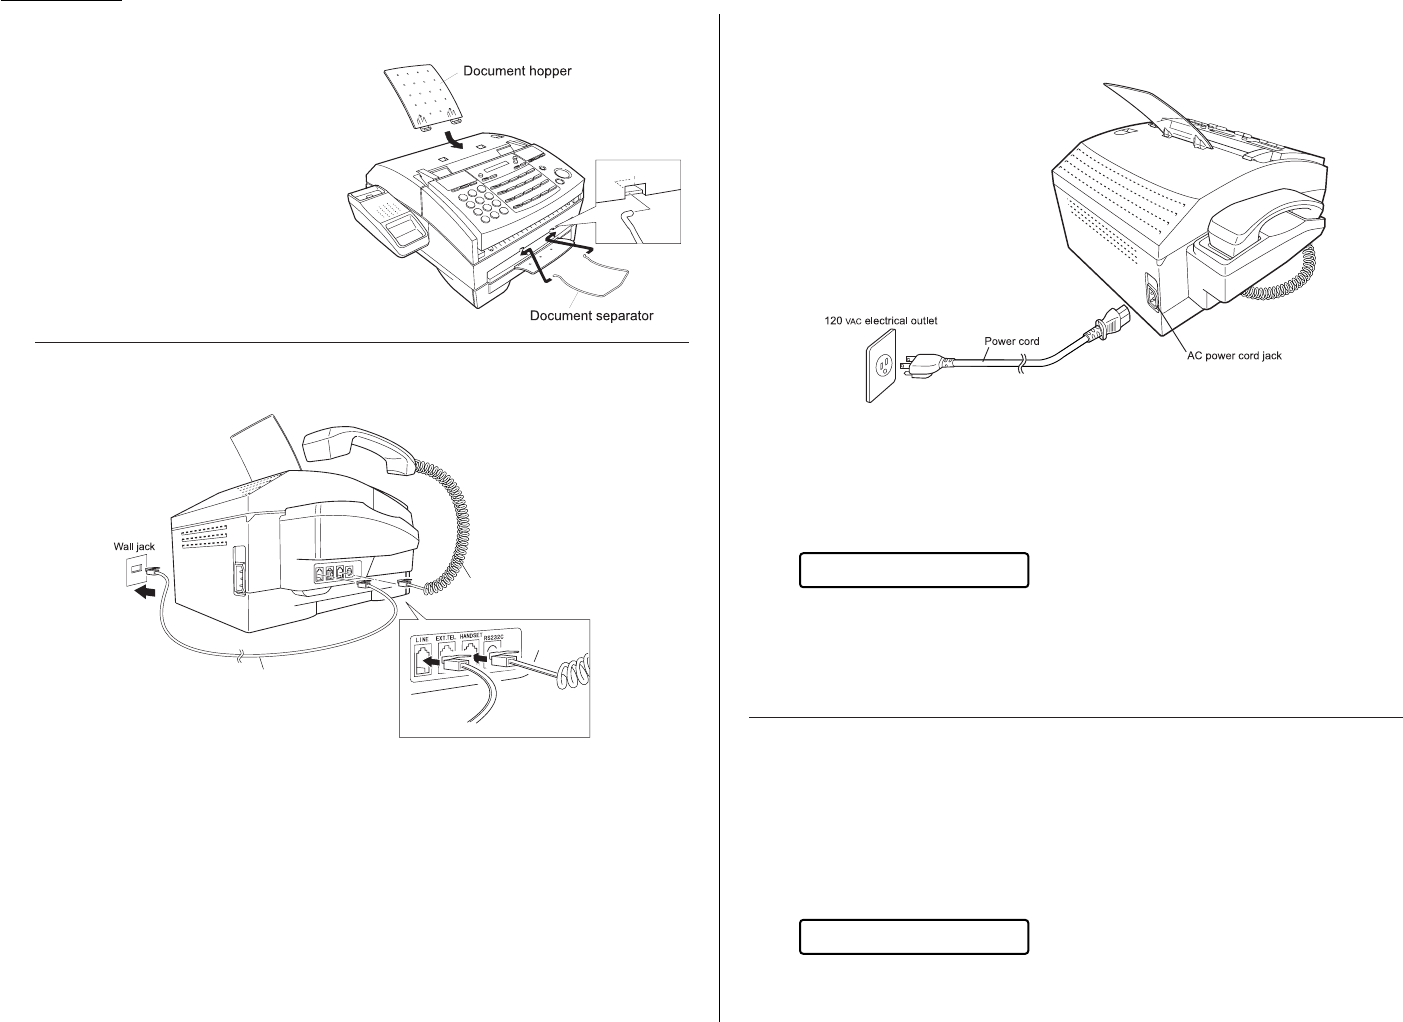
5
Plug the non-pronged end of the
AC
power cord into the
AC
power cord jack on
the rear side of the machine.
6
Plug the pronged end of the
AC
power cord into a 120
VAC
electrical outlet (use
a surge suppressor, as mentioned on page 1.6).
Note: This will turn on your fax machine.
When you connect the power, the
LCD
will show:
(Day/Month/Year Time)
When the date and time are displayed on the
LCD
, the fax machine is in the
normal standby mode and ready for normal operation. If the machine beeps,
the
ALARM
light glows and the
LCD
shows an error message, this means there
is a problem. If this happens, consult “Just in case...,” beginning on page 3.1.
Setting the paper size
Your machine’s paper cassette can hold either letter- or legal-sized paper. All you
have to do is tell the machine which size the cassette is using.
Important: If you use a different size from the one you set here, the machine will
not print. Change this setting whenever you load a different size.
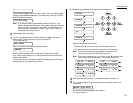
1
Press
PROGRAM
,
J
, 0, 4,
ENTER
. The
LCD
shows the current paper size setting:
If the setting you see is acceptable, skip to step 3.
If not, go on to step 2.
PaperSize:Letter
01/01/1999 0:00
Handset cord
Telephone line cord
1.8
Getting started