1.10
Getting started
4
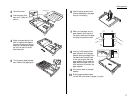
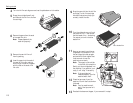
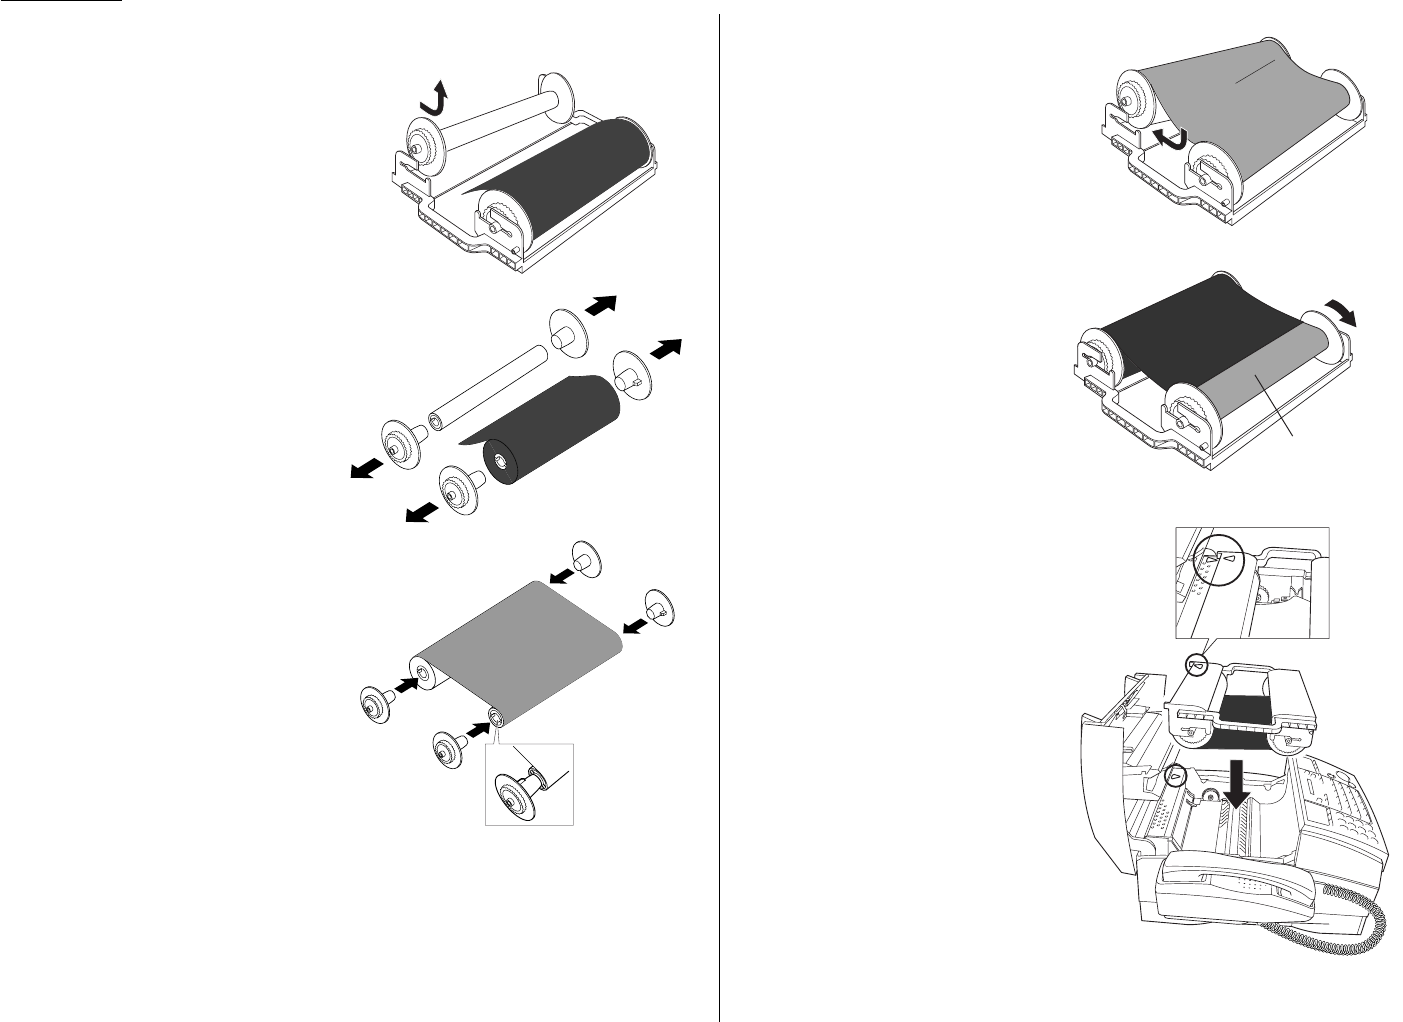
Turn the ink film cartridge over and rest it upside down on its handles.
5
Grasp the cartridge frame firmly
and slide out the ink film rolls from
the cartridge.
6
Remove the gears from the ends
of the used film rolls.
Note: Please dispose of the
used rolls properly.
7
Remove the new ink film roll
from its packing.
8
Insert the gears into the ends of
the new ink film rolls, making
sure to align the tab on the gears
with the slot on the ends of ink
film rolls.
9
Snap the new rolls into the ink film
cartridge. The ink film cartridge
includes illustrations to help you
correctly install the rolls.
10
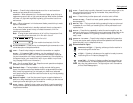
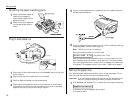
Turn the rolls as shown until only
the black ink film — and none of
the blue leader film — is showing.
You cannot print with the blue
leader film.
11
Now you are ready to put the car-
tridge back in the machine. Turn
the cartridge right-side up again
and position the cartridge so that
its arrow mark is over the
machine’s arrow mark.
Note: The supply roll should be
in the front of the machine.
Gently put the cartridge back into
the machine. If you position it cor-
rectly, it will “drop” in smoothly.
Note: If the cartridge isn’t
inserted properly, your fax
machine won’t work .
12
Close the top cover of your fax
machine. You will feel a click when
it’s closed.
Note: Your fax machine won’t
work if the top cover isn’t
closed.
13
Re-attach the document hopper, if you removed it in step 1.
Blue leader film


