168 C1553M-B (4/05)
Named Views
Named views allow you to save a particular view of a map so an operator can reload it at any time without having to zoom and scroll. You can
create as many named views as you want for a map.
ADD A NEW NAMED VIEW
1. With the desired map loaded, isolate the view you want to name by zooming and scrolling.
2. Navigate the Object Browser to [project name] > Maps > [map] > Named Views. Double-click <Add New View> in the right pane, or right-
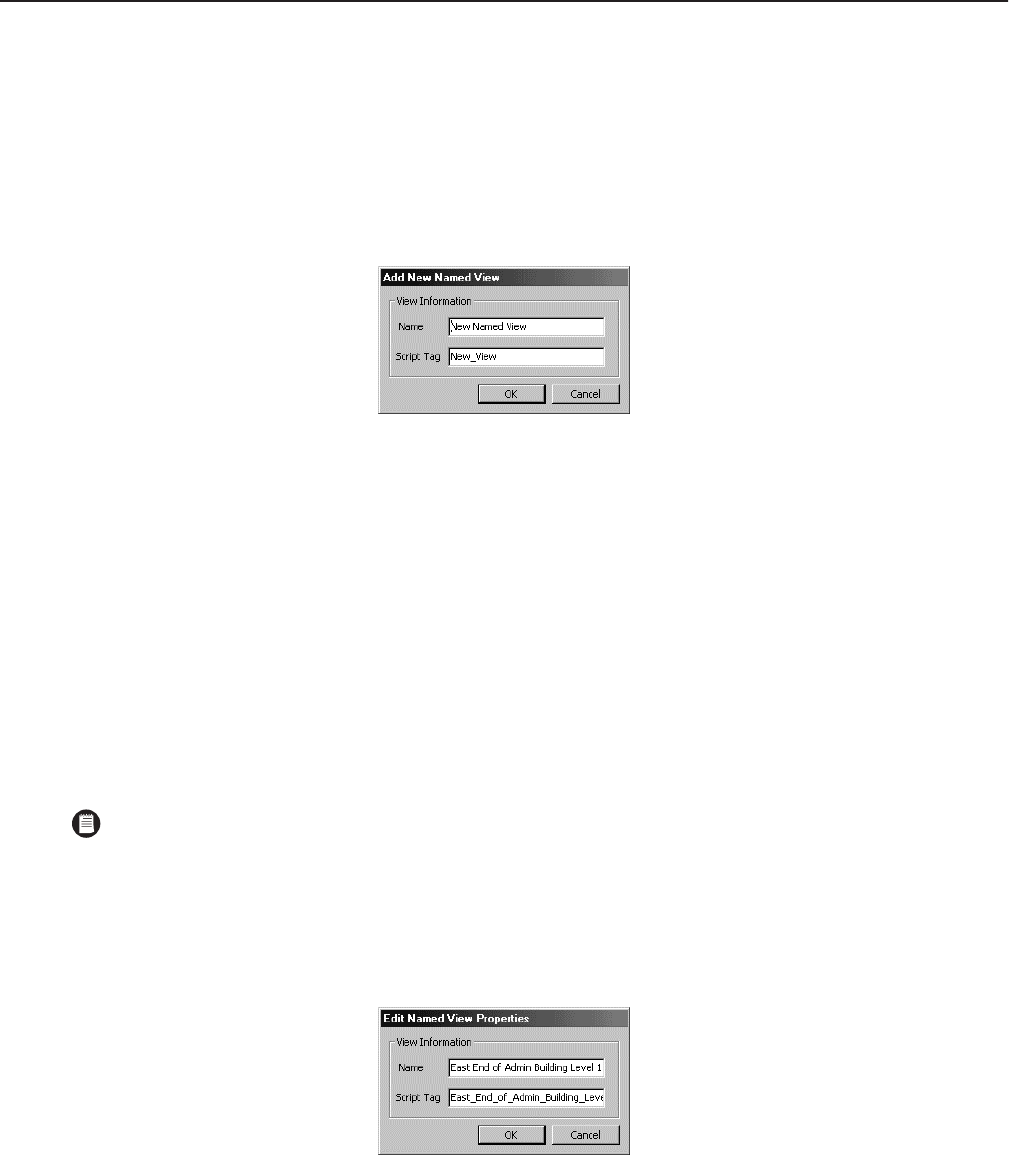
click Named Views in the left pane and select Add New from the pop-up menu. The Add New Named View dialog box opens.
Figure 201. Add New Named View Dialog Box
3. Name: Type in a unique, descriptive name for the named view you want to add. View names are at most 50 characters long. They can
include any letter, digit or special character, with the exception of single and double quotation marks. View names are not case sensitive.
The view name is displayed in the right pane of the Object Browser. A tag resembling the view name will appear in the Script Tag box. If the
view name contains special characters, they will be omitted from the tag. Leading digits will be removed. Spaces will be replaced with
underscores.
4. Script tag: If you do not want to use the script tag supplied by the server, type in a unique, meaningful tag. Script tags are at most 50
characters long. They can include any letter, digit or the underscore character, but cannot begin with a digit. They cannot contain spaces or
special characters. Tags are not case sensitive. Use the script tag to refer to the named view in scripts.
5. Click OK. The named view is created and the Add New Named View dialog box closes. The name and script tag of the new named view
appear in the right pane of the Object Browser.
EDIT A NAMED VIEW
To change the view that is called up by a named view, use the Update View option. Refer to Update a Named View for more information.
To change the name or script tag of a named view:
1. Navigate the Object Browser to [project name] > Maps > [map] > Named Views. In the right pane, double-click the named view you want to
edit, or right-click the named view and select Edit from the pop-up menu. The Edit Named View Properties dialog box opens.
Figure 202. Edit Named View Properties Dialog Box
2. Change properties of the named view as desired. Refer to Add a New Named View for information on specific properties.
3. Click OK. The Edit Named View Properties dialog box closes.
‘
NOTE: If you change the script tag for a named view, any script that refers to the named view will contain an error. To correct the error,
update the scripts so they use the named views’s new script tag. Refer to Scripts and Expressions for more information.
