C1553M-B (4/05) 231
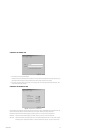
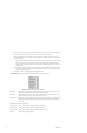
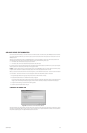
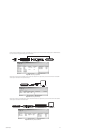
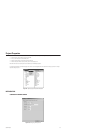
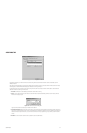
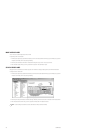
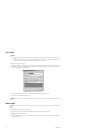
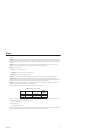
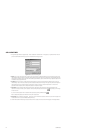
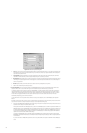
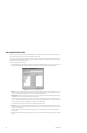
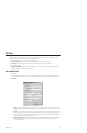
ALARM/EVENT ICONS
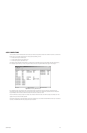
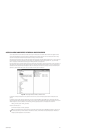
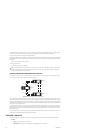
VMX300(-E) allows you to customize your maps by placing icons on them that represent the alarms and events configured on
your server. Icons are an effective way to alert a recipient visually that an alarm or event has been triggered, and then
acknowledged.
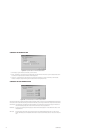
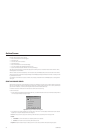
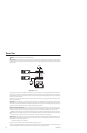
• When the alarm or event is triggered, the icon changes to the alarm color.
• When the alarm or event is acknowledged, the icon changes back to the default color.
• While the alarm/event expression is true, the bell hammer strikes the bell.
You do not need to place an alarm/event icon on a map for the alarm or event to function. Notification, sounds, scripts, and archiving all function
independently of the icon. The icon’s role is to provide operators with a visual alert.
Before you can place an alarm/event icon on a map, you must add the alarm or event itself as described in Add a New Alarm or Event. Once you
have added the alarm or event, you can place as many icons representing the alarm or event as you want.
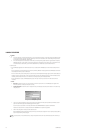
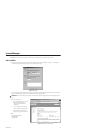
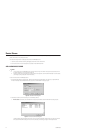
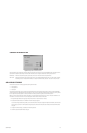
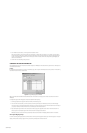
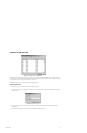
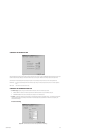
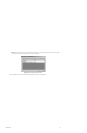
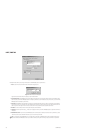
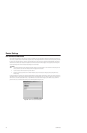
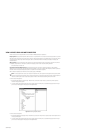
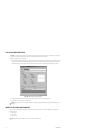
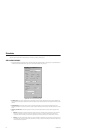
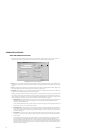
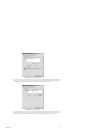
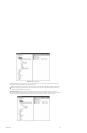
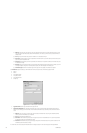
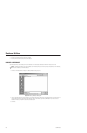
PLACE AN ALARM/EVENT ICON ON A MAP
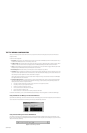
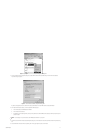
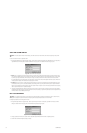
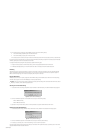
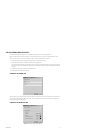
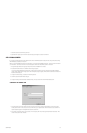
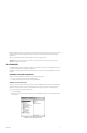
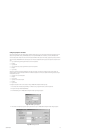
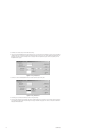
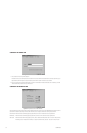
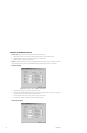
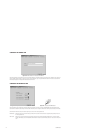
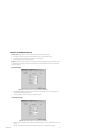
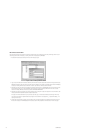
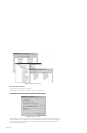
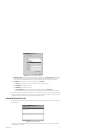
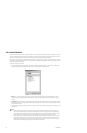
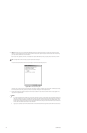
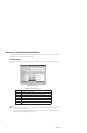
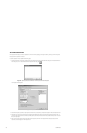
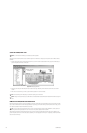
1. Load the map you want to place an alarm/event icon on. The map appears in the map viewport.
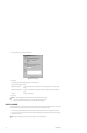
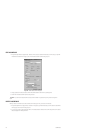
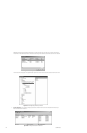
2. Navigate the Object Browser to [project name] > Alarms and Events > [alarm/event category name]. In the right pane, click the alarm or
event you want to place on the map and hold the mouse button down. If you move the pointer slightly, it changes to cross-hairs.
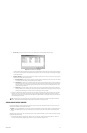
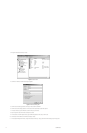
3. Drag the pointer to the map, position it where you want to place the alarm/event icon, and release the mouse button. An icon representing
an alarm appears on the map and the pointer changes back to an arrow. If you selected “Display the label for this alarm or event” when you
added the alarm or event, the label appears below the icon.
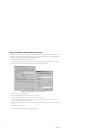
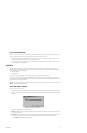
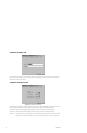
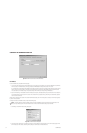
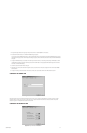
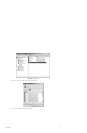
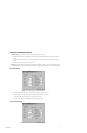
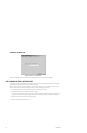
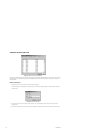
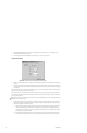
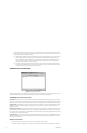
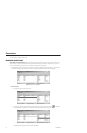
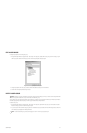
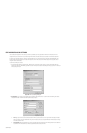
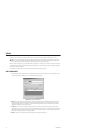
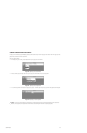
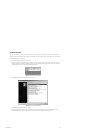
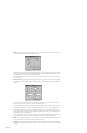
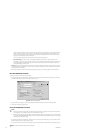
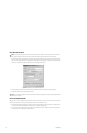
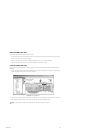
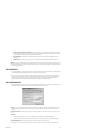
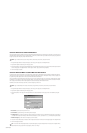
4. Scale: Move the pointer away from the icon to make the icon larger. Move the pointer towards the center of the icon to make the icon
smaller. Scaling the alarm/event icon does not affect the size of the alarm/event label. Refer to Scale an Alarm/Event Icon for instructions
on scaling the icon.
5. When the icon is sized the way you want it, press the left mouse button. The icon freezes in place. If the alarm/event label is displayed, it
freezes in place below the icon.
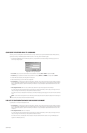
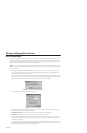
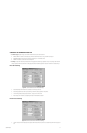
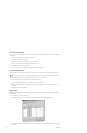
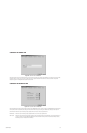
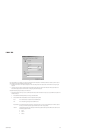
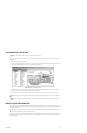
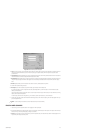
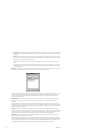
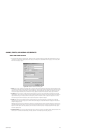
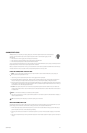
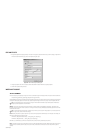
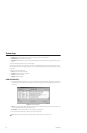
MOVE AN ALARM/EVENT ICON
Any alarm/event icon placed on a map can later be moved to another position on the same map. When you move an alarm/event icon, only its
position changes; its size remains fixed. For information on changing an icon’s size, refer to Scale an Alarm/Event Icon.
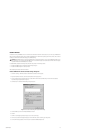
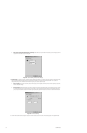
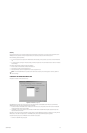
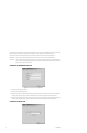
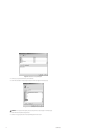
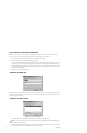
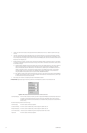
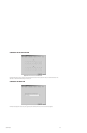
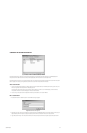
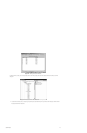
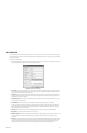
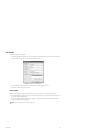
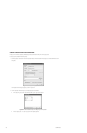
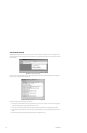
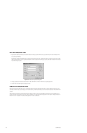
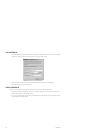
1. With the desired map loaded, right-click the alarm/event icon you want to move and select Move from the pop-up menu. Make sure you
position the pointer over the icon, not the label, before right-clicking.
2. Move the pointer to the icon’s new location. The icon follows the pointer as you move it. If the icon’s label is displayed, it moves with the
icon.
3. When the icon is located where you want it, press the left mouse button. The icon freezes in place. If the map has a grid, the icon snaps to
the grid.
NOTE: You do not need to place an alarm/event icon on a map for the alarm or event to function. Notification, sounds, scripts, and
archiving all function independently of the icon.
NOTE: To minimize the CPU workload, icons should be as small as possible.
TIP: Hold the Shift key down while scaling to constrain the scaling to 5 unit increments.