226 C1553M-B (4/05)
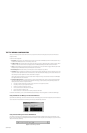
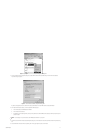
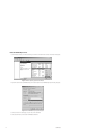
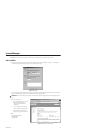
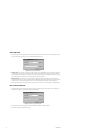
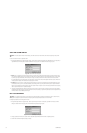
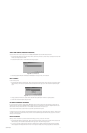
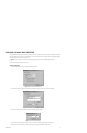
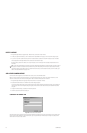
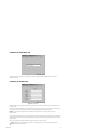
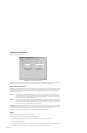
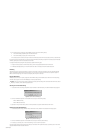
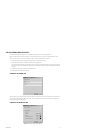
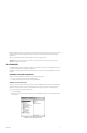
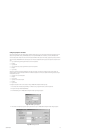
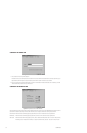
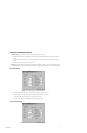
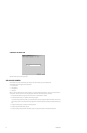
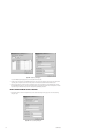
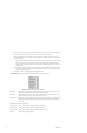
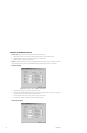
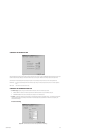
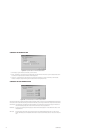
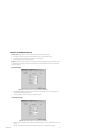
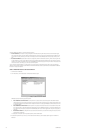
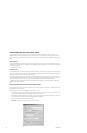
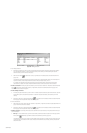
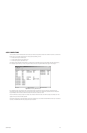
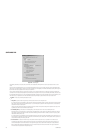
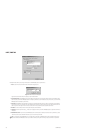
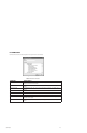
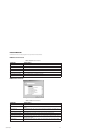
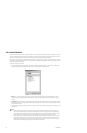
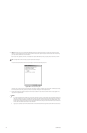
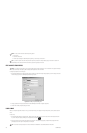
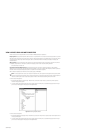
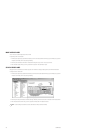
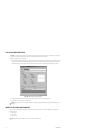
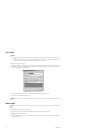
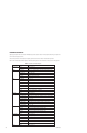
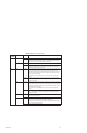
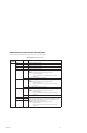
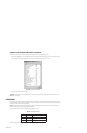
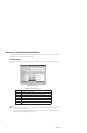
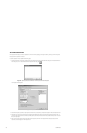
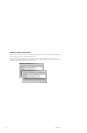
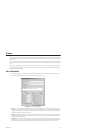
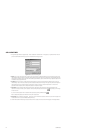
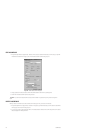
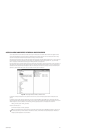
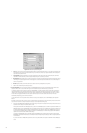
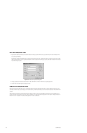
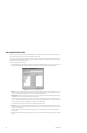
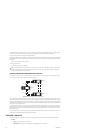
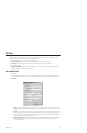
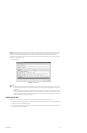
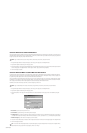
Figure 246. Edit Label Properties Dialog Box
a. Text: Type up to three lines of text as the label contents. When you place the alarm/event icon on a map, this text will display in the
label. Each line of text can be at most 50 characters long and can include any letter, digit or special character, with the exception of
single and double quotation marks.
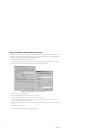
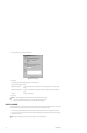
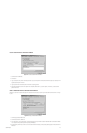
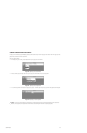
b. Text properties: Select the justification you want for the label’s text. All the lines of text will be justified the same. Click Font to
select the font for the label’s text, as well as display attributes like point size, bold face, and italics.
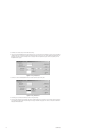
c. Background: Select the background you want for the label you are creating. A transparent background allows the underlying map to
show through. An opaque background makes the label appear as a colored rectangle. Click Select Color to choose the background
color for an opaque label.
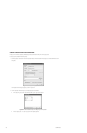
d. Border: Specify whether you want the label to have a border around it by selecting None or Single Line.
e. Click OK. The Edit Label Properties dialog box closes.
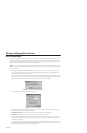
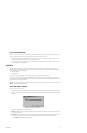
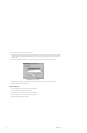
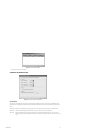
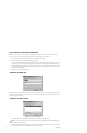
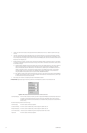
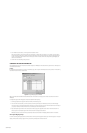
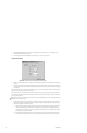
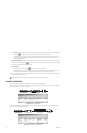
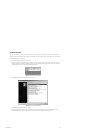
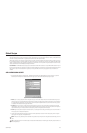
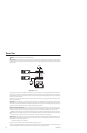
6. Source association: The source association feature of the DX9000 DVR allows an operator to automatically retrieve archived video
associated with an alarm or event, without having to know which camera to load and without having to cue the video.
For example, suppose Front Door Camera is connected to a DX9000 DVR. You might associate Front Door Camera with an alarm that is
triggered when the front door is breached. Suppose the door alarm was triggered some time during the night and an operator wants to
review the video associated with the alarm. To do this, the operator locates the alarm in the Session Manager and drags it to a custom
window that has an appropriate DVR canvas. This loads the archived video from Front Door Camera into the window. The video
automatically starts playing, cued to the time of the alarm.
For more information on how an operator retrieves archived video using source association, refer to the VMX300(-E) Client Operation
Manual.
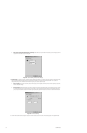
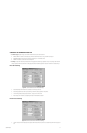
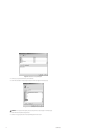
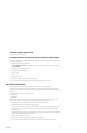
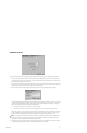
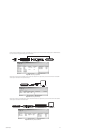
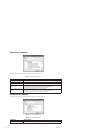
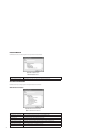
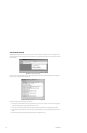
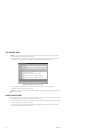
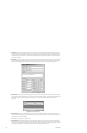
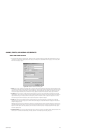
Associating a source device with an alarm or event is a simple matter of editing the alarm or event and selecting the source device from a
drop-down box. In addition to defining the association itself, you must complete the following steps:
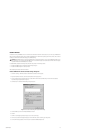
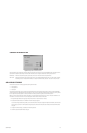
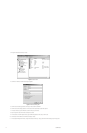
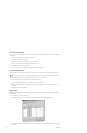
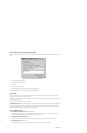
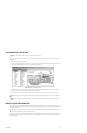
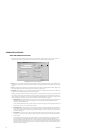
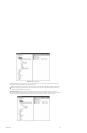
a. Synchronize the DX9000 DVR and VMX300(-E) server clocks using a time server. This ensures the time stamp on the archived video is
identical to the time stamp on the archived alarm or event.
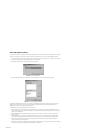
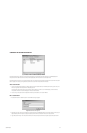
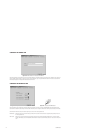
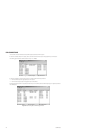
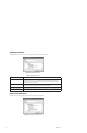
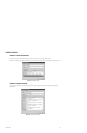
Either synchronize the DVR to the VMX300(-E) server, or synchronize the VMX300(-E) server to the DVR. To synchronize the DVR to the
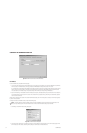
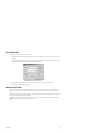
VMX300(-E) server, configure the VMX300(-E) server by selecting Allow this server to act as a Network Time Server on the Date/Time
tab of the Project Properties dialog box. Refer to Project Properties for more information. Configure the DX9000 DVR using the soft-
ware provided with the DVR by setting the DVR to synchronize to the VMX300(-E) server. Refer to the appropriate DVR installation/
operation manual for information on DVR-internal settings.
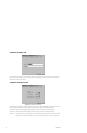
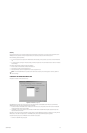
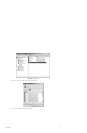
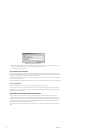
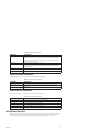
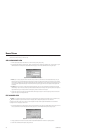
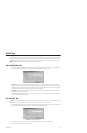
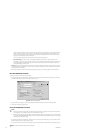
To synchronize the VMX300(-E) server to the DVR, configure the VMX300(-E) server by entering the IP address or hostname of the
DX9000 DVR in the Network Time Servers list on the Date/Time tab of the Project Properties dialog box. Refer to Project Properties for
more information.
If you have more than one DX9000 DVR, synchronize each one to a particular DVR, then synchronize that DVR with the VMX300(-E)
server.