NetEngine IAD User Guide
Administration 34
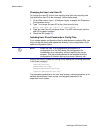
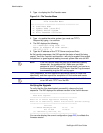
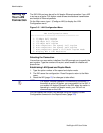
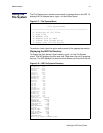
2. Type X to display the File Transfer menu.
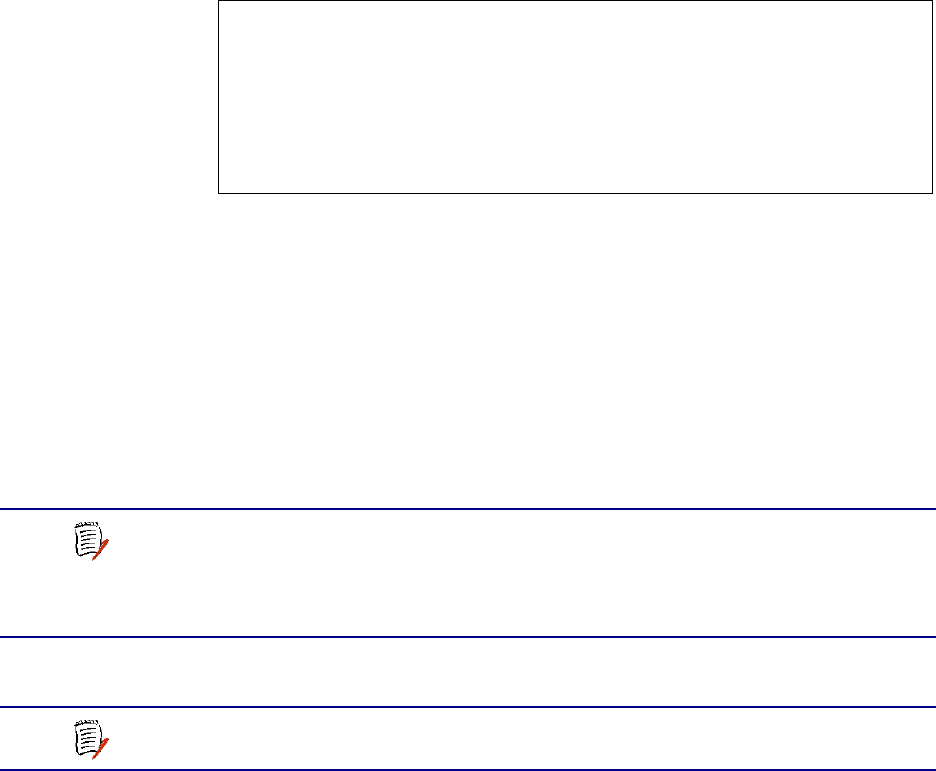
Figure 3–4. File Transfer Menu
3. Type X to update the entire system (you must use TFTP).
Respond by typing Y to continue.
4. The IAD displays the following:
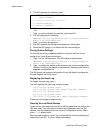
**** Download using TFTP ****
Enter ip address of TFTP server.
(98.121.1.167) ->
5. Type the IP address of the TFTP Server and press Enter.
As file transfer progresses, the IAD reports the status of each file being
copied. Two files—acos.bin and boot.bin—will only be copied if they match
the platform, to guard against loading incorrect system files onto an IAD.
Upon completion, the IAD reports the success or failure of these files
specifically, and then reports the completion of file transfer and resets.
Verifying the Upgrade
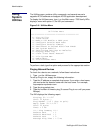
To verify that the files downloaded successfully, observe the boot
sequence. The IAD displays the software version in the Verilink banner:
****************************************************
RTOS start sequence
****************************************************
Enter "i" to Inhibit Application Launching only
Enter "I" to additionally Inhibit Initialization (minimal startup)
****************************************************
Verilink
<=> NE6200-8NetEngine IAD v3.5.0 <=>
Nov 19 2002 15:33:52
(C) 1998-2002 by Verilink, Inc.
****************************************************
You can also display the current configuration (page 203) to validate the
firmware version.
*******************************************
File Transfer Menu
*******************************************
B. Load Boot ROM
O. Update ACOS [acos.bin]
X. Update Entire System
A. File Transfer Utilities
NOTE
If the IAD cannot locate the first file to download (typically
release.dat), the update will fail. Make sure you have
assigned a valid IP address and subnet mask, and you’re on
the same subnet as the TFTP Server. Use the Ping command
to successfully ping the IAD and try again.
NOTE
For more information, refer to “Upgrading Imbedded Software
on an IAD with TFTP” from Verilink.


