6 – Removal/Replacement
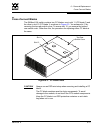
Cross-Connect Blades
59043-06 A 6-15
0
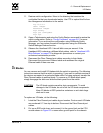
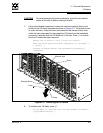
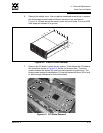
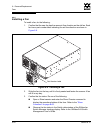
5. With an assistant, slide the switch into the rack. Fasten the switch brackets
to the rack with screws.
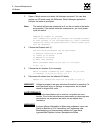
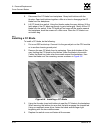
6. Reconnect the Ethernet cable to the CPU module. Reconnect the power
cords to the power supply modules to power up the switch.
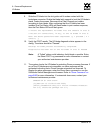
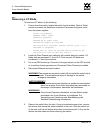
7. Confirm the power supply module status. Do one of the following:
Open a Telnet session and enter the Show Slot command to display
the operational status of the CC blades. Refer to the ”Show Command”
on page B-62.
Observe the CC blade status in the Switch or the Blade Info data
windows of the SANsurfer Switch Manager faceplate display. Refer to
the SANbox2-64 Switch Management User’s Guide.
WARNING!!
Two people are required to safely lift and install the switch
into a cabinet. To avoid personal injury or damage to the
switch, arrange for assistance.
AVERTISSEMENT!!
Deux personnes doivent soulever et installer le commutateur
dans une armoire. Pour éviter toute blessure personnelle ou
dommage à l'interrupteur, demander de l'assistance.
WARNUNG!!
Es sind zwei Personen erforderlich, um den Switch sicher
anzuheben und in ein Gehäuse zu installieren. Zur
Vermeidung von Verletzung oder Beschädigung des
Switches Unterstützung veranlassen.
Note: A “Failed” status could indicate an improperly seated or faulty
blade. Enter the Show POST Log command for more information
or contact your authorized maintenance provider.


