145
Recording Songs
Recording Songs
Shuffle Resolution
When you are using Shuffle Quantize, make this setting to specify
the note value used for quantization.
Value:
,
Rate (Shuffle Quantize Rate)
Make this setting when using Shuffle Quantize. It specifies the degree to
which the backbeat will be separated from the downbeat specified by the
Shuffle Resolution parameter. With a setting of “50%,” the backbeat will
be exactly between adjacent downbeats. With a setting of “0%,” the
backbeat will be moved to the same timing as the preceding downbeat.
With a setting of “100%,” the backbeat will be moved to the same timing
as the following downbeat.
Value:
0–100
Selecting the Sequencer Data that
will Be Recorded (Recording Select)
When you use realtime recording, all of your sequencer data will
normally be recorded. If you want to avoid recording a specific type
of data, you can turn its Recording Select setting “OFF.”
1.
Access the Recording Standby window (p. 142).
2.
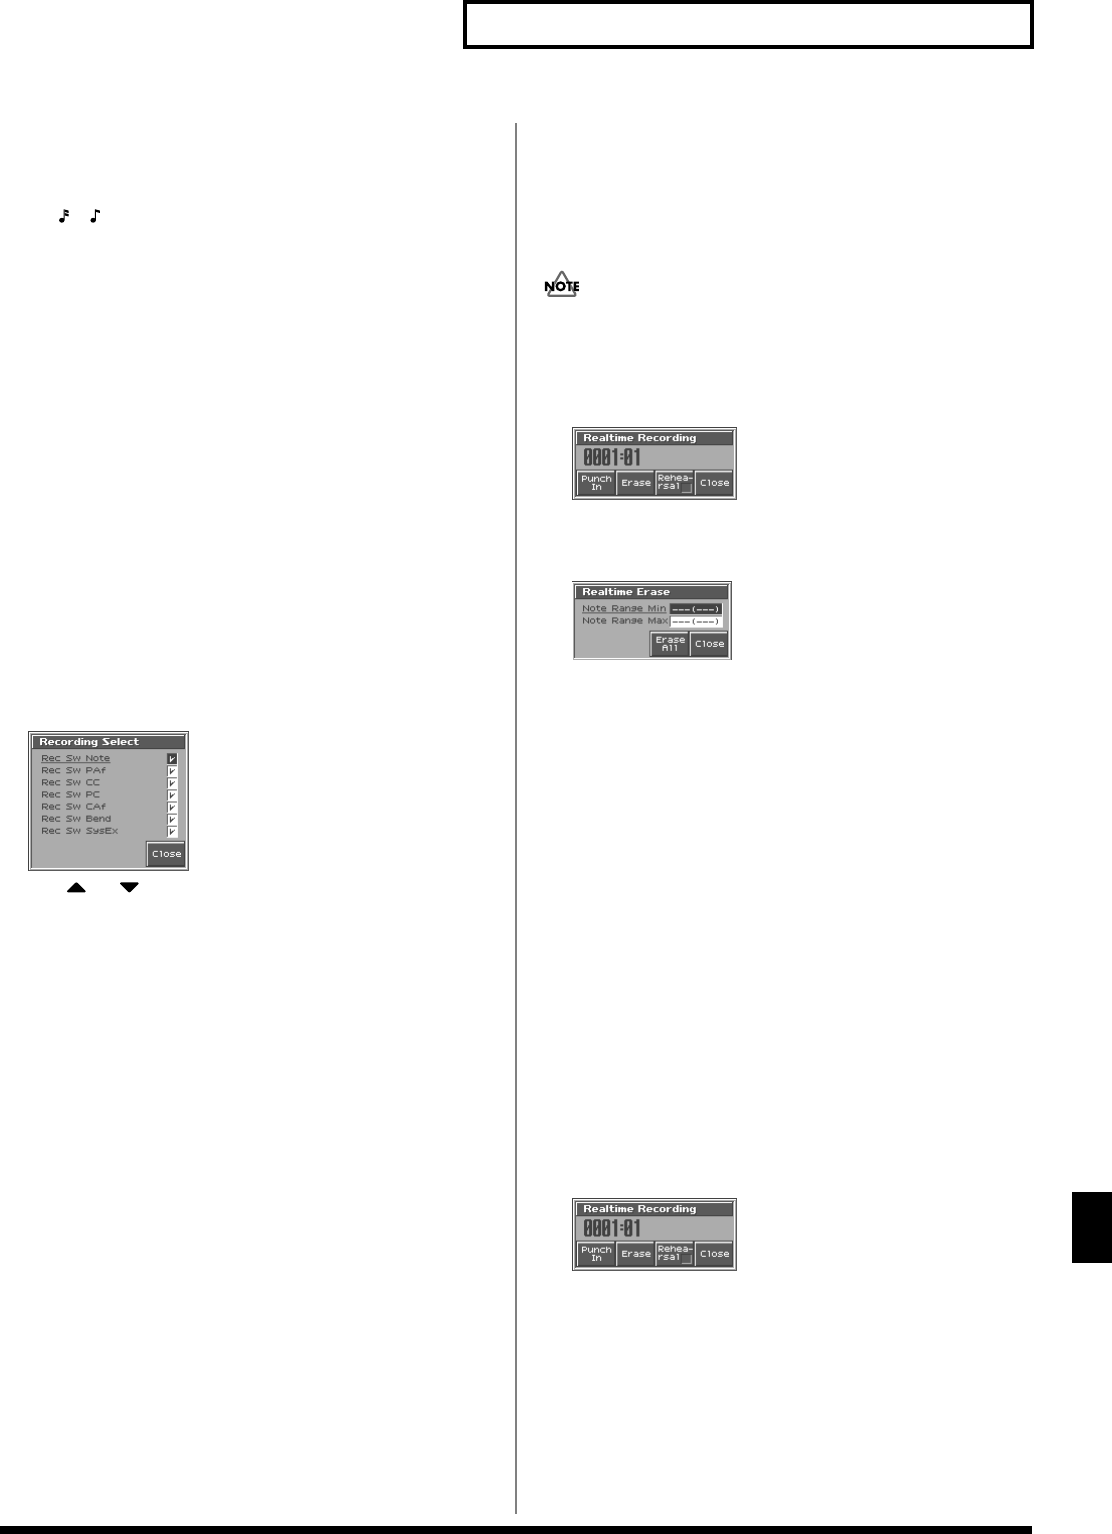
Press [7 (Rec Select)].
The Recording Select window appears.
fig.10-07_50
3.
Use or to select the sequencer data (MIDI
messages) that will be recorded.
Note:
Note messages. These MIDI messages represent notes.
PAF (Poly Aftertouch):
Polyphonic aftertouch. These MIDI
messages apply aftertouch to
individual keys.
CC (Control Change):
Control change messages. These
MIDI messages apply various effects
such as modulation or expression.
PC (Program Change):
Program change messages. These
MIDI messages select sounds.
CAF (Channel Aftertouch):
Channel aftertouch messages. These
MIDI messages apply aftertouch to
an entire MIDI channel.
Bend (Pitch Bend):
Pitch bend messages. These MIDI
messages change the pitch.
SysEx (System Exclusive):
System exclusive messages. These
MIDI messages are used to make
settings unique to the Fantom-S,
such as sound parameters.
4.
Turn the VALUE dial or press [INC]/[DEC] to add a check mark.
The message will be recorded if you assign a check mark (
✔
),
and will not be recorded if you remove the check mark.
If you press [5 (All Off)], no sequencer data will be recorded.
If you press [6 (All On)], all of the sequencer data will be recorded.
5.
Press [EXIT] to close the Recording Select window.
Erasing Unwanted Data While You
Record (Realtime Erase)
Realtime Erase is a function that erases unwanted data during
realtime recording. This is particularly convenient during loop
recording, since it lets you erase data without stopping recording.
Realtime Erase can be executed only if the Recording Mode is set
to “MIX.”
1.
Begin realtime recording (p. 142).
The Realtime Recording window appears.
fig.10-08_50
2.
Press [6 (Erase)].
The Realtime Erase window appears.
fig.10-09_50
3.
Erase unwanted data.
To erase all data (except for Pattern Call messages), press [7 (Erase
All)]. Data will be erased for as long as you hold down the button.
To erase notes of a specific key, hold down that key. Data for
that note will be erased for as long as you hold down that key.
To erase notes of a specific key range, hold down the top and
bottom keys of that range. Data for that range will be erased for
as long as you hold down those keys.
4.
Press [8 (Close)] to close the Realtime Erase window.
You will return to the normal recording state.
Auditioning Sounds or Phrases While
Recording (Rehearsal Function)
The Rehearsal function lets you temporarily suspend recording
during realtime recording. This is convenient when you want to
audition the sound that you will use next, or to practice the phrase
that you will record next.
1.
Begin realtime recording (p. 142).
The Realtime Recording window appears.
fig.10-08_50
2.
Press [7 (Rehearsal)] or [REC].
The [REC] indicator will blink, indicating that you are in
rehearsal mode. In this state, nothing will be recorded when you
play the keyboard.
3.
To return to record mode, press [7 (Rehearsal)] or [REC]
once again.
Reference_e.book 145 ページ 2003年7月14日 月曜日 午後3時25分


