167
Editing Songs
Editing Songs
Changing the Time Signature
Midway Through the Song
If you want to change the time signature midway through the song,
insert a new Beat Change. The song will play back using that time
signature for measures following the inserted beat change.
• It is not possible to change the time signature in the middle of a
measure. You must change the time signature at the beginning of
a measure.
• If the time signature of the beat track differs from the pattern
beat (p. 142) setting, the setting of the beat track will be used. For
example, if a pattern with a 3/4 time signature is assigned in the
middle of a 4/4 song, the pattern will not be aligned correctly
with the other phrase tracks. To make this play back correctly,
insert a 3/4 beat change into the beat track. To return the time
signature to 4/4, insert a 4/4 beat change into the measure that
follows the last measure of the pattern.
If you want to change the time signature from a measure that is
later than the end of the song, or if it is ok to change the length of
the song, you will find it more convenient to use the track edit
Insert Measure function (p. 156).
1.
Access the Microscope screen (p. 162).
Press [7 (Trk/Ch Select)], select “BEAT” to “Track.”
2.
Press [1 (Create)].
The Create Event window appears.
fig.11-36_50
3.
Press [8 (Exec)].
The Create Position window will appear.
4.
Use or to move the cursor to the “measure,”
“beat,” and “clock” fields,
5.
Turn the VALUE dial or Press [INC]/[DEC] to specify the
location at which the data will be inserted.
6.
Press [8 (OK)] to insert the beat change data.
7.
The inserted beat change will have the default values, so
edit it as necessary.
If you are not satisfied with the results of executing this
operation, from the Song Play screen, press [MENU], and from
the Menu window that appears, select “Undo/Redo” to return
to the state prior to execution (Undo/Redo).
After executing Undo, you can use Redo to revert to the
previous state. After executing Undo, you can execute Redo by
performing the above procedure the above procedure once
again.
Assigning a Name to a Song
(Song Name)
You can assign a song name to a song, or edit the song name. This
song name is independent of the file name assigned when saving a
song to user memory or memory card. Although you are not
required to assign a song name, you can assign one using up to 15
characters, and you may find it a convenient way to store a title or
memo that will help you organize your songs.
Some commercially available Standard MIDI Files contain
copyright data. It is not possible to assign or modify the song
name for such songs.
1.
Access the Song Edit screen, and then load the song whose
song name you want to assign (p. 170).
2.
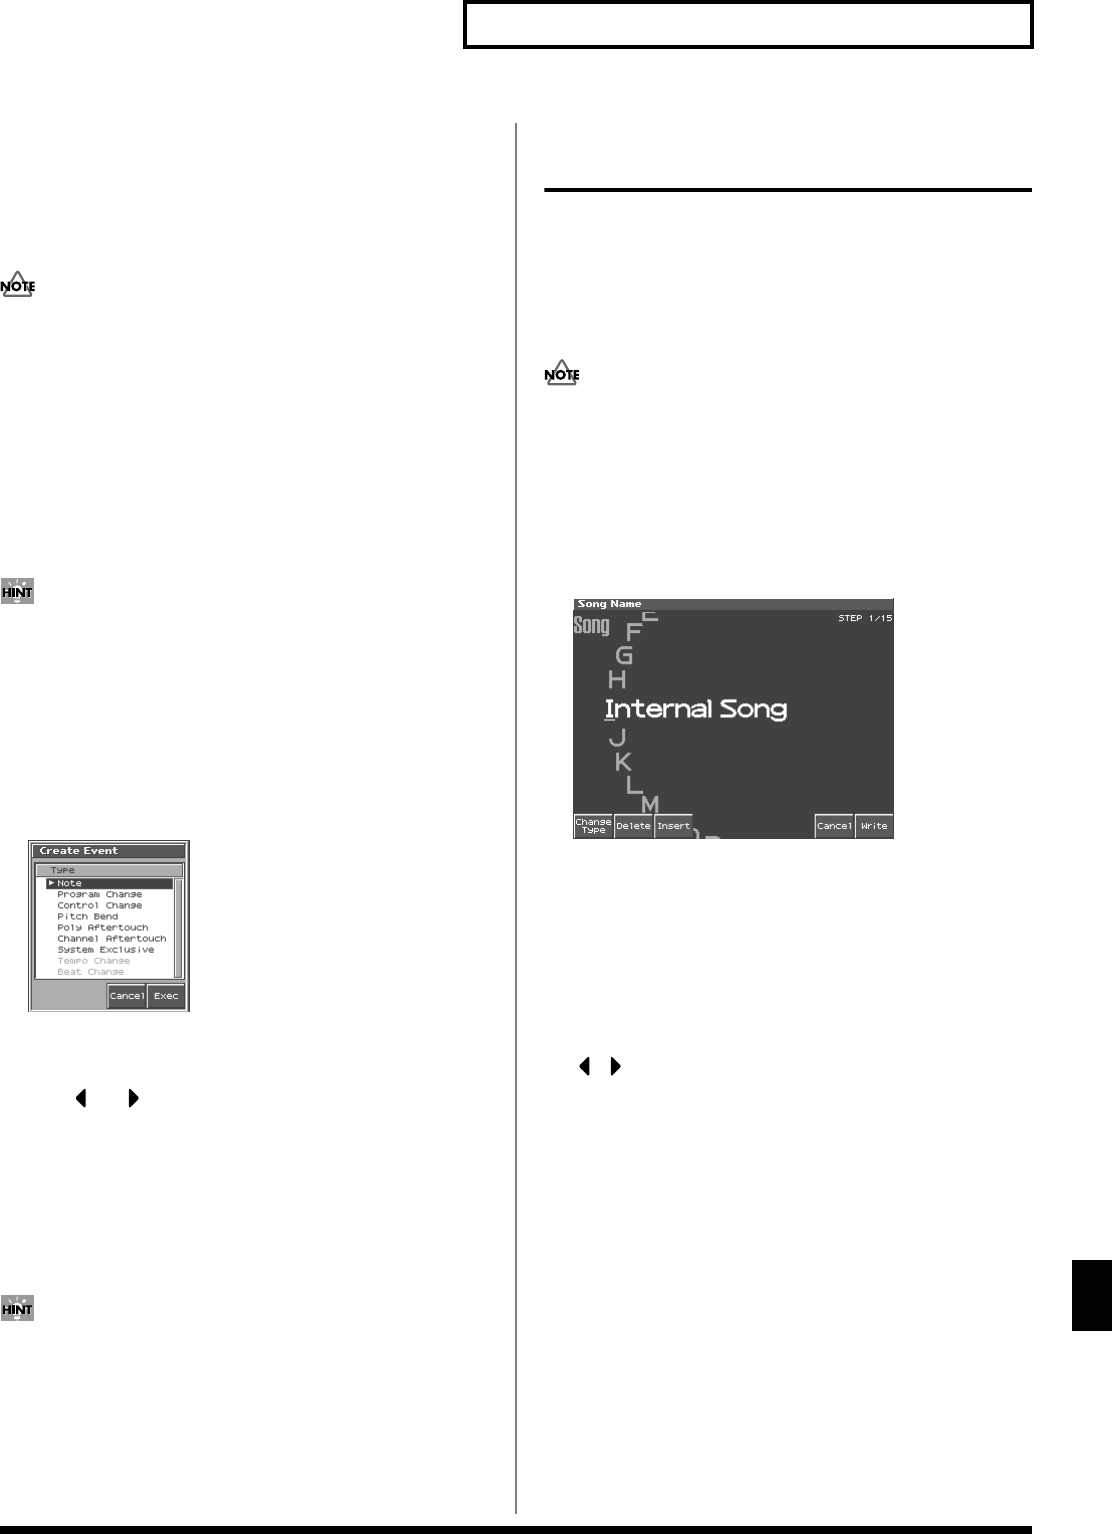
Press [7 (Song Name)].
The Song Name screen appears.
fig.11-06_50
3.
Assign a song name to the song. (up to 15 characters).
• [1 (Change Type)]: Selects the type of character. Each time you
press this, you will alternately select the first character of the
uppercase letters (A), lowercase letters (a), numerals and
symbols (0).
• [2 (Delete)]: Deletes the character at the cursor, and shifts the
subsequent characters forward by one.
• [3 (Insert)]: Inserts a space (blank) at the cursor location.
•, : Move the cursor.
• VALUE dial, [INC][DEC]: Select characters.
4.
After you have assigned a name, press [Write].
If you decide to cancel, press [7 (Cancel)].
* You can use the pads to specify characters (p. 25).
Reference_e.book 167 ページ 2003年7月14日 月曜日 午後3時25分
