185
Transferring Data to/from Your Computer via USB
Transferring Data to/from Your Computer via USB
Importing Audio file
(Import Audio)
Here’s how to import an audio file (WAV/AIFF).
1.
Press [Save/Load].
2.
Press [8 (Import Audio)].
3.
Press [1 (User)] or [2 (Card)] to select the import-destination
area.
[1 (User)]: Import from user memory.
[2 (CARD)]: Import from a memory card.
4.
Press or , then select the file that you want to
import.
If you want to select two or more samples, press [5 (Mark Set)] to
add a check mark (
✔
) to the files that you want to select. To
remove the check mark, press [4 (Mark Clear)].
If you hold down [SHIFT] and press [5 (Mark Set All)], a check
mark will be added to all files of the selected bank. If you hold
down [SHIFT] and press [4 (Mark Clr All)], check marks will be
removed from all selected files.
5.
Press [8 (Import)].
A message will ask you for confirmation.
* To cancel, press [7 (Cancel)].
6.
Press [8 (Exec)].
The file will be imported, and the Sample List screen will appear.
* To cancel, press [7 (Cancel)].
The imported file will be added to the sample list as a sample.
This sample is temporary, and will be lost when you turn off the
power. If you want to keep it, press [WRITE] to save the data.
Using a Bitmap File as a
Background in the Display
For example, you can import a favorite bitmap file into the Fantom-
S, and use it as a background in the display screen.
* The only files that can be transferred between the Fantom-S and your
computer are
bitmaps (320 x 240 pixels)
.
Importing a Bitmap File (Import BMP)
Here’s how to import a copied file and use it as the background in
the Fantom-S’s display.
1.
Press [MENU].
2.
Press or to select “System”, and then press [ENTER].
3.
Press [1 (
⇑
)] or [2 (
⇓
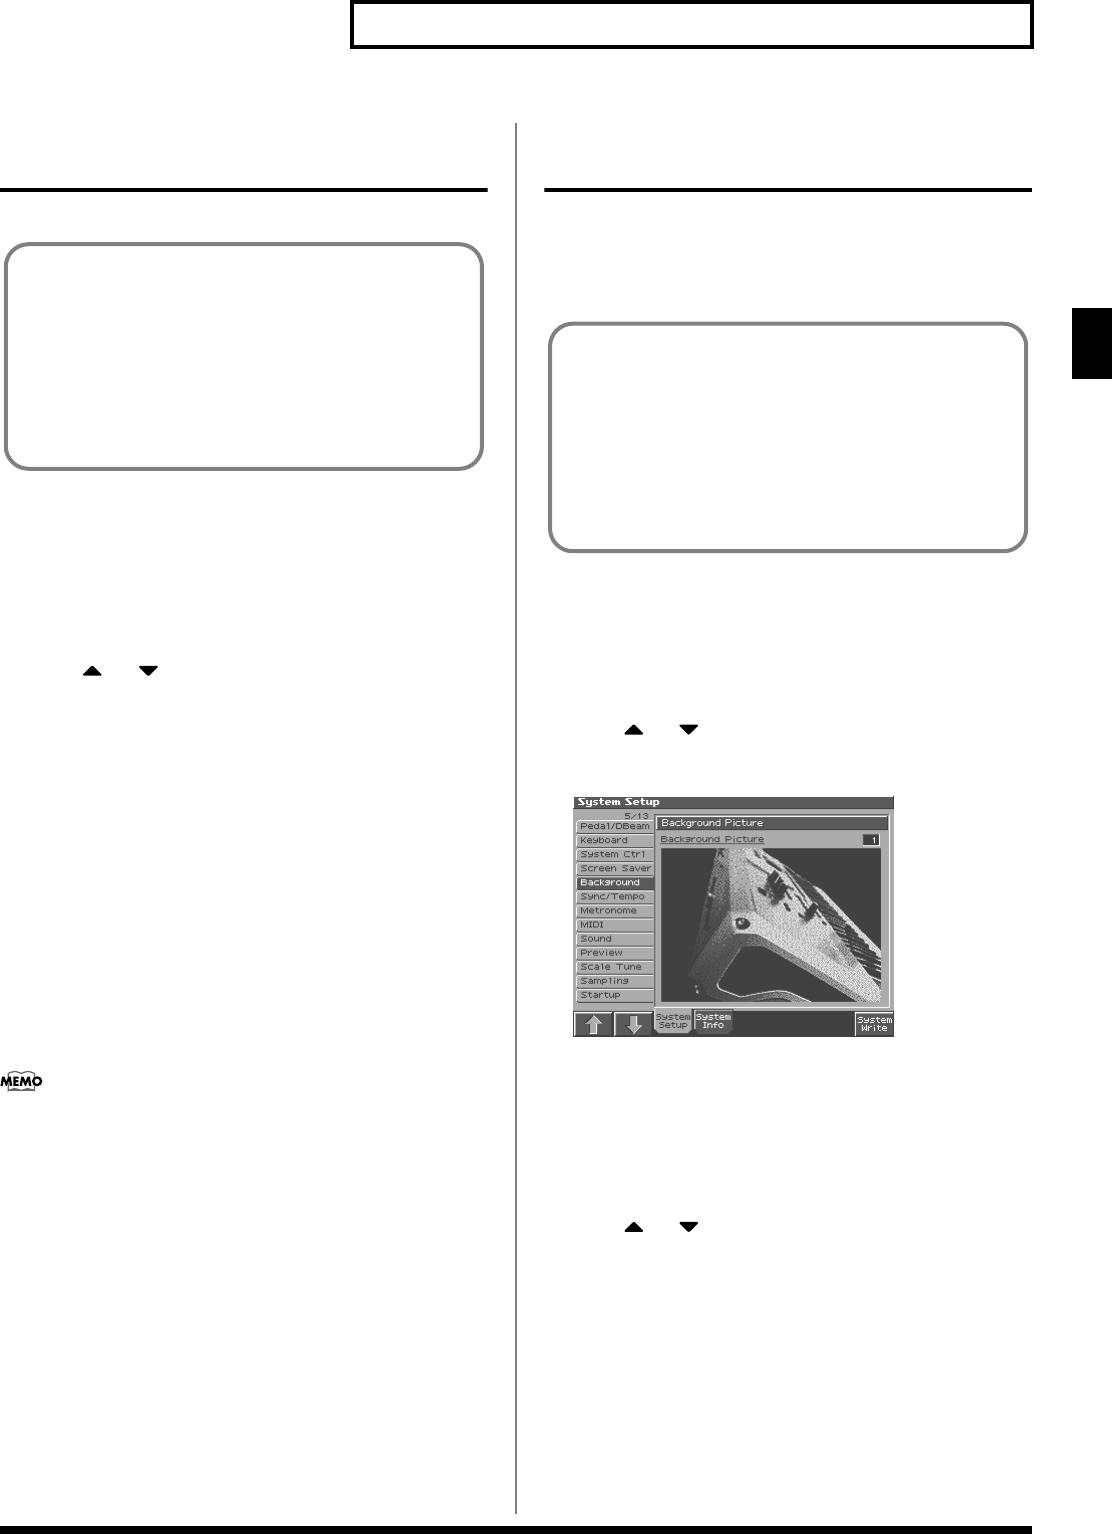
)] to select “Background.”
fig.USB03_50
The Fantom-S has ten screens in which a background is
displayed. The imported file will be overwritten onto the
currently selected screen.
4.
Press [7 (Import BMP)].
5.
Press [1 (User)] or [2 (Card)] to select the import-destination
area (user memory or card).
6.
Press or , then select the file that you want to import.
7.
Press [8 (Import BMP)].
The file you want to import will be displayed.
* To cancel, press [7 (Cancel)].
8.
Press [8 (Exec)].
The file will be imported.
* To cancel, press [7 (Cancel)].
9.
Press [EXIT].
* The imported file is temporary, and will be lost when you turn off the
power. If you want to keep it, press [8 (System Write)] to save the data.
In order to import a file, it must be located in the following
folder on your computer.
• Windows Me/2000/XP users
Removable disk/TMP/AUDIO_IMPORT folder
• Macintosh users
FANS USER/TMP/AUDIO_IMPORT folder
* “/” indicates a directory level.
In order to import a file, it must be located in the following
folder on your computer.
• Windows Me/2000/XP users
Removable disk/TMP/BMP folder
• Macintosh users
FANS USER/TMP/BMP folder
* “/” indicates a directory level.
Reference_e.book 185 ページ 2003年7月14日 月曜日 午後3時25分


