80
Playing in Performance Mode
fig.01-18_50
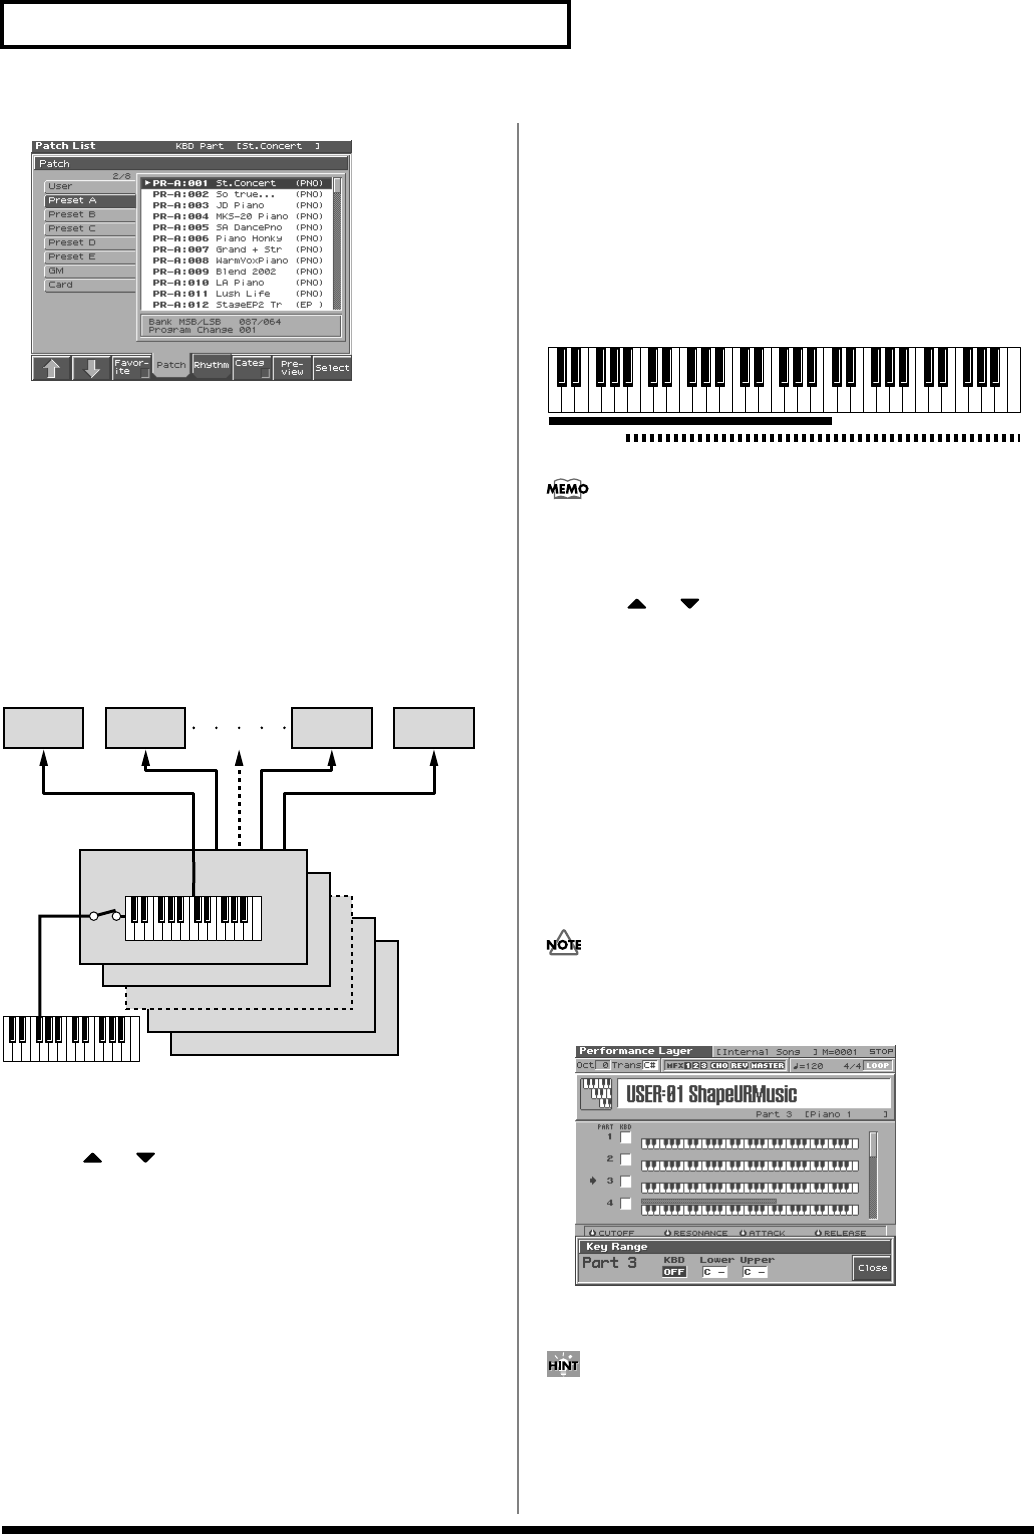
To switch groups, press [1 (
⇑
)] [2 (
⇓
)].
By Pressing [7 (Preview)] you can audition the sound of the
patch, by means of a phrase preselected as being suitable for that
particular type (category) of patch (Phrase Preview).
4.
Press [8 (Select)] to select the patch.
Combining and Playing Sounds
Together (Layer)
In Performance mode you can play the sounds of all parts whose
Internal Switch is on, and all connected parts. Combining the parts
will produce, thicker, fatter sounds.
fig.05-07.e
1.
Press [LAYER/SPLIT] to access the Layer screen.
2.
Press or to select the part you want to play.
The Performance Edit screen appears.
3.
Press [INC] to add a check mark to the part that you want to
sound.
Pressing [DEC] will remove the check mark.
The bar shown above the keyboard indicates the range of keys
that will sound.
When you play the keyboard, you will hear the current part and
the parts that have a check mark.
4.
Repeat steps 2. 3. to turn the Internal Switch on for all parts
that are connected to the parts you want to play.
Playing Different Sounds in Different
Areas of the Keyboard (Split)
In Performance mode you can divide the keyboard and play a
different patch in each area (this is called “split”). As the note range
that plays each part can be specified individually, you can split the
keyboard into a maximum of 16 sections.
For instance, you can play strings in the lower range, piano in the
upper range, and both sounds in the middle range.
fig.05-09.e
A split performance is one application of a layer. Changing the
key range of each part in the layer results in a split.
1.
Press [LAYER/SPLIT] to access the Layer screen.
2.
Press or to select the part you want to play.
3.
Press [3 (Key Range)].
4.
Press [3 (KBD)], move the cursor to the keyboard switch,
and press [INC] to turn on the keyboard switch that is
connected to the part you want to sound.
5.
To set the lower limit of the range, use [4 (Lower)] to move
the cursor to “Key Range Lower.” To set the lower limit of
the range, use [5 (Upper)] to move the cursor to “Key Range
Upper.”
Turn the VALUE dial or press [INC]/[DEC] to specify the range.
The bar shown above the keyboard indicates the range of keys
that will sound.
If you attempt to set the lower limit higher than the upper limit,
or attempt to set the upper limit below the lower limit, the other
setting will change with the same value.
fig.05-24_50
Value:
Key Range Lower: C-1–UPPER
Key Range Upper: LOWER–G9
By specifying sections for different parts so that they overlap each
other, you can combine two or more parts only in a specific section.
6.
When you are finished making settings, press [8 (Close)] to
return to the Performance Layer screen, and begin playing.
16(Tx ch.16)
15 (Tx ch.15)
2 (Tx ch.2)
1 (Tx ch.1)
Part 1
(Rx ch.1)
Part 2
(Rx ch.2)
Part 16
(Rx ch.16)
Part 15
(Rx ch.15)
Rx ch.: Receive Channel
Tx ch.: Transmit Channel
KBD Switch:
On
Part 1: Strings
Part 1 + Part 2:
(Strings + Piano)
Part 2: Piano
Reference_e.book 80 ページ 2003年7月14日 月曜日 午後3時25分


