4.7 Optical drive 4 Replacement Procedures
4.7 Optical drive
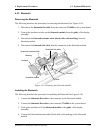
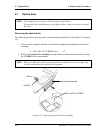
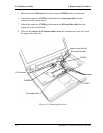
NOTE: Do not apply excessive force to the top of an optical drive.
Do not touch the shaded portion of the figure below, when you remove or install
the drive.
Removing the optical drive
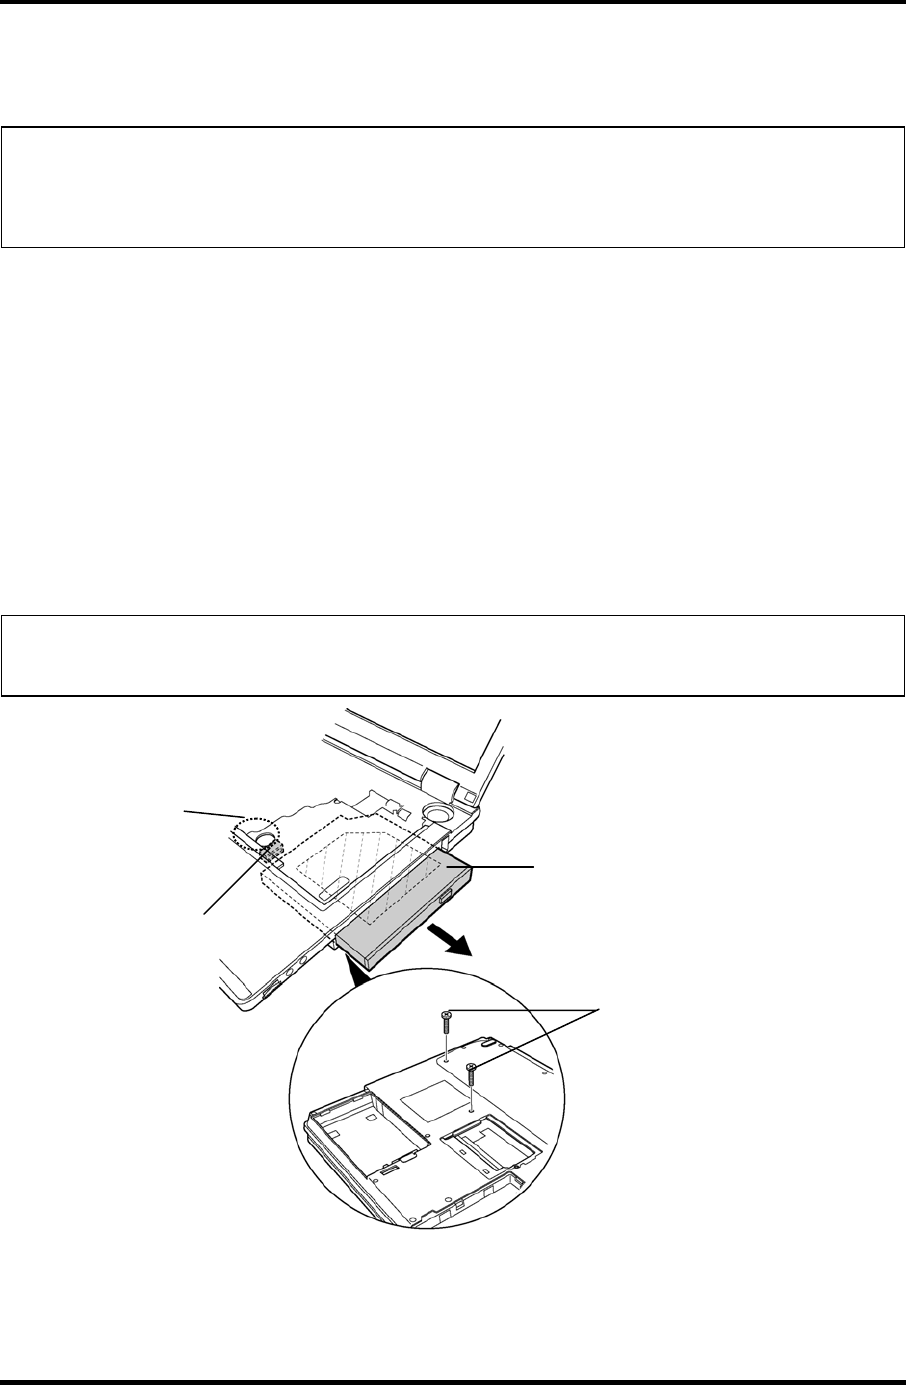
The following describes the procedure for removing the optical drive (See Figure 4-12 and 4-
13).
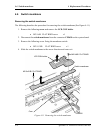
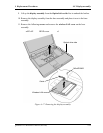
1. Turn over the computer and remove the following screws securing the optical drive
assembly.
• M2.5×4B FLAT BIND screw x2
2. Pull out the optical drive assembly towards the arrow direction to disconnect it from
the CN1820 on the system board.
NOTE: When it is difficult to pull out the optical drive assembly, insert your finger into
the slot and push out the optical drive assembly.
Slot
Optical drive assembly
CN1820
M2.5 x 4B FLAT BIND
Figure 4-12 Removing the optical drive assembly
4-24 QOSMIO F10 Maintenance Manual (960-498)


