4 Scan
74 Xerox 6204 Wide Format Solution
Scan
4
Step 3 Starting a Scan Job
Set the original in place.
Important • The original may jam if pressure is applied to the top of the original or it is pulled during
scanning.
• When originals that contain holes are to be loaded, make sure that the area with the holes is
fed in last. The original may jam if the area with the holes is fed in first.
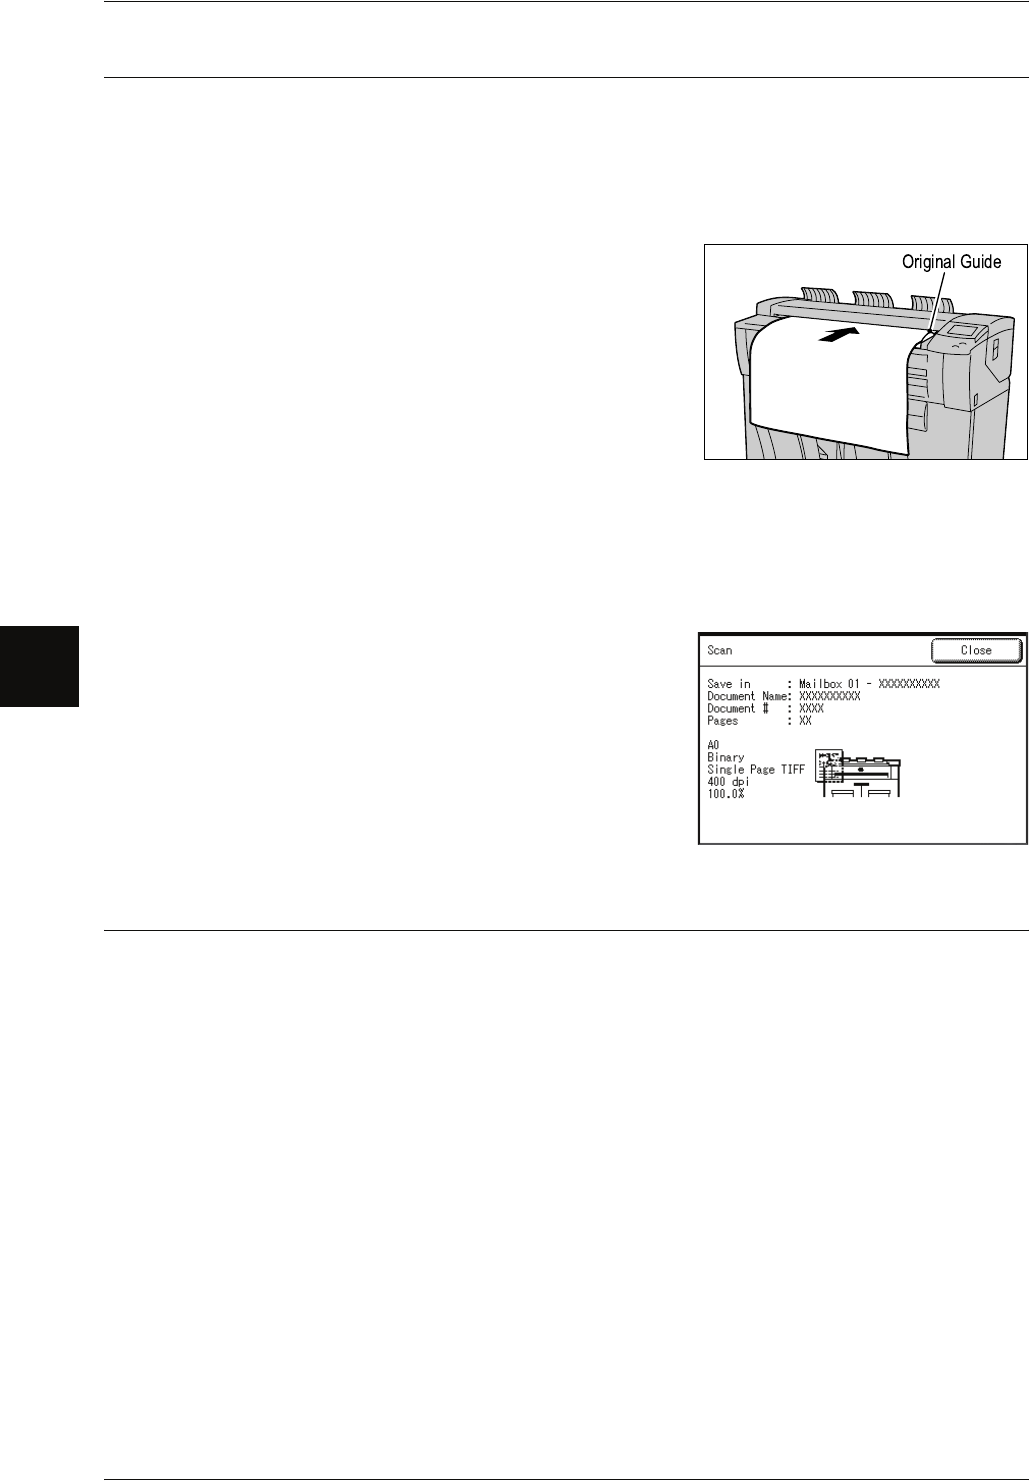
1 Align the original with the original guide facing
down, and insert the lead edge of the original
into the machine until it stops.
The original is fed, and it stops moving after it has slid into
the machine. Then the machine starts scanning
automatically.
Note • The original guide can be moved to the right
edge depending on the original.
Important • Hold the original while it is being fed. If you
release the original at the point it stops, it may
result in paper jams.
Note • If the scan start mode has been set to [Manual Start], press the <Start> button. If a problem
occurs, an error message appears in the touch screen. Solve the problem as instructed in
the message.
For information about a manual start, refer to "Scan Start Mode" (P.127).
2 Remove the ejected original.
Step 4 Importing Scanned Data
Import the scanned data stored on the machine’s mailbox into your computer. Importing
can be done in the following ways:
For more information, refer to "Importing Scanned Data" (P.111).
Import the Scanned Data Using Wide Format Scan Service
You can create files directly from the scan data that is stored on the machine’s mailbox.
Import the Scanned Data Using the Application
You can import using the network scan driver.
