


8-4
File Transfer
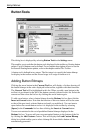
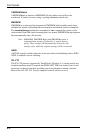
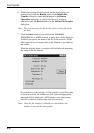
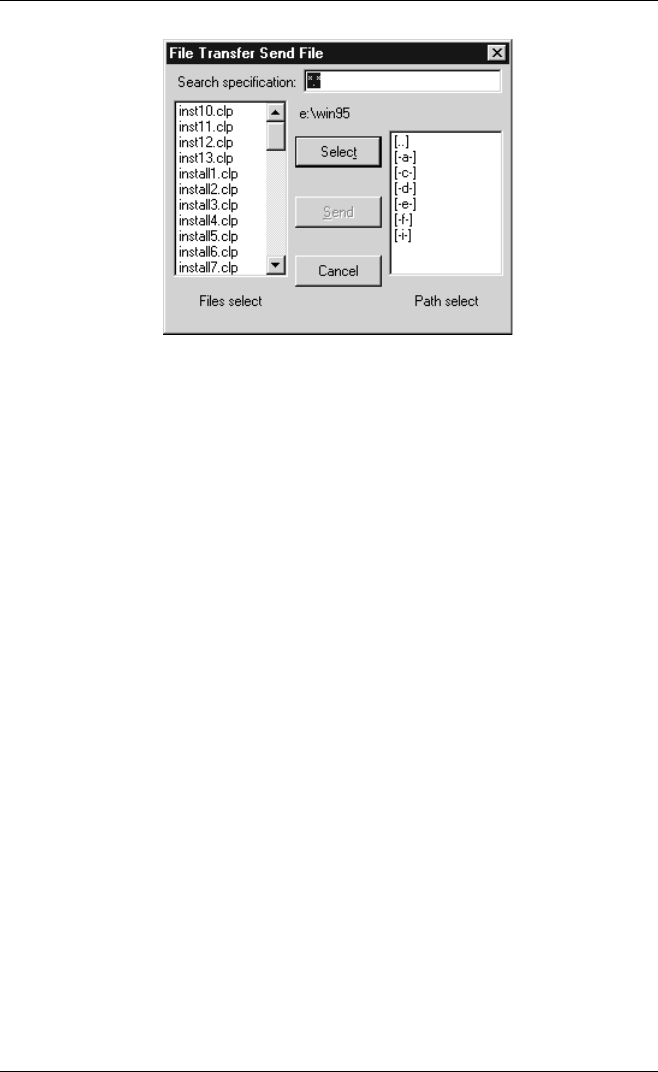
7. Specify the directory which contains the file(s) for transfer in the
right list box by clicking on one of the path options and clicking
the Select button until the full directory path displayed above the
list box is correct. The files contained in this directory will be
displayed in the left list box.
8. Display the name(s) of the file(s) to send in the left list box, either
by using the scroll bar or by specifying a filename type (e.g. *.exe
for all files ending with .exe) in the Search specification text box
then pressing Return or clicking the Select button.
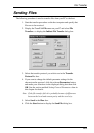
Note: Using the Search function will cause all filenames
displayed in the list box to be automatically selected.
9. Select the file to send by clicking on the filename in the left list
box to highlight it. If more than one file is to be sent, hold down
the Ctrl key while clicking each additional filename. If the files
for selection are listed contiguously, point to the first file then
hold down the Shift key while dragging the mouse.
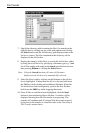
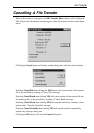
10. Once all files to send have been highlighted, click the Send
button to start transferring data to the host. A window will be
displayed showing how the file transfer is progressing. The
transfer will continue until all selected files have been received
by the host or the transfer is cancelled (refer to the Cancelling A
File Transfer section later).