CHAPTER 8: Link Configuration
73
When the local Multiserver 5000 connects to
another Multiserver, it scans the remote Multiserver,
reads the node ID and numbers of the remote
Multiserver and feeder muxes, and stores the
information in memory.
C
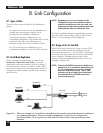
ONNECTING MULTISERVER UNITS BACK TO BACK
Follow these steps to connect a Multiserver directly
to another Multiserver:
1. Configure a node name and number (other
than the default) for each unit.
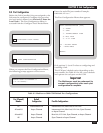
2. Configure a port on each unit for an
interconnect link. When configuring the port,
select an internal speed from options 2 through
11 on the SET LINK RATE Menu.
NOTE: Both sides of the interconnect link must be
set for the same speed.
3. Connect the two units with a male-to-male
crossover cable (EZ423-0015).
4. Perform a node-reset to current configuration
on each unit.
R
EMOTE MULTISERVER CONFIGURATION
You can configure a remote Multiserver from your
local unit. If you will be configuring more than one
remote Multiserver, you should connect one
interconnect link, then reconfigure the remote
Multiserver (and its feeder muxes) associated with
that link. Then connect the next interconnect link
and configure the next remote Multiserver (and its
feeder muxes) and so forth until all the remote
Multiservers (and their feeder muxes) are
configured.
If the remote Multiserver has not been configured
in any way, the interconnect link must be attached
to port A1 on the remote unit (or directly to the
56K CSU/DSU module). This is the only port which
is, by default, configured for an interconnect link.
Once the interconnect link between the two
Multiservers is functioning properly, you will be able
to access the Command Facility of the remote
Multiserver to begin remote configuration.
The remote Multiserver has a default node number
and node ID. You will need to rename and
renumber the remote node.
In the example shown here, the local node is
NEWYORK. The remote node will be called
DENVER. The number chosen for the DENVER
node will be 50. To review syntax requirements for
either the node number or ID, see Section 3.4,
Syntax for Node Numbers and IDs
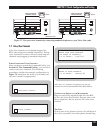
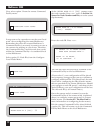
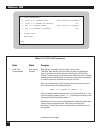
Begin remote configuration by choosing option 4
from the Command Facility Main Menu:
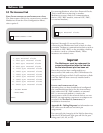
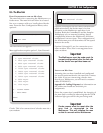
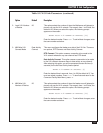
The screen will display the following prompt:
Enter
!240 (or enter the remote node ID if one
has already been configured). Press <cr>. The
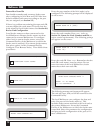
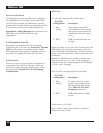
remote Command Facility will prompt you for its
password:
Press <cr> (or enter the password if one has
already been configured). The remote Command
Facility Main Menu will be displayed. It will look
exactly the same as the local Command Facility,
except that the node ID of the remote node will be
displayed at the top of the screen. This is the only
difference between the two menus.
COMMAND FACILITY MAIN MENU [NEWYORK]
CONFIGURE/VIEW REMOTE NODE
4
ENTER REMOTE NODE-ID
(^X TO ABORT): !240
ENTER REMOTE COMMAND FACILITY
PASSWORD (^X TO ABORT): <cr>


