Paper Jams
7-25
Troubleshooting
7
22
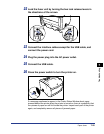
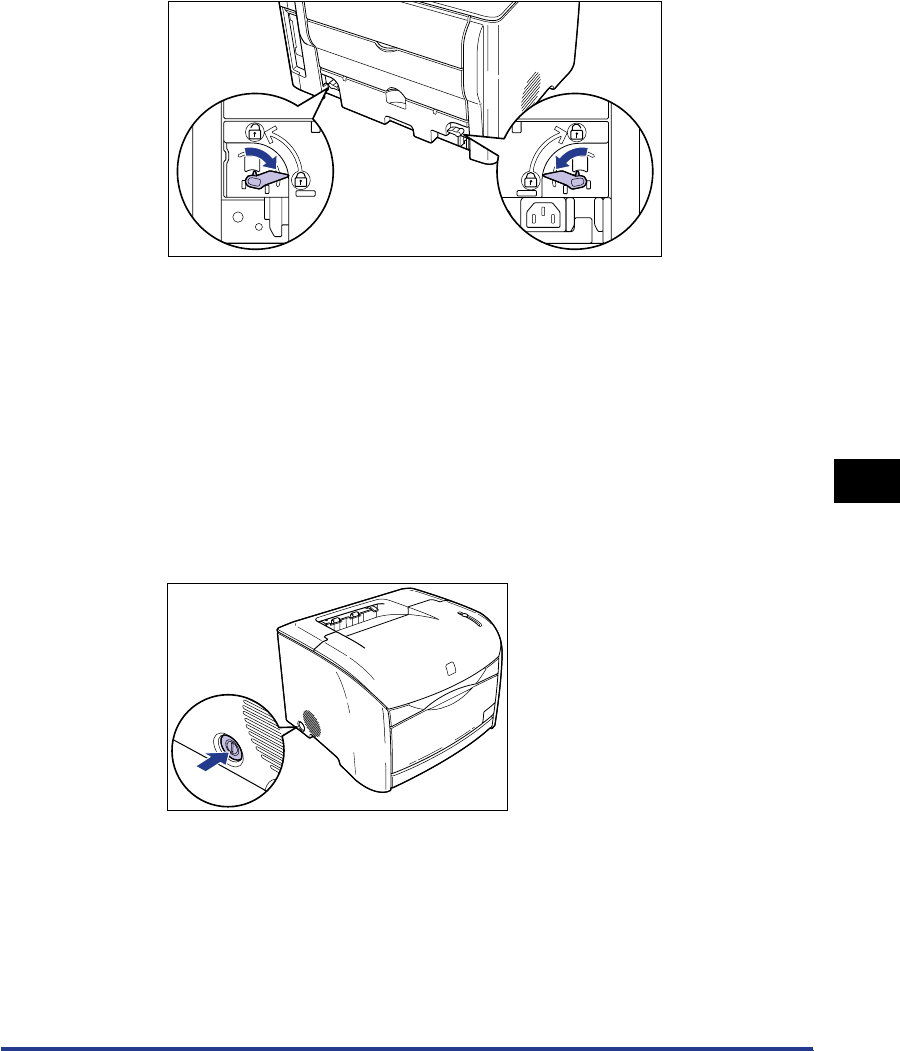
Lock the fuser unit by turning the two lock release levers in
the directions of the arrows.
23
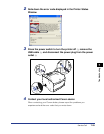
Connect the interface cables except for the USB cable, and
connect the power cord.
24
Plug the power plug into the AC power outlet.
25
Connect the USB cable.
26
Press the power switch to turn the printer on.
If a message continues to appear in the Printer Status Window about paper
jammed behind the printer when the printer is turned on, there is a possibility that
torn pieces of paper are still left inside the printer. Inspect each part of the printer
again, and completely remove all pieces of jammed paper.


