


9-6 Dell Precision 210 Desktop Systems User’s Guide
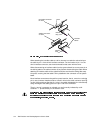
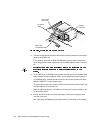
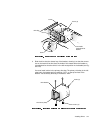
If a drive is already installed in the bay and you are replacing it, be sure to dis-
connect the DC power cable and interface cable from the back of the drive before
sliding the bracket out of the bay. To remove the old drive from the bracket,
unscrew the four screws that secure the drive to the bracket (see Figure 9-6).
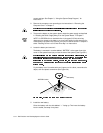
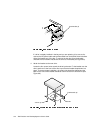
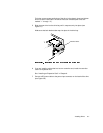
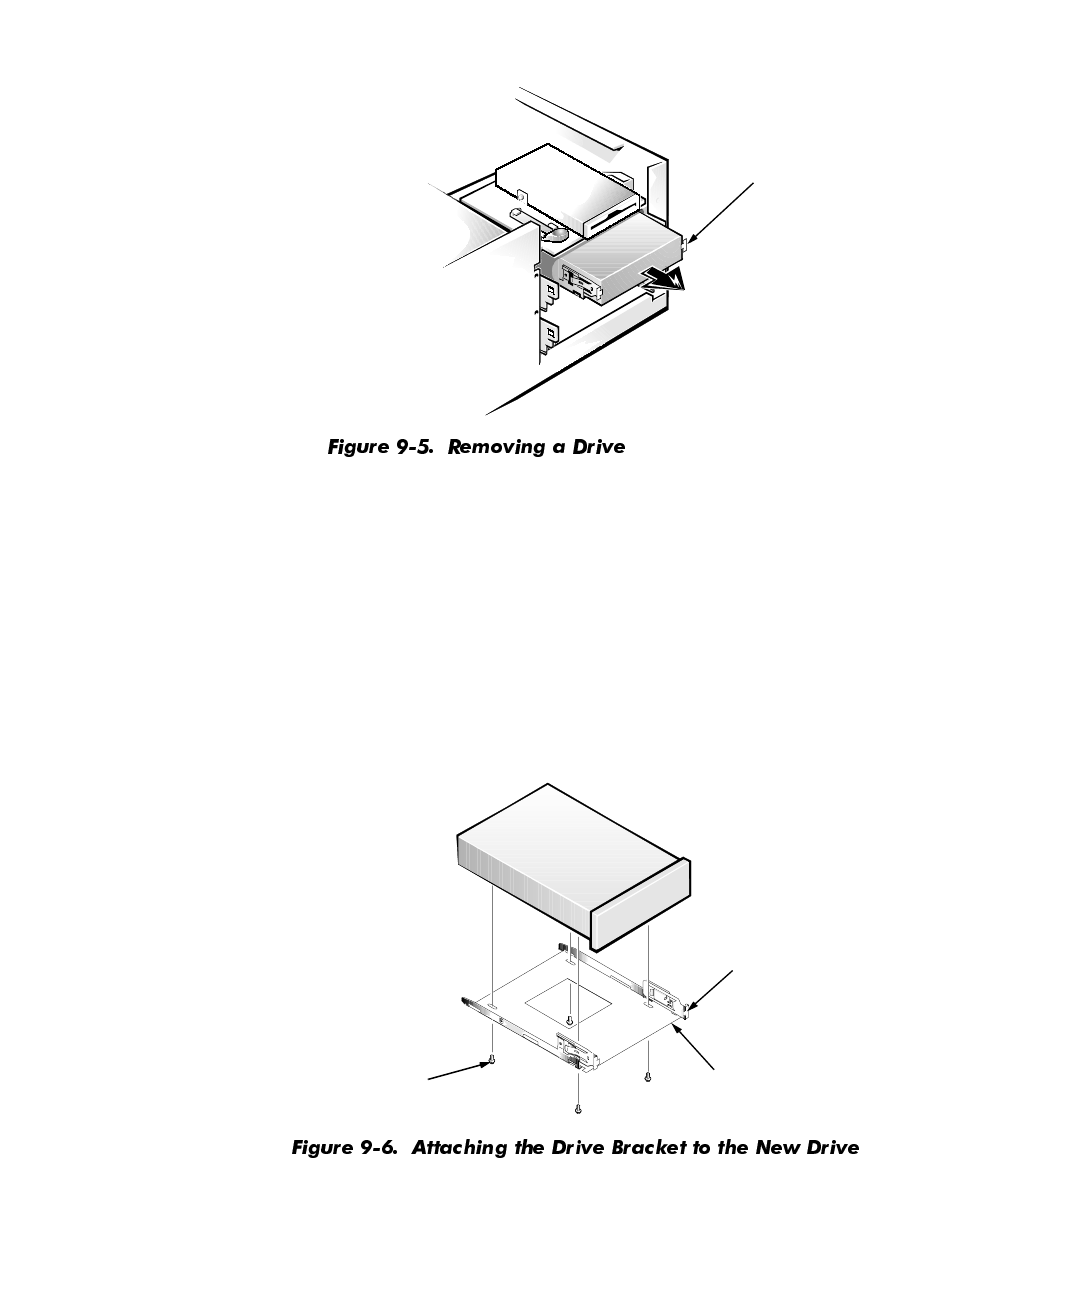
4. Attach the bracket to the new drive.
Locate the four screw holes around the drive’s perimeter. Fit the bracket over the
drive, and then tilt the front of the drive up so that the bracket drops down into
place. To ensure proper installation, all screw holes should be aligned and the
tabs on the front of the bracket should be flush with the front of the drive (see
Figure 9-6).
bracket tabs (2)
bracket
bracket tabs (2)
screws (4)