


DC Controller
1 Remove the Printer Covers.
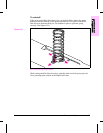
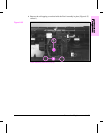
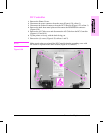
2 Disconnect the motor connector from the motor (Figure 6-38, callout 1).
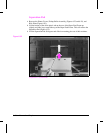
3 Disconnect the Solenoid connector from the DC Controller (Figure 6-22, callout 1).
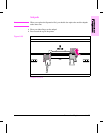
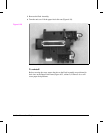
4 Remove the back sheet metal plate and disconnect the PS202/PS204 connector
(Figure 6-28).
5 Remove the AC Cable cover and disconnect the AC Cable from the DC Controller
(Figures 6-13 and 6-14).
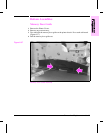
6 Tip the printer on its top, with the back facing you.
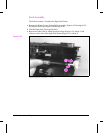
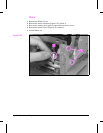
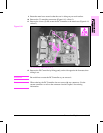
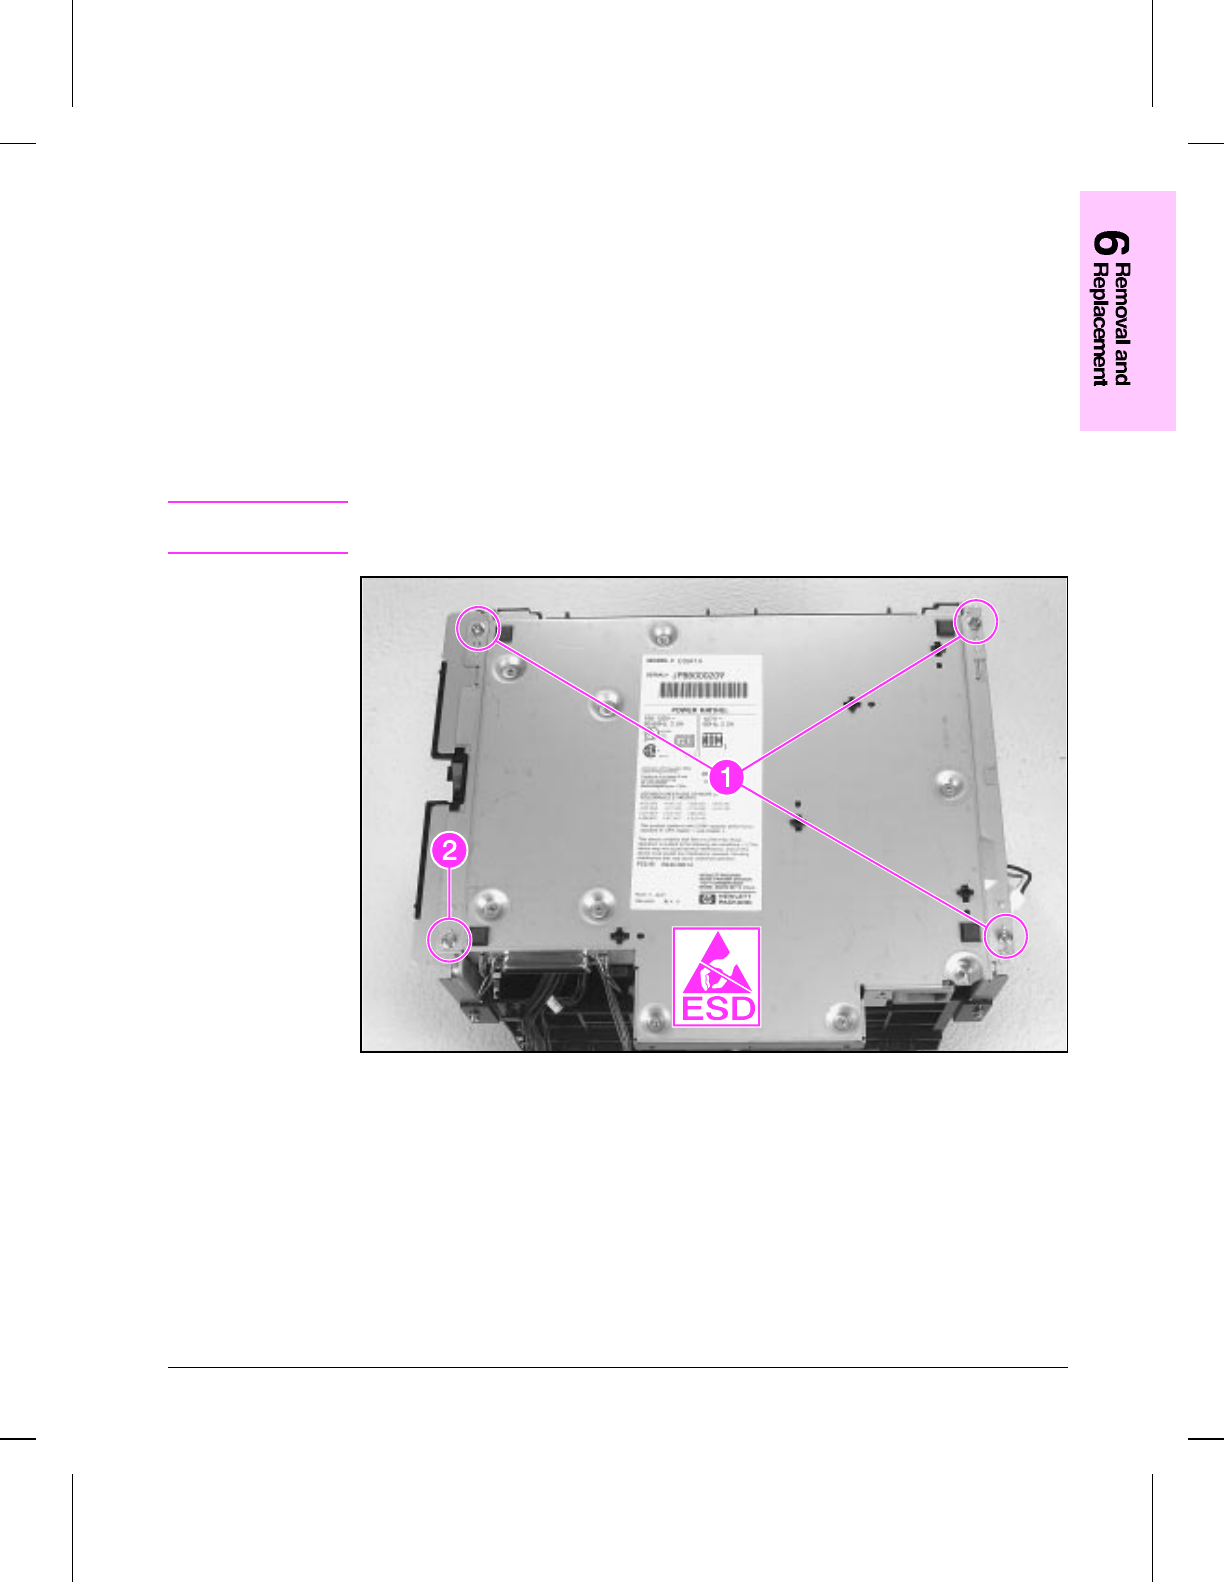
7 Remove the (4) screws (Figure 6-39, callouts 1 and 2).
Note
Make certain when you reinstall the DC Controller that the grounding screw with
the washer is replaced in the same location (Figure 6-39, callout 2).
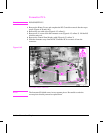
DC Controller Removal (1 of 3)
Figure 6-39
Removal and Replacement 6 - 43