Configuring Frame Relay
Configuring switched Frame Relay connections
MAX 6000/3000 Network Configuration Guide Preliminary January 4, 2001 5-35
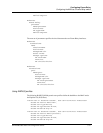
5 Set FR Type=NNI.
6 Specify the data link information as given to you by your Frame Relay Service provider.
7 Exit the profile and, at the exit prompt, select the
exit and accept option.
Configuring a Connection profile
Next, to configure a Connection profile for a Frame Relay switched connection, proceed as in
the following example:
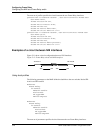
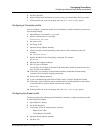
1 Open Ethernet > Connections > any profile
2 Specify a Station name. For example:
Station=fr-sw-conn
3 Set Active to Yes.
4 Set Encaps to FR.
5 Open the Encaps Options submenu.
6 Specify the name of the Frame Relay profile that uses this Connection profile. For
example:
FR Prof=fr-sw-fr
7 Specify the DLCI for this Frame Relay connection. For example:
DLCI=165
8 Open the Telco Options submenu.
9 Set Call Type to Switched.
You can only set Call Type to Switched if the Frame Relay Profile associated with it also
has Call Type set to Switched.
10 If necessary, set AnsOrig to control whether the MAX establishes the Frame Relay
connection for incoming or outgoing connections.
11 Exit the Telco Options submenu.
12 If you are authenticating with CLID or DNIS, specify a Dial#, Calling# and Called#.
13 If necessary, open the Session options submenu and set the Idle parameter to the number
of seconds inactive sessions remain connected. For example:
Idle=120
14 Exit the profile and, at the exit prompt, select the
exit and accept option.
Configuring the Answer profile
To allow incoming calls to bring up the Frame Relay connection, configure the Answer profile
as in the following example:
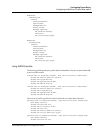
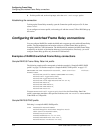
1 Open Ethernet > Answer.
2 Set Profile Reqd=Yes.
3 If necessary, set the Id Auth parameter as follows:
– Require (for CLID)
– Called Require (for DNIS)
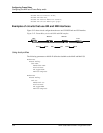
4 Open the Encaps Options submenu.
5 Set FR to Yes.


