Drive Image Professional
Software Utilities
103
6. Click
Next
.
At any point prior to actual image file creation, you can click
Back
to return to the previous step and change your settings.
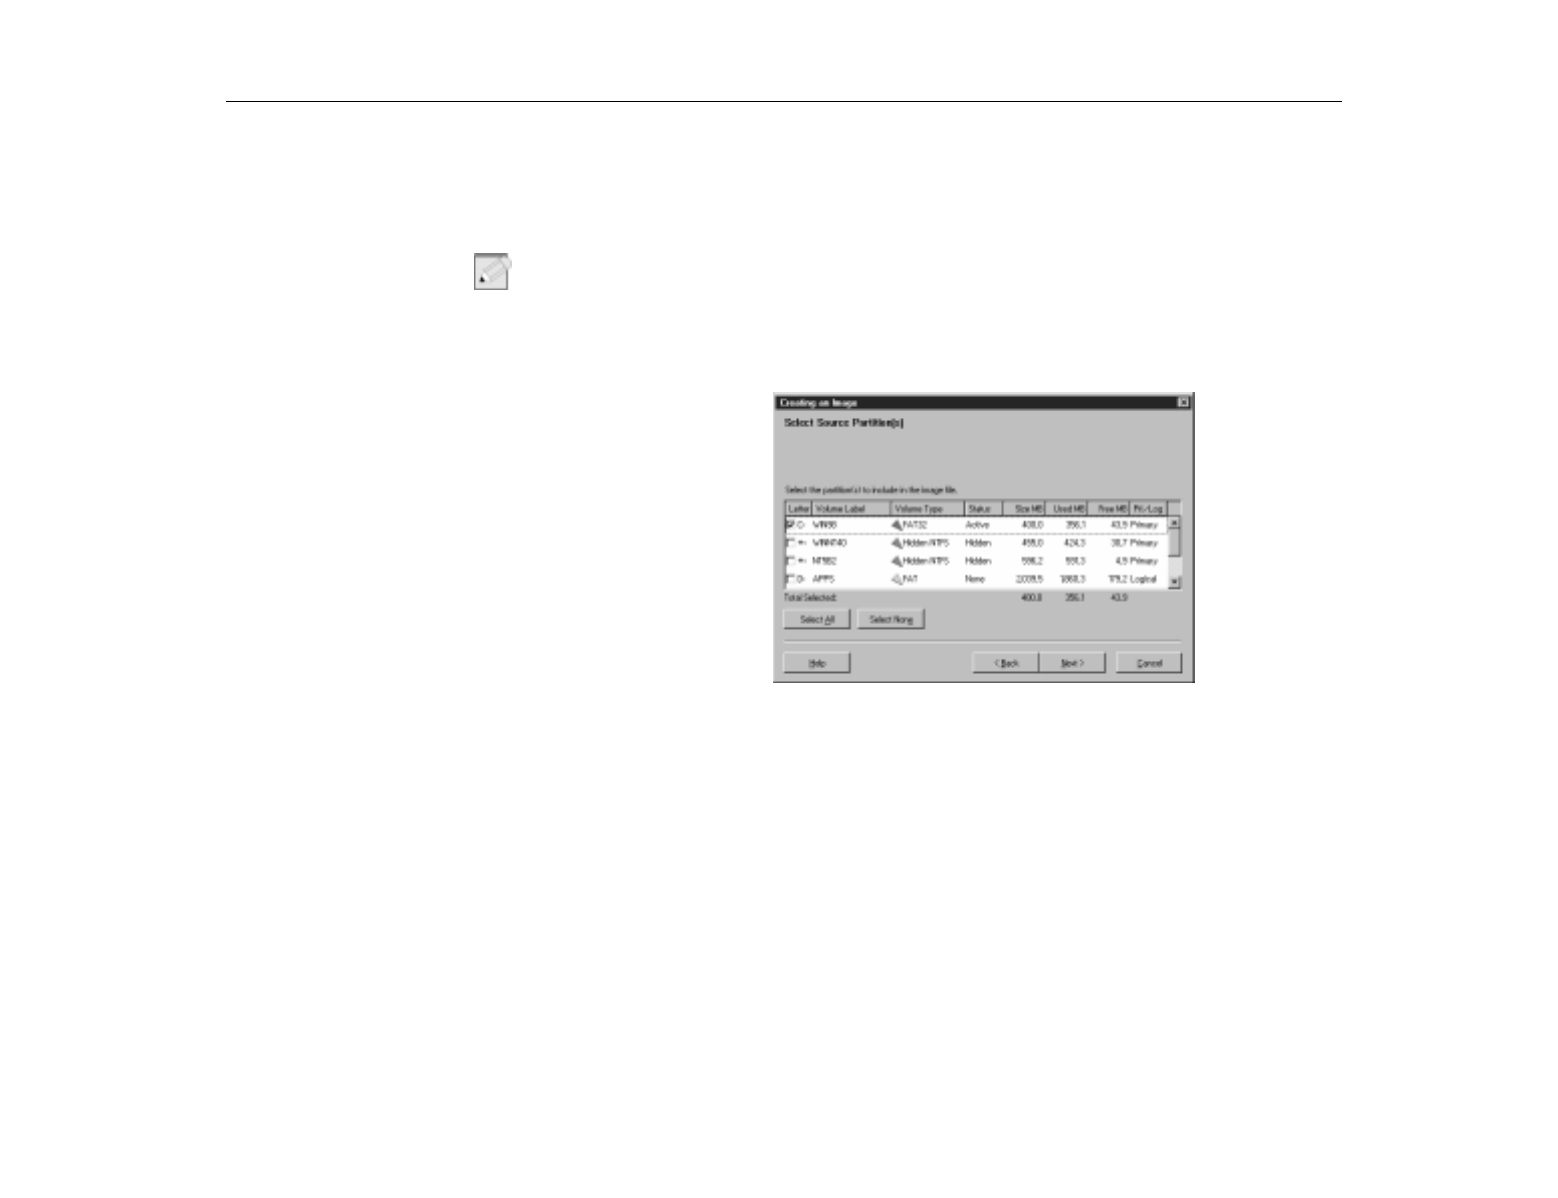
7. Select the source drive partition you wish to include in the image file, or click
Select All
to automatically select all partitions. A check appears to the left of
the selected partitions.
N
OTE
:
For best results in creating your image, you should include the Save-To-Disk
partition as well as the other partitions you wish to back up. Save-To-Disk is
necessary for Power Management features.
To deselect partitions, click again on a partition or click
Select None
to deselect
all partitions at once. The
Total Selected
field displays the disk space for all
selected partitions, as well as the total used and free space within the partitions.
8. Click
Next
. Type the desired path and image filename in the
Image File
field,
for example:
D:\MYIMAGE.PQI
. Make sure there is no existing file with the
same name, unless you want the existing file to be overwritten.
9. You must save your image file to a partition, or other location that you are not
including in your image file. Drive Image uses .PQI as the default image
filename extension. You can also click
Browse
to browse the directory tree for
your desired path or filename. You can save your image file to any physical or
logical drive which has a drive letter. That includes floppy drives, secondary
