6.4 USING F-CODE FEATURES
8
Use the numeric keys to enter the ITU-T-compatible password for this box. This pass-
word can be up to 20 characters in length and include any combination of numbers
and the
and # characters (but no other non-numerical characters).
To change a number, press
or to move the cursor, press CANCEL to erase it. Then
re-enter the number correctly.
9
Press ENTER.
Box Type :Bulletin
/
/Enter
10
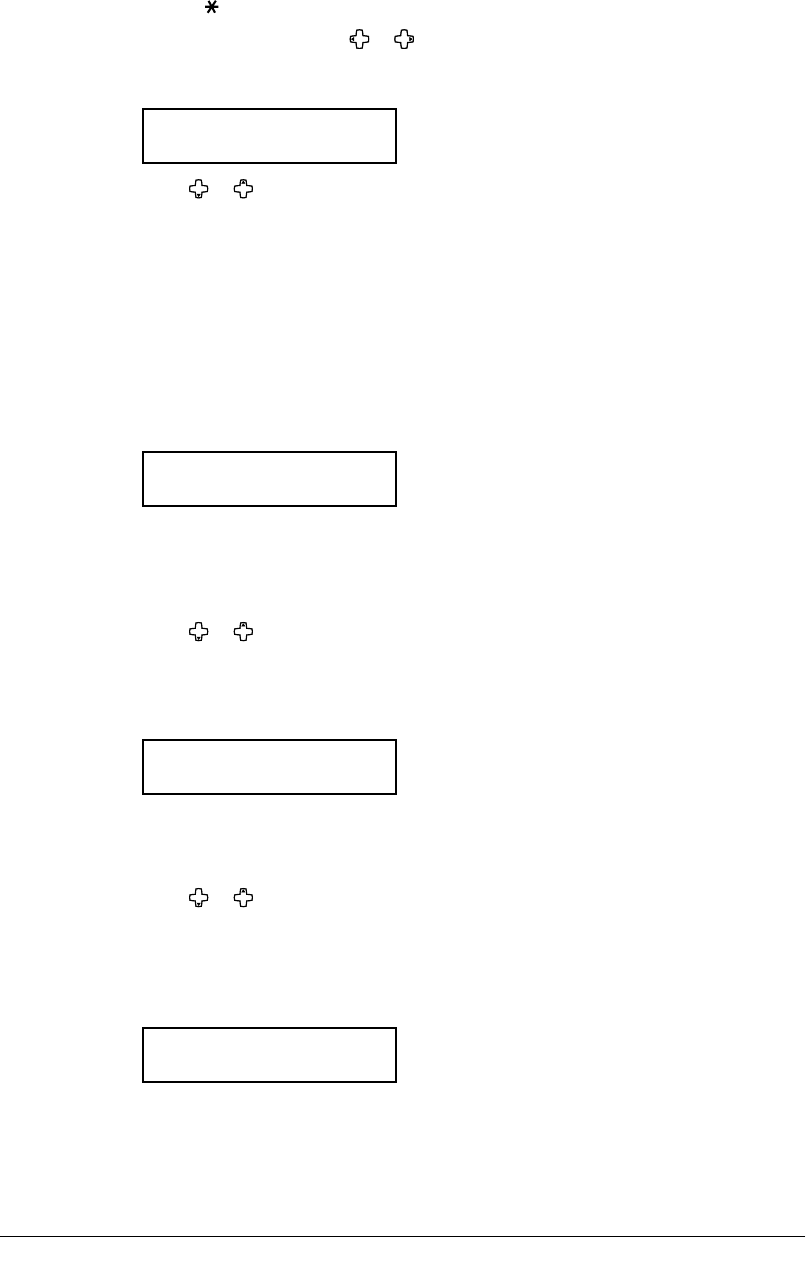
Press or to select the box type, then press ENTER.
If you chose “Bulletin,” go on to step 11.
If you chose “Relay,” skip to step 13.
If you chose “Security,” skip to step 19.
If you setup a Bulletin box:
11
The bulletin box has the following settings:
• Rx Protect —
Determines whether or not the document is received in the bulletin box.
Rx Protect :Off
/
/Enter
On (Rx protection is on): Documents are not received in the box.
Off (Rx protection is off): Document are received in the bulletin box and you can
set the two additional settings — “Auto print” and “Over-
write Doc.” below.
Press or to select on or off, then press ENTER.
Go on to the next one.
• Auto Print — Determines whether to print a received document.
This setting appears only when the “Rx protect” is set to off.
Auto Print :Off
/
/Enter
On:
A document will be printed automatically when it is received in the bulletin box.
Off: Received documents are not printed. You will have to print them manually.
(See page 6.9.)
Press or to select on or off, then press ENTER.
Go on to the next one.
• Overwrite Doc — Determines whether to overwrite existing (erase) the documents
when the box receives a new one.
This setting appears only when the “Rx protect” is set to off.
Overwrite Doc. :Off
/
/Enter
On: The currently stored documents in the box will be replaced with a new
received document.
Off: A received document will be added in the box. Up to 30 documents (each docu-
ment can include one or more pages) can be stored in each box.


