[PICTURE] menu
ENGLISH - 53
Settings
z
[AUTO ADJUST] adjusts based on the 0% and
100% standard signal within the screen. Correct
adjustment cannot be performed if standard
signals are not displayed on the screen because of
overscan etc., or if a signal that is less than 0% or
greater than 100% is displayed on the screen.
[ADVANCED MENU]
You can perform more detailed adjustment in video
images.
1) Press
to select [ADVANCED
MENU].
2) Press the <ENTER> button.
z
The [ADVANCED MENU] screen is displayed.
3) Press
to select [CONTRAST R] to
[BRIGHTNESS B].
4) Press
or press the <ENTER>
button.
z
The individual adjustment screen for each item
is displayed.
5) Press
to adjust the level.
[CONTRAST R]
Operation Adjustment Range
Press
.
Emphasizes red in
highlight areas.
Maximum
value +32
Press
.
Deemphasizes red
in highlight areas.
Minimum
value
-
32
[CONTRAST G]
Operation Adjustment Range
Press
.
Emphasizes green
in highlight areas.
Maximum
value +32
Press
.
Deemphasizes
green in highlight
areas.
Minimum
value
-
32
[CONTRAST B]
Operation Adjustment Range
Press
.
Emphasizes blue in
highlight areas.
Maximum
value +32
Press
.
Deemphasizes blue
in highlight areas.
Minimum
value
-
32
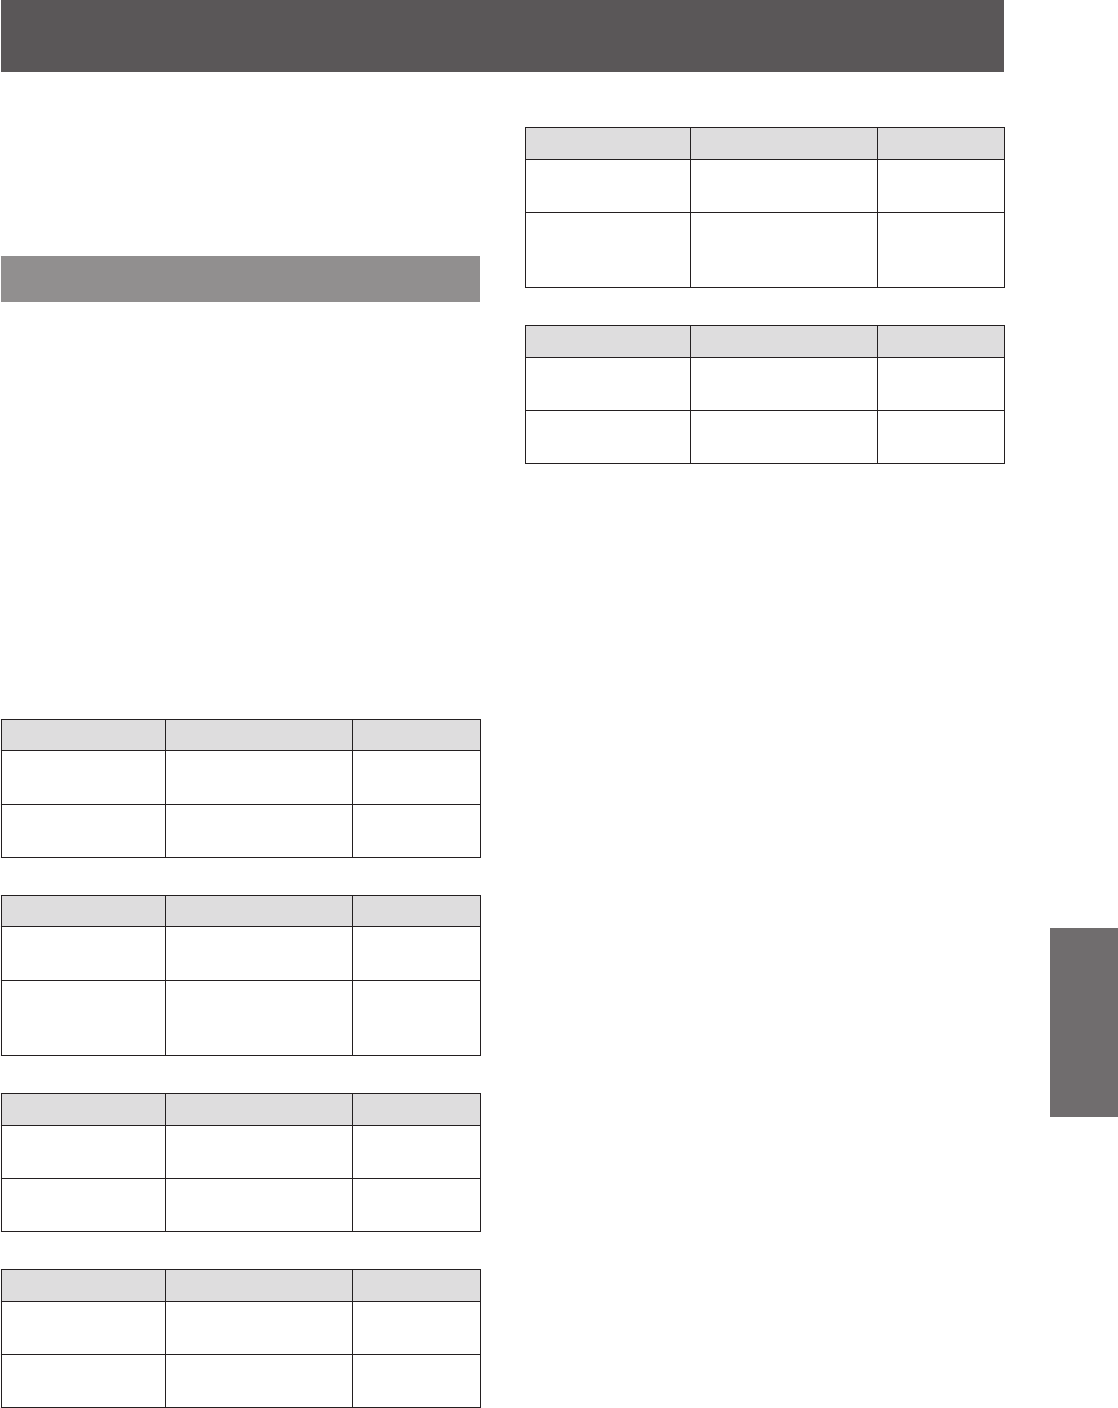
[BRIGHTNESS R]
Operation Adjustment Range
Press
.
Emphasizes red in
shadow areas.
Maximum
value +16
Press
.
Deemphasizes red
in shadow areas.
Minimum
value
-
16
[BRIGHTNESS G]
Operation Adjustment Range
Press
.
Emphasizes green
in shadow areas.
Maximum
value +16
Press
.
Deemphasizes
green in shadow
areas.
Minimum
value
-
16
[BRIGHTNESS B]
Operation Adjustment Range
Press
.
Emphasizes blue in
shadow areas.
Maximum
value +16
Press
.
Deemphasizes blue
in shadow areas.
Minimum
value
-
16


