


Sending Scan Files by E-mail
37
4
Sending Scan Files by E-mail
Procedure for Sending by E-
mail
Scan files are sent after specifying
scan settings and destinations.
A
AA
A
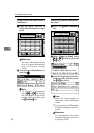
Press the {
{{
{Scanner}
}}
} key.
B
BB
B
If the user codes are set, enter a
user code using the number keys,
and then press the {
{{
{#}
}}
} key.
The initial scanner screen appears.
Reference
For information about user
codes, see General Settings
Guide.
C
CC
C
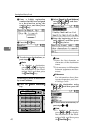
If the Network Delivery Scanner
screen appears, press [ ] to
switch to the E-mail screen.
The E-mail screen appears.
D
DD
D
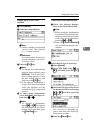
Make sure that no previous set-
tings remain.
Note
❒ If a previous setting remains,
press the {
{{
{Clear Modes}
}}
} key.
E
EE
E
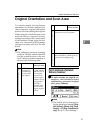
Place the original, and then make
the scan settings and settings for
orientation if necessary.
Reference
p.12 “Scan Settings”
p.27 “Setting Originals”
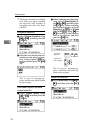
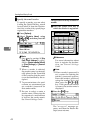
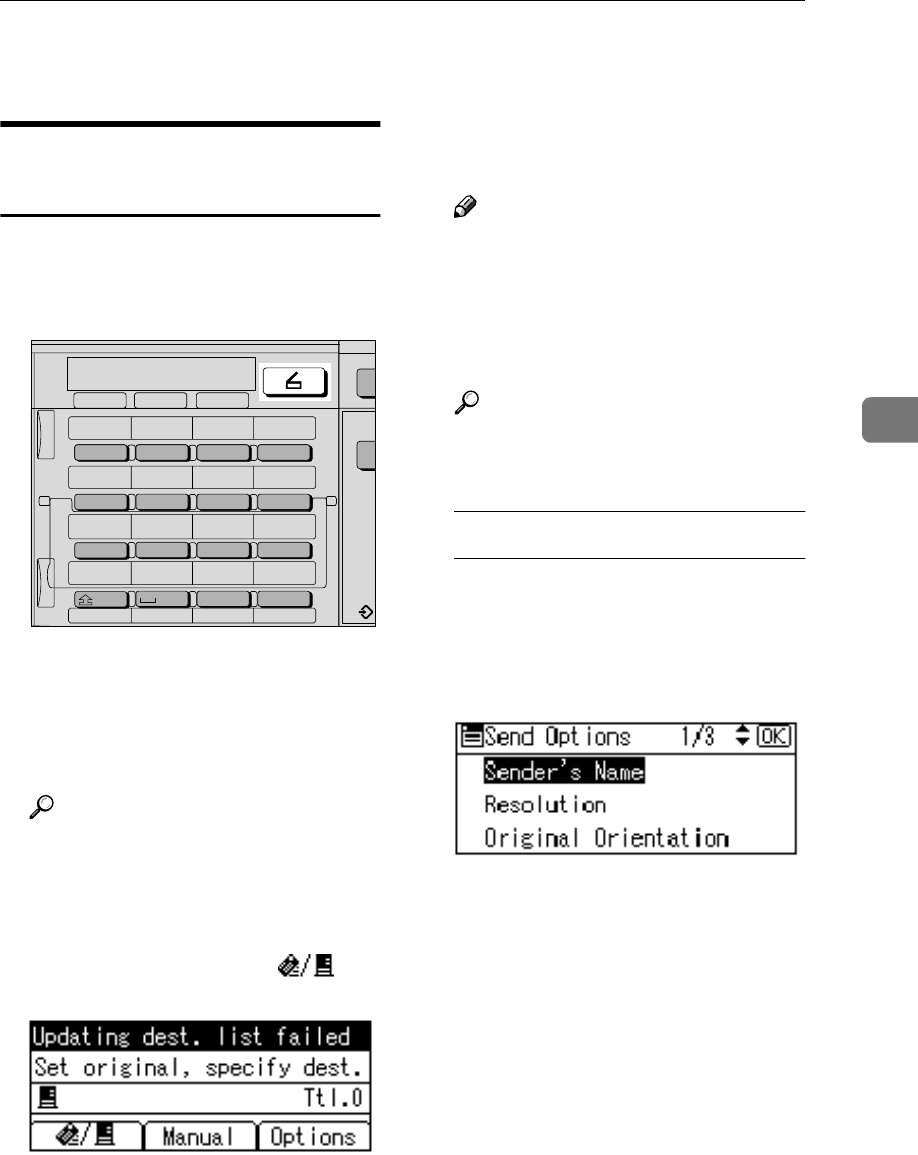
Making the settings
A Press [Options].
B Select items such as resolution
and original size using {
{{
{U
UU
U}
}}
} or
{
{{
{T
TT
T}
}}
}, and then change their set-
tings.
Scan settings can be made in the
same way as default scan set-
tings. See p.12 “Scan Settings”.
C Press the {
{{
{Cancel}
}}
} key.
The E-mail screen appears.
F
FF
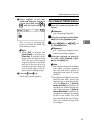
F
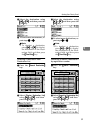
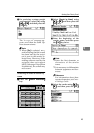
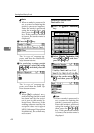
Specify the destination
To specify a destination, you can
select it using the Quick Dial key,
search for and select it from the
Destination List, select it by speci-
fying a registration number, or en-
ter the e-mail address directly.
On Hook Dial
05 06 07 08
09 10 11 12
13 14 15 16
SymbolsSpaceShift
01 02 03 04
@.
_
_
Search
Destination
Check
Destination
Job
Information
ABC DEF GHI JKL
MNO PQR STU VWX
YZ
- &@.
_
AAH012S