Sending Scan Files by E-mail
41
4
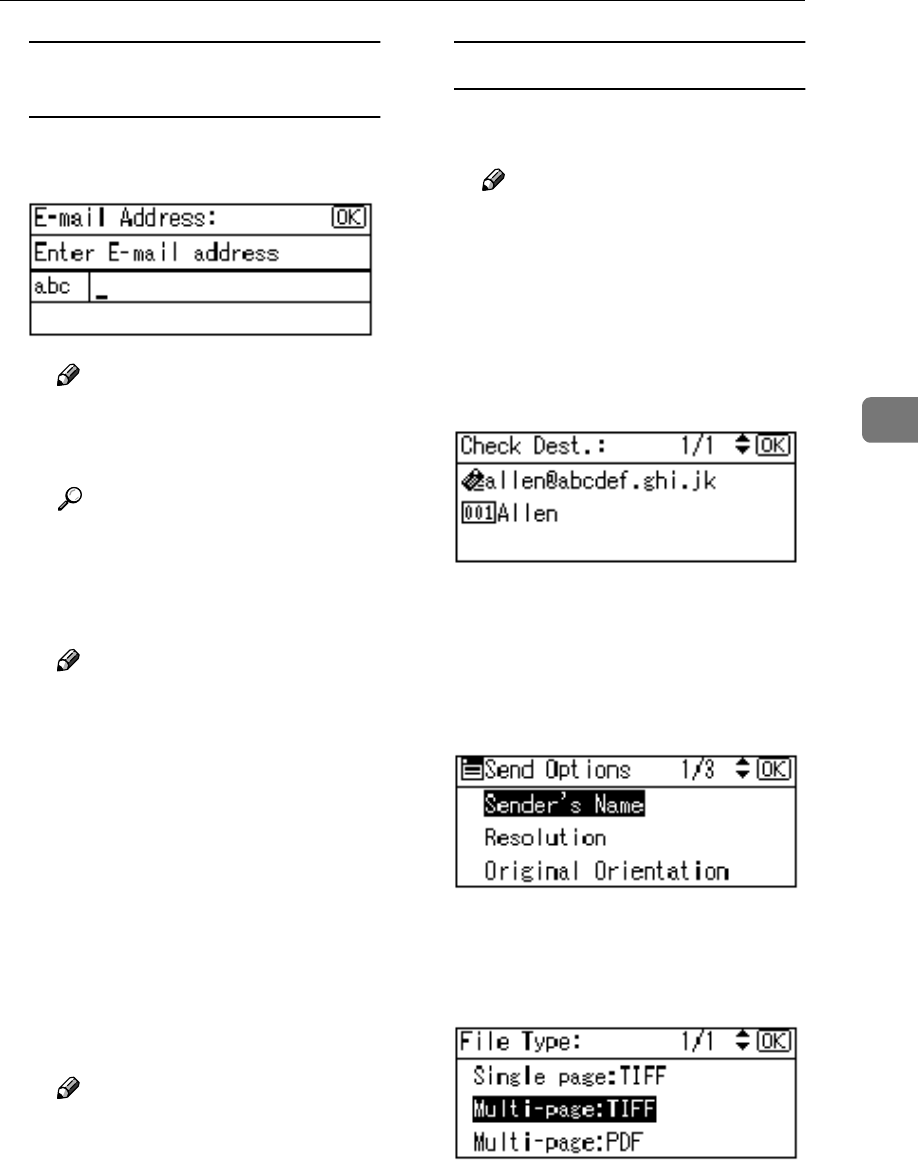
Manual entry of an e-mail
address
A Press [Manual].
B Enter the e-mail address.
Note
❒ Letters, number, and periods
can be used. The symbols
()\,;:” cannot be used.
Reference
For information about how
to enter characters, see Gener-
al Settings Guide.
C Press the {
{{
{OK}
}}
} key.
Note
❒ To change an e-mail address
that has been entered, press
[EditDest]. The E-mail Ad-
dress screen appears. Enter
the new e-mail address, and
then press the {
{{
{OK}
}}
} key.
❒ If the entered destination is
longer than the Destination
field, the address will be
omitted and […] is displayed
instead.
D To enter more destinations,
press [Add Dest], and then re-
peat steps A
AA
A to C
CC
C.
Note
❒ To deselect a destination,
press {
{{
{U
UU
U}
}}
} or {
{{
{T
TT
T}
}}
} to display
the destination in the Desti-
nation field, and then press
the {
{{
{Clear/Stop}
}}
} key.
Checking selected destinations
A Check the selected destina-
tions in the Destination field.
Note
❒ When multiple destinations
are selected, the selected des-
tinations are displayed in the
order they were selected by
pressing {
{{
{U
UU
U}
}}
} or {
{{
{T
TT
T}
}}
}.
❒ Press the {
{{
{Check Destination}
}}
}
key to check the selected des-
tination.
G
GG
G
Select the file type if necessary.
A Press [Options].
B Select [File Type] using {
{{
{U
UU
U}
}}
} or
{
{{
{T
TT
T}
}}
}, and then press the {
{{
{OK}
}}
}
key.
C Select the file type of the file to
be attached to the e-mail using
{
{{
{U
UU
U}
}}
} or {
{{
{T
TT
T}
}}
}, and then press the
{
{{
{OK}
}}
} key.
The “
Accepted
” message ap-
pears, and then the Send Op-
tions screen returns.
D Press the {
{{
{Cancel}
}}
} key.


