Naming a group of users
You can name several registered users as a registered group.
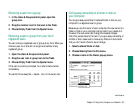
1. Open the Users & Groups control panel and choose
New Group from the File menu.
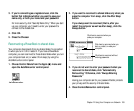
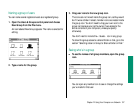
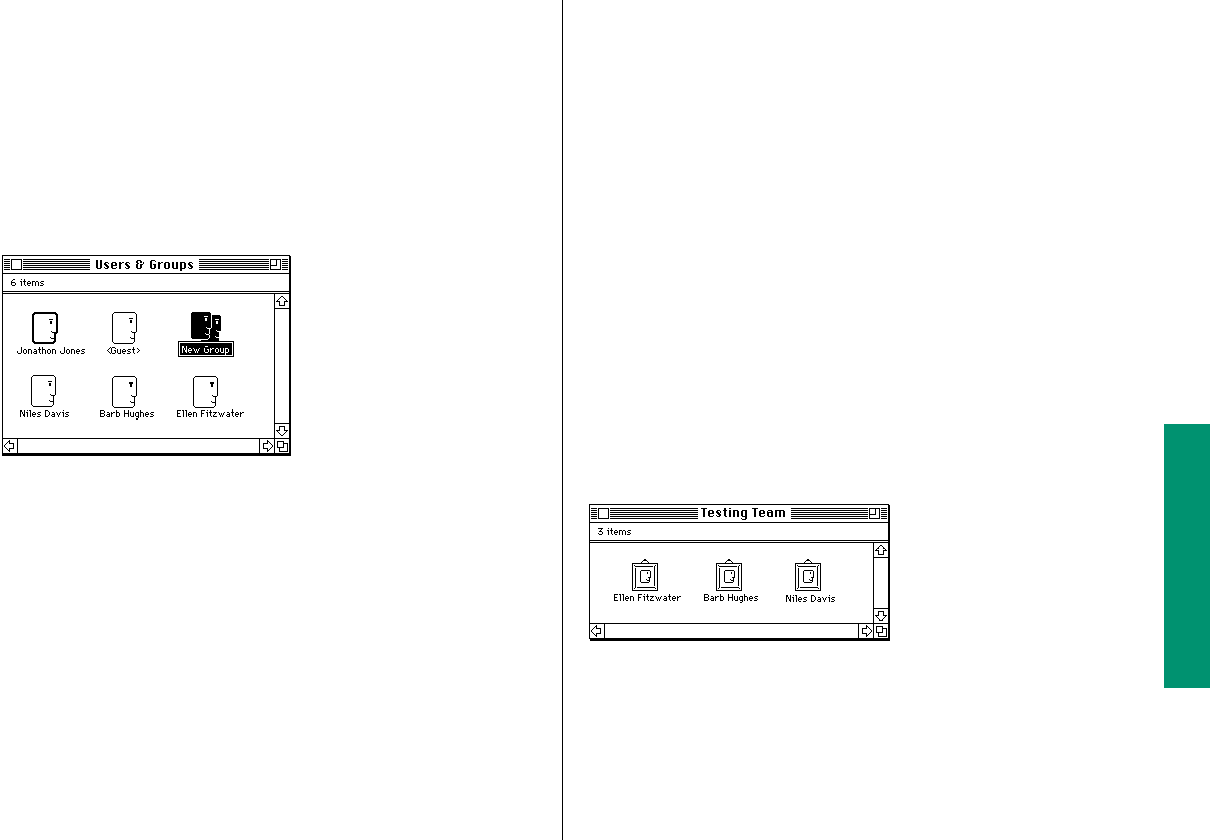
An icon labeled New Group appears. The name is selected for
editing.
2. Type a name for the group.
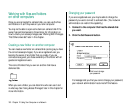
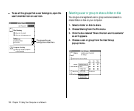
3. Drag user icons to the new group icon.
The icons are not moved inside the group icon, as they would
be if it were a folder. Instead, member icons are created inside
the group icon. You don’t need to drag your own icon to the
group icon because you (as the owner) have access to the
entire contents of your computer (unless you specify
otherwise).
You don’t need to include the <Guest> icon in any group.
To allow this group access to a shared folder or disk, go to the
section “Selecting a User or Group to Share a Folder or Disk.”
Seeing who’s in a group
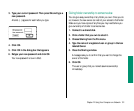
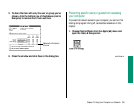
n To see the names of all group members, open the group
icon.
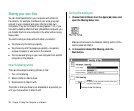
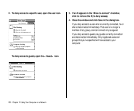
You can open any member icon to see or change the settings
you’ve made for that user.
Chapter 12: Using Your Computer on a Network 197


