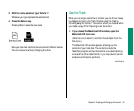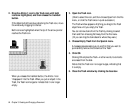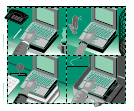
Inserting a floppy disk
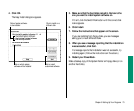
1. Hold the disk with your thumb on the label and the
metal shutter pointing away from you.
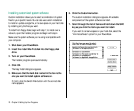
2. Push the disk into the floppy disk drive, label side up
and metal shutter first.
For instructions on preparing a disk for use (called initializing)
and more information on disks, go to the chapter on using disks.
Use Part III of this book
Part III of this book, PowerBook Reference, contains all the
information you need to use your computer’s hardware and
system software. Unlike Parts I and II, which are meant to be read
from beginning to end, Part III is meant to be used like an
encyclopedia: you turn to it when you need to look up some
information, and read only that information.
To help you find the information you need, this book has a
table of contents and an index. The back of the book also has
a summary of commonly used skills, and a troubleshooting
section.
What next?
Congratulations. If you’ve gone through the Macintosh Basics
tour and Parts I and II of this book, you’ve seen and practiced all
the basic skills you need to use your computer productively.
At this point, you could
n check your battery power and recharge it if necessary (see the
power management chapter for more information)
n start learning how to use your application programs
n turn to Part III and find out how to organize your files or how
to adapt your computer to your own use
n turn to any other topic in Part III that interests you
n take a break
Chapter 4: Learning More About Your PowerBook 71


